Getting started
In this article:
At times, we need to keep track of information and a good choice for this is using a MobiDB database application. MobiDB is good choice for keeping record of small business. It could be inventory management, keeping records of clients in medical organization, managing sport organizations, managing scientific records. or even a collection of your books and discs, or simply the database to store your personal contacts, a MobiDB makes it easy to enter, store, and find specific information. The following Getting Started guide is meant to describe the basic steps a user should take in order to get acquainted with the application capabilities.
iOS
Step 1. Creating database
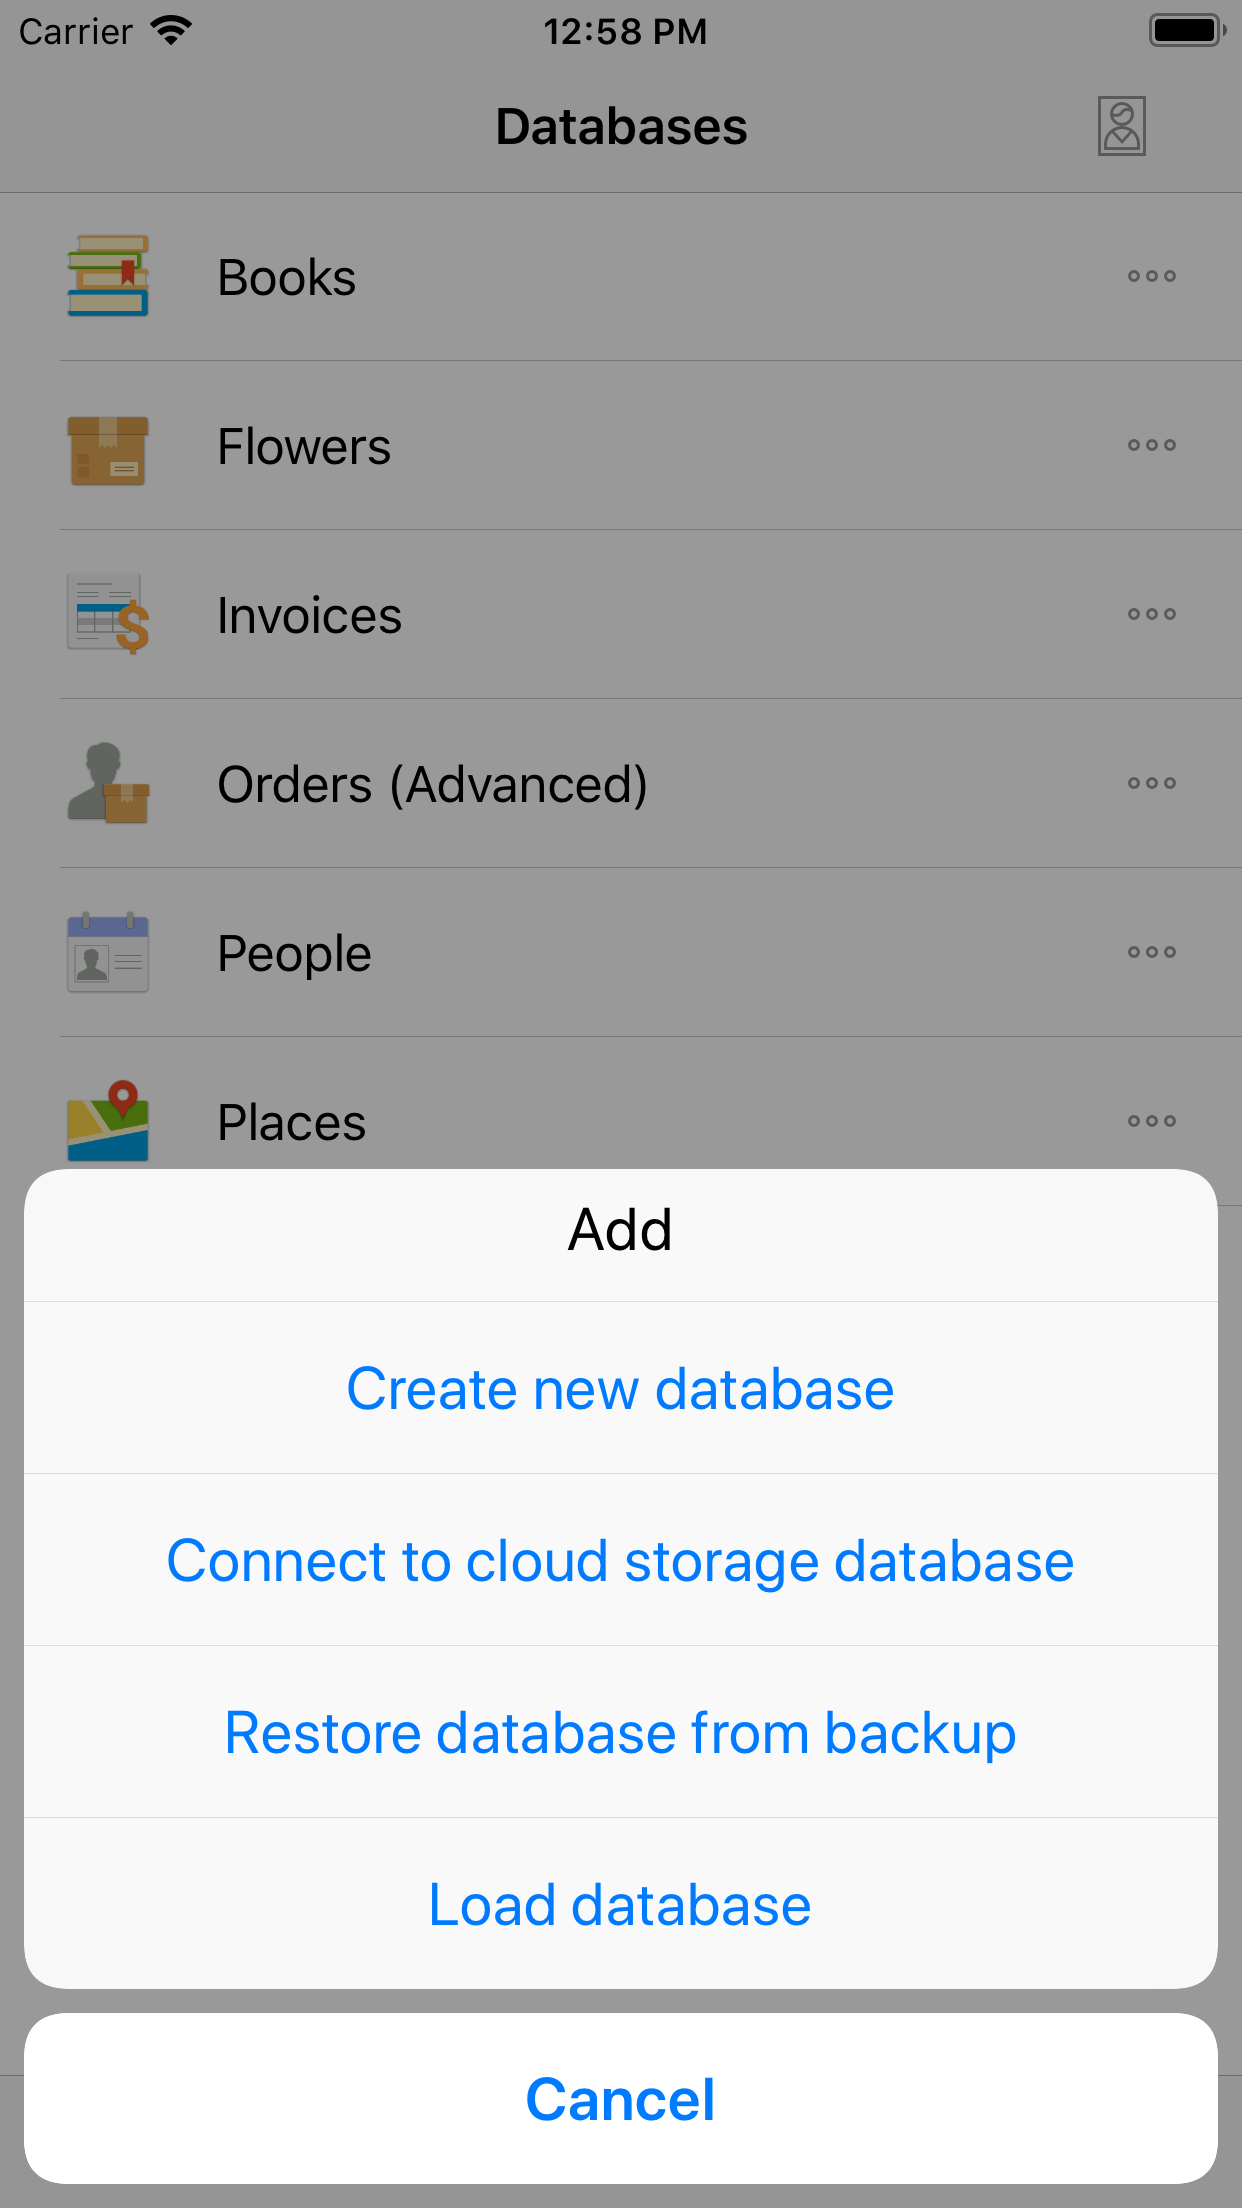
To create a database tap on the Add  icon at the bottom left corner of the main screen and select Create new database option.
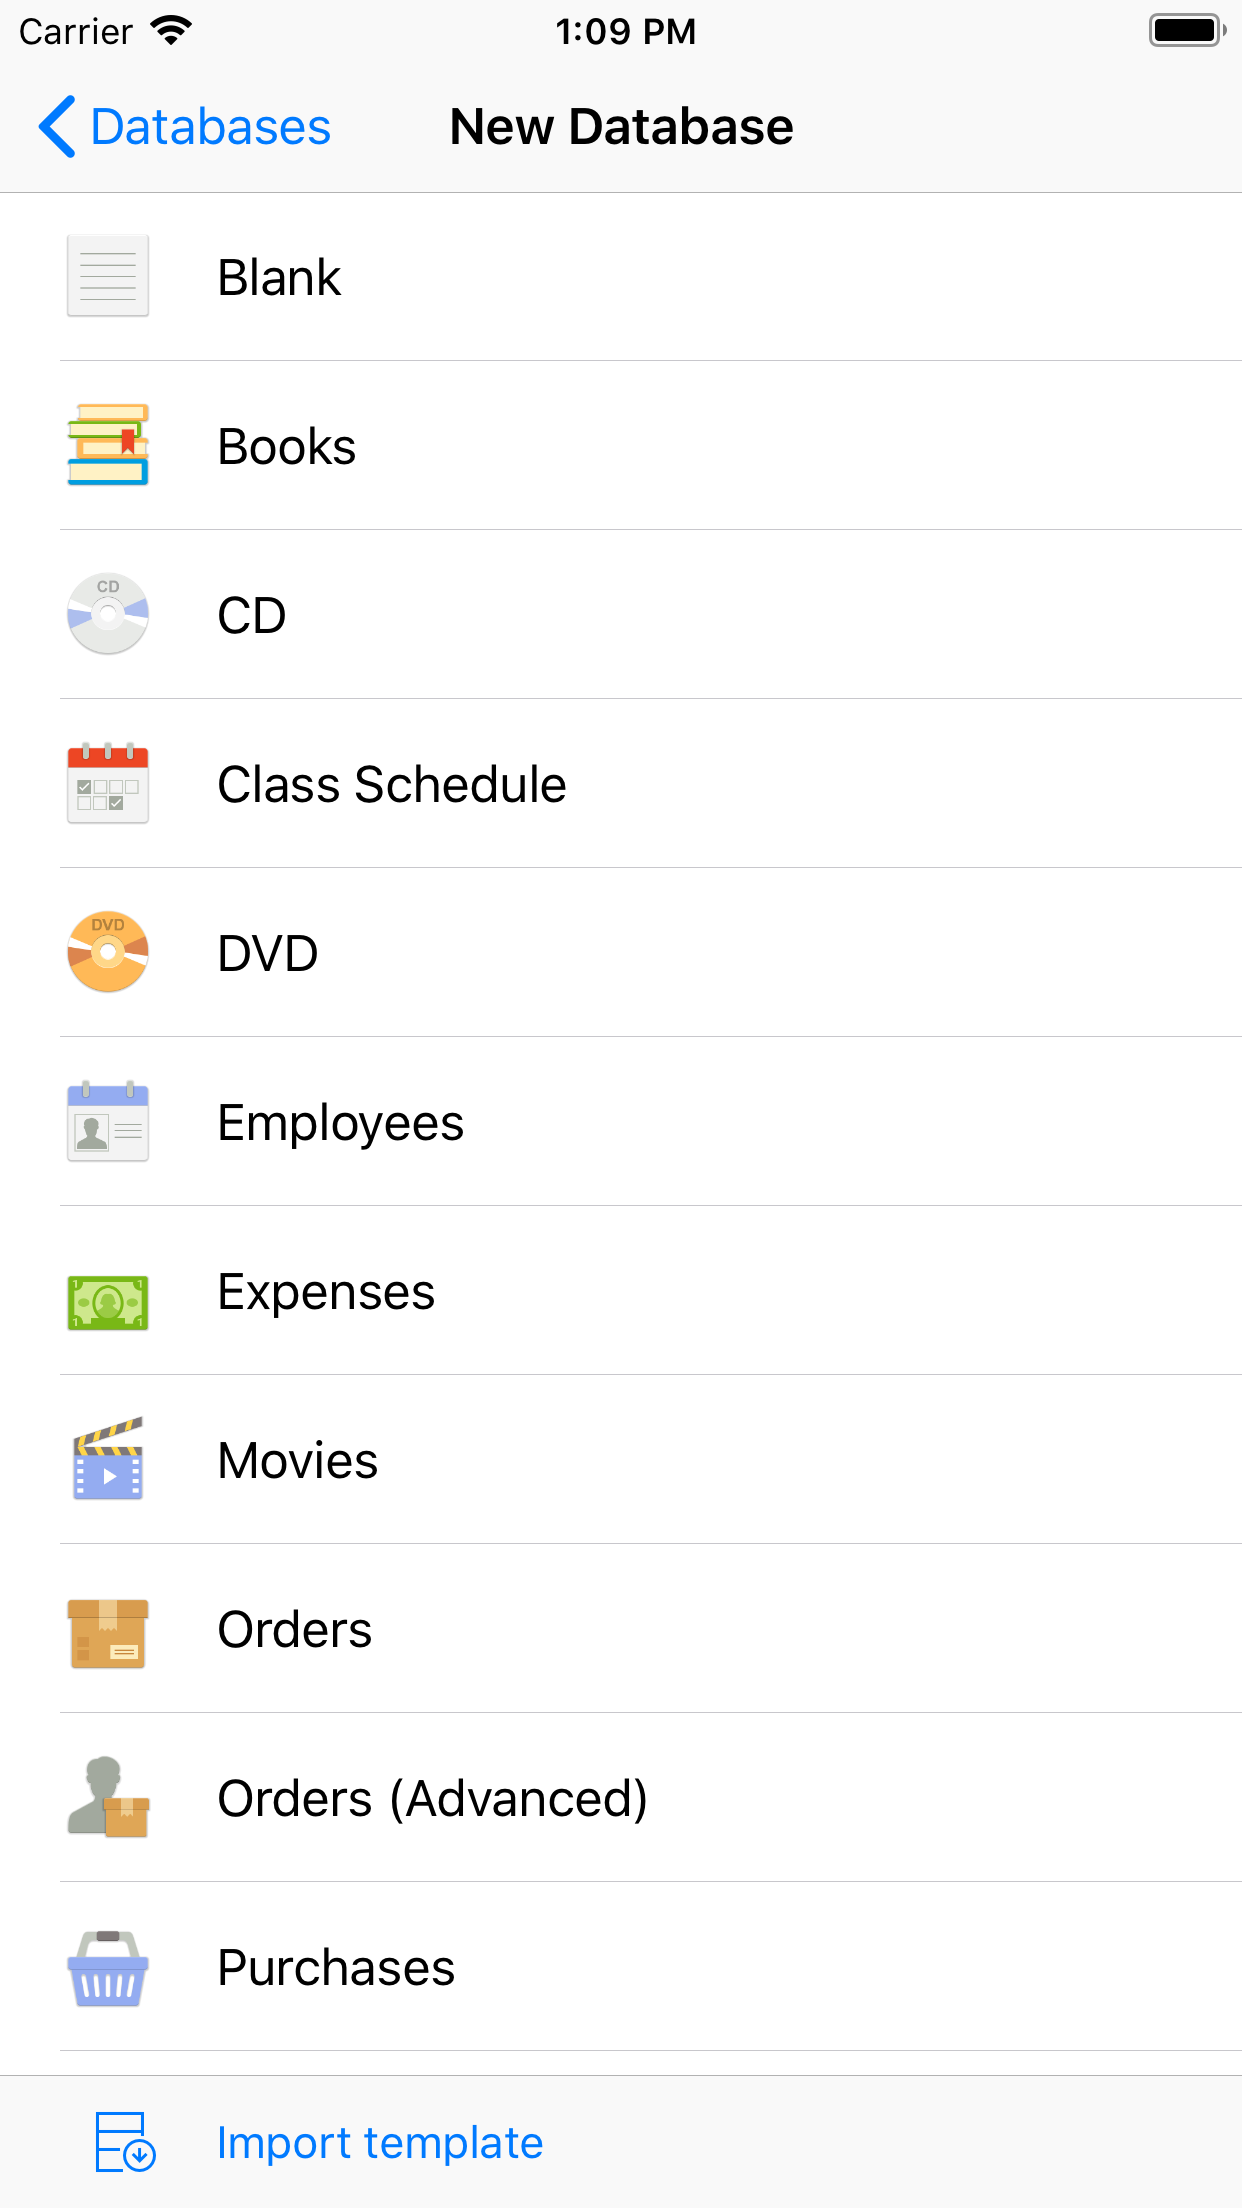
The list of predefined templates will appear. To create new empty database choose Blank.
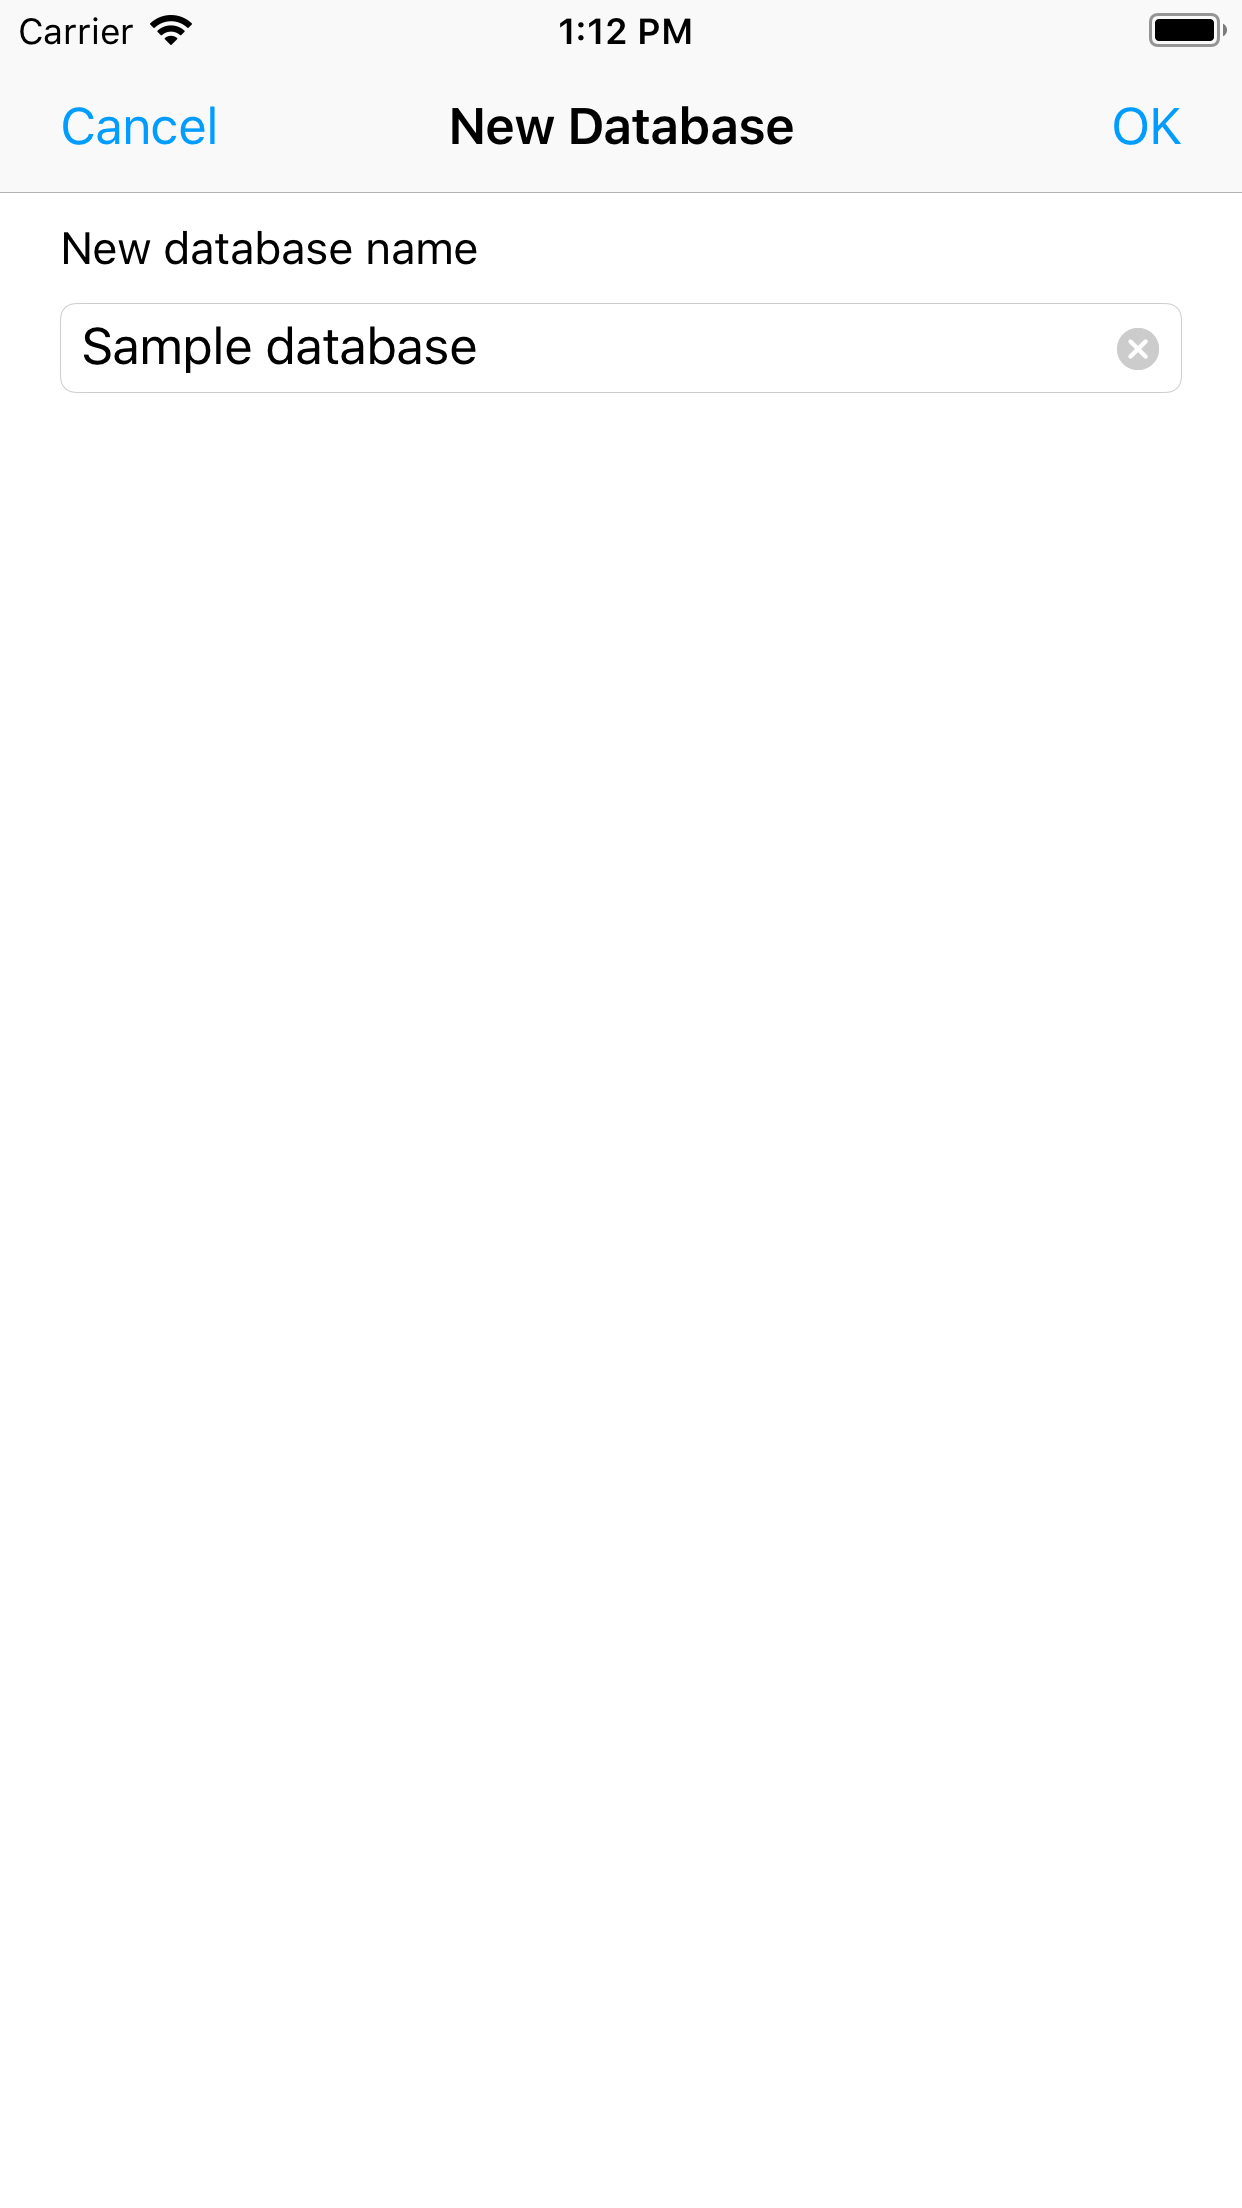
Specify Database name and hit OK.
The new empty database will be created.
Step 2. Creating table
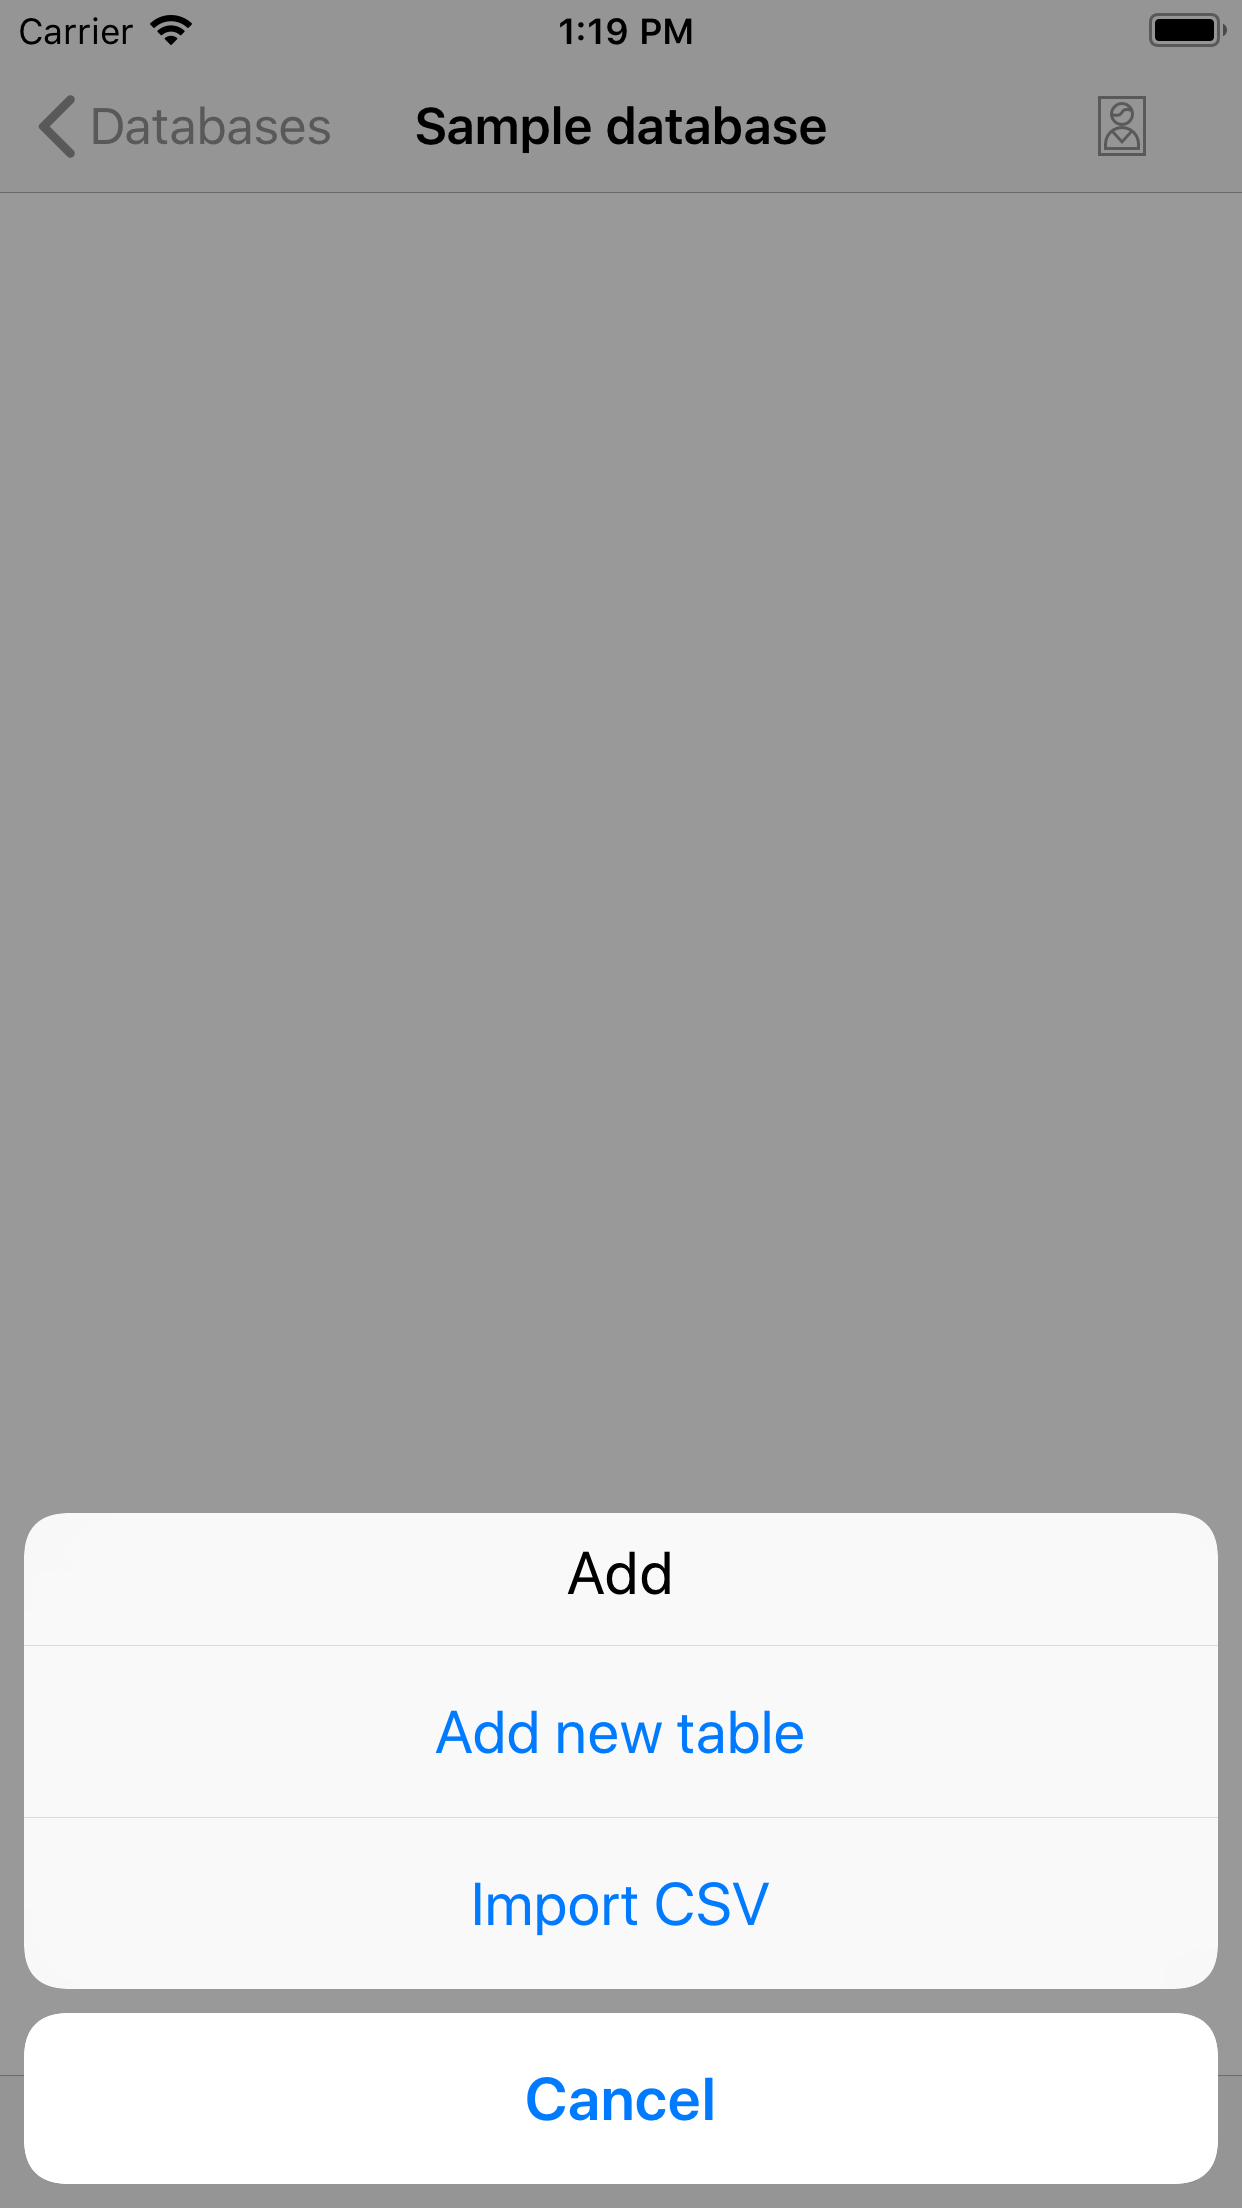
To create new table hit  button.
In the menu choose Add new table.
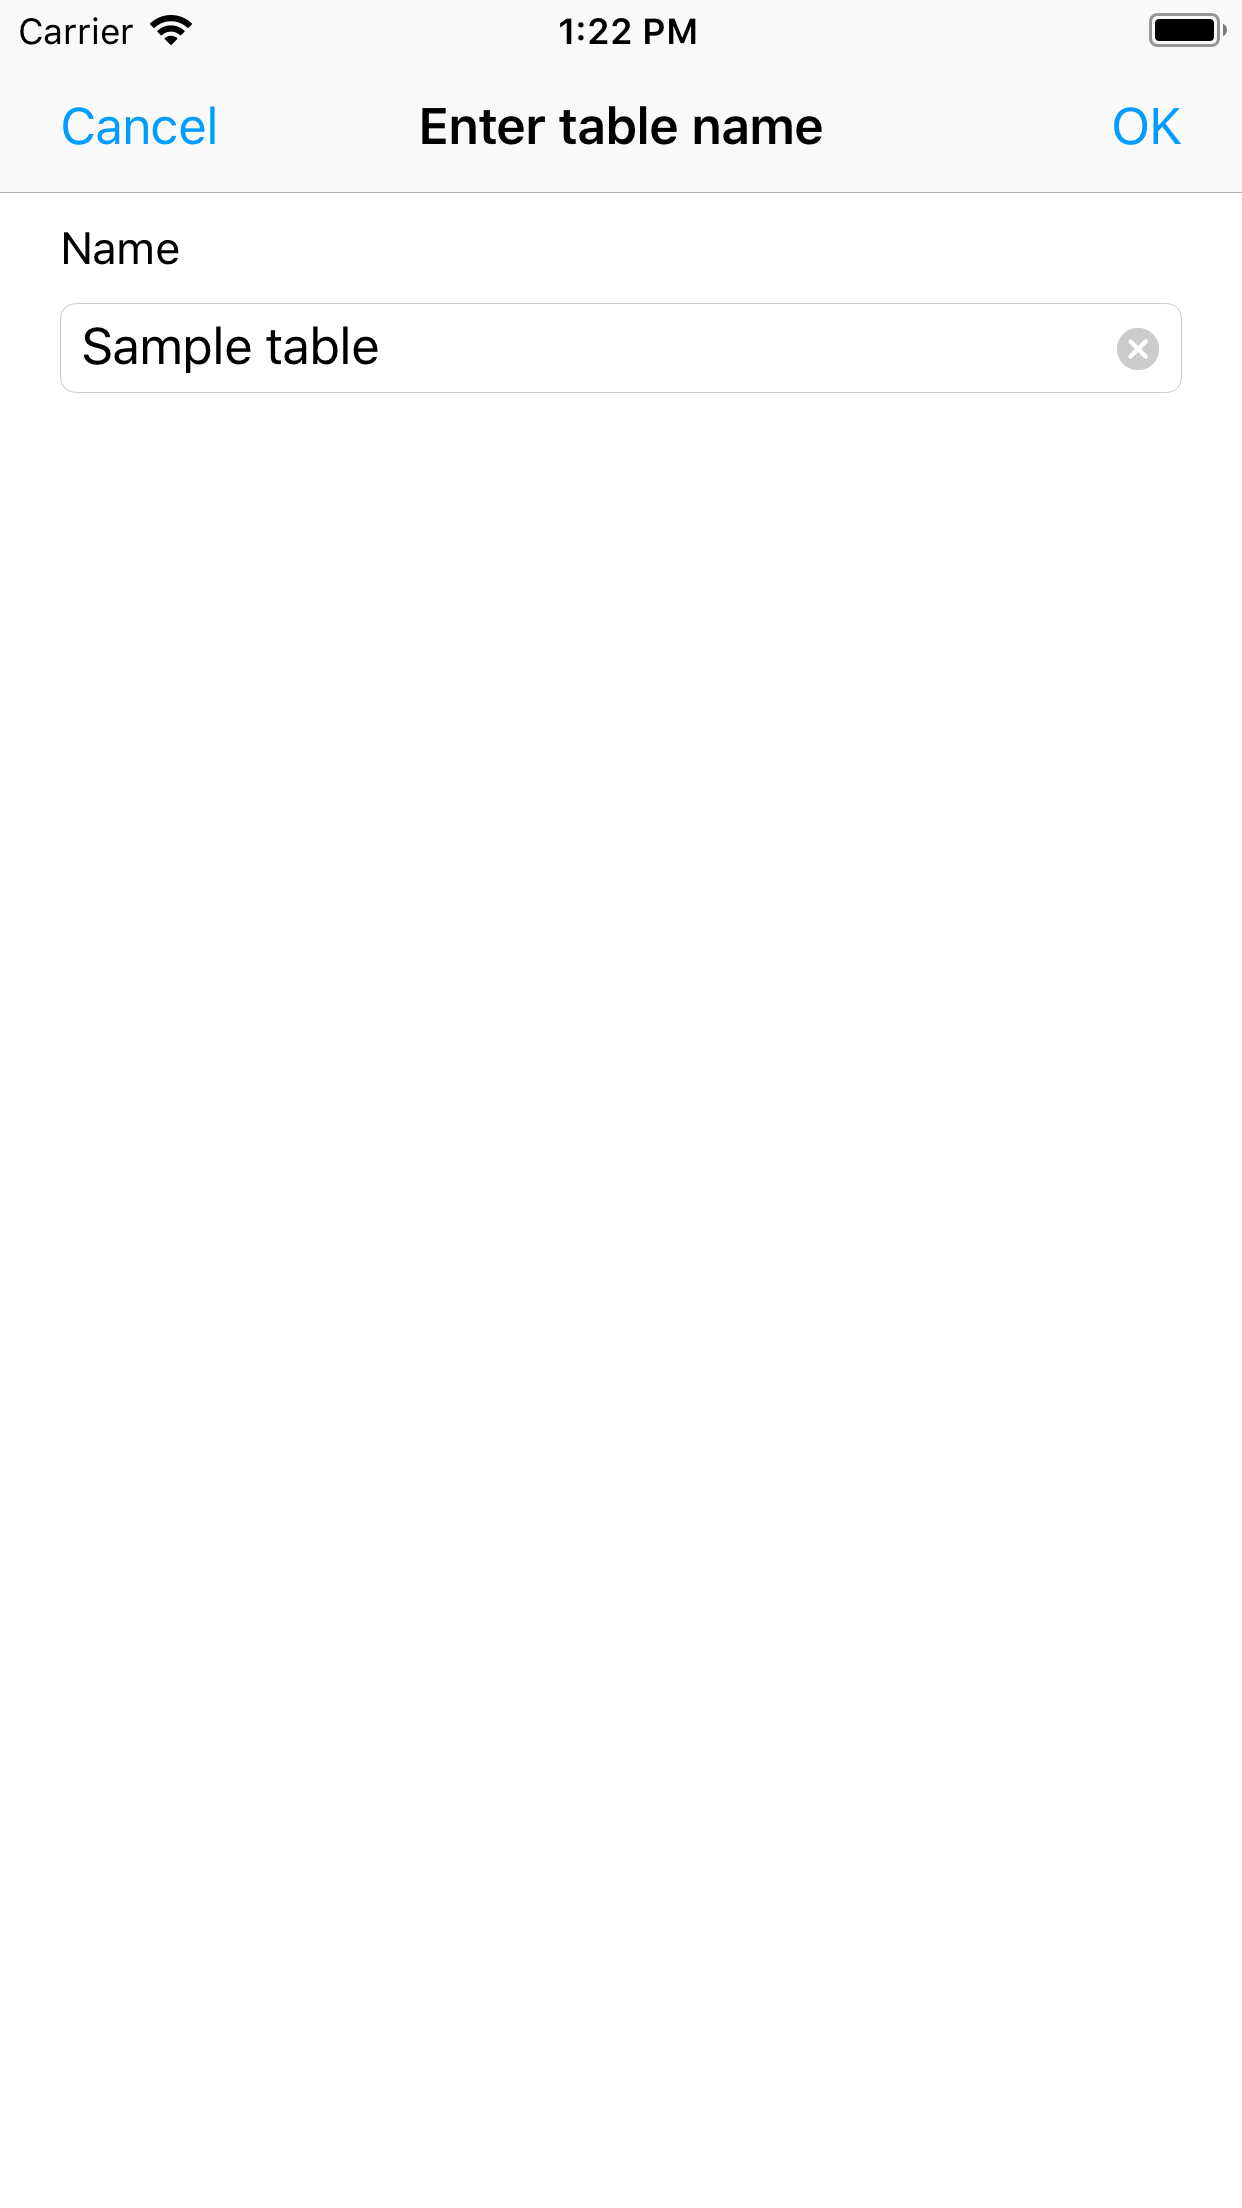
Enter table name and hit OK to confirm:
Once you confirm newly created table will be opened. Even though it's still empty.
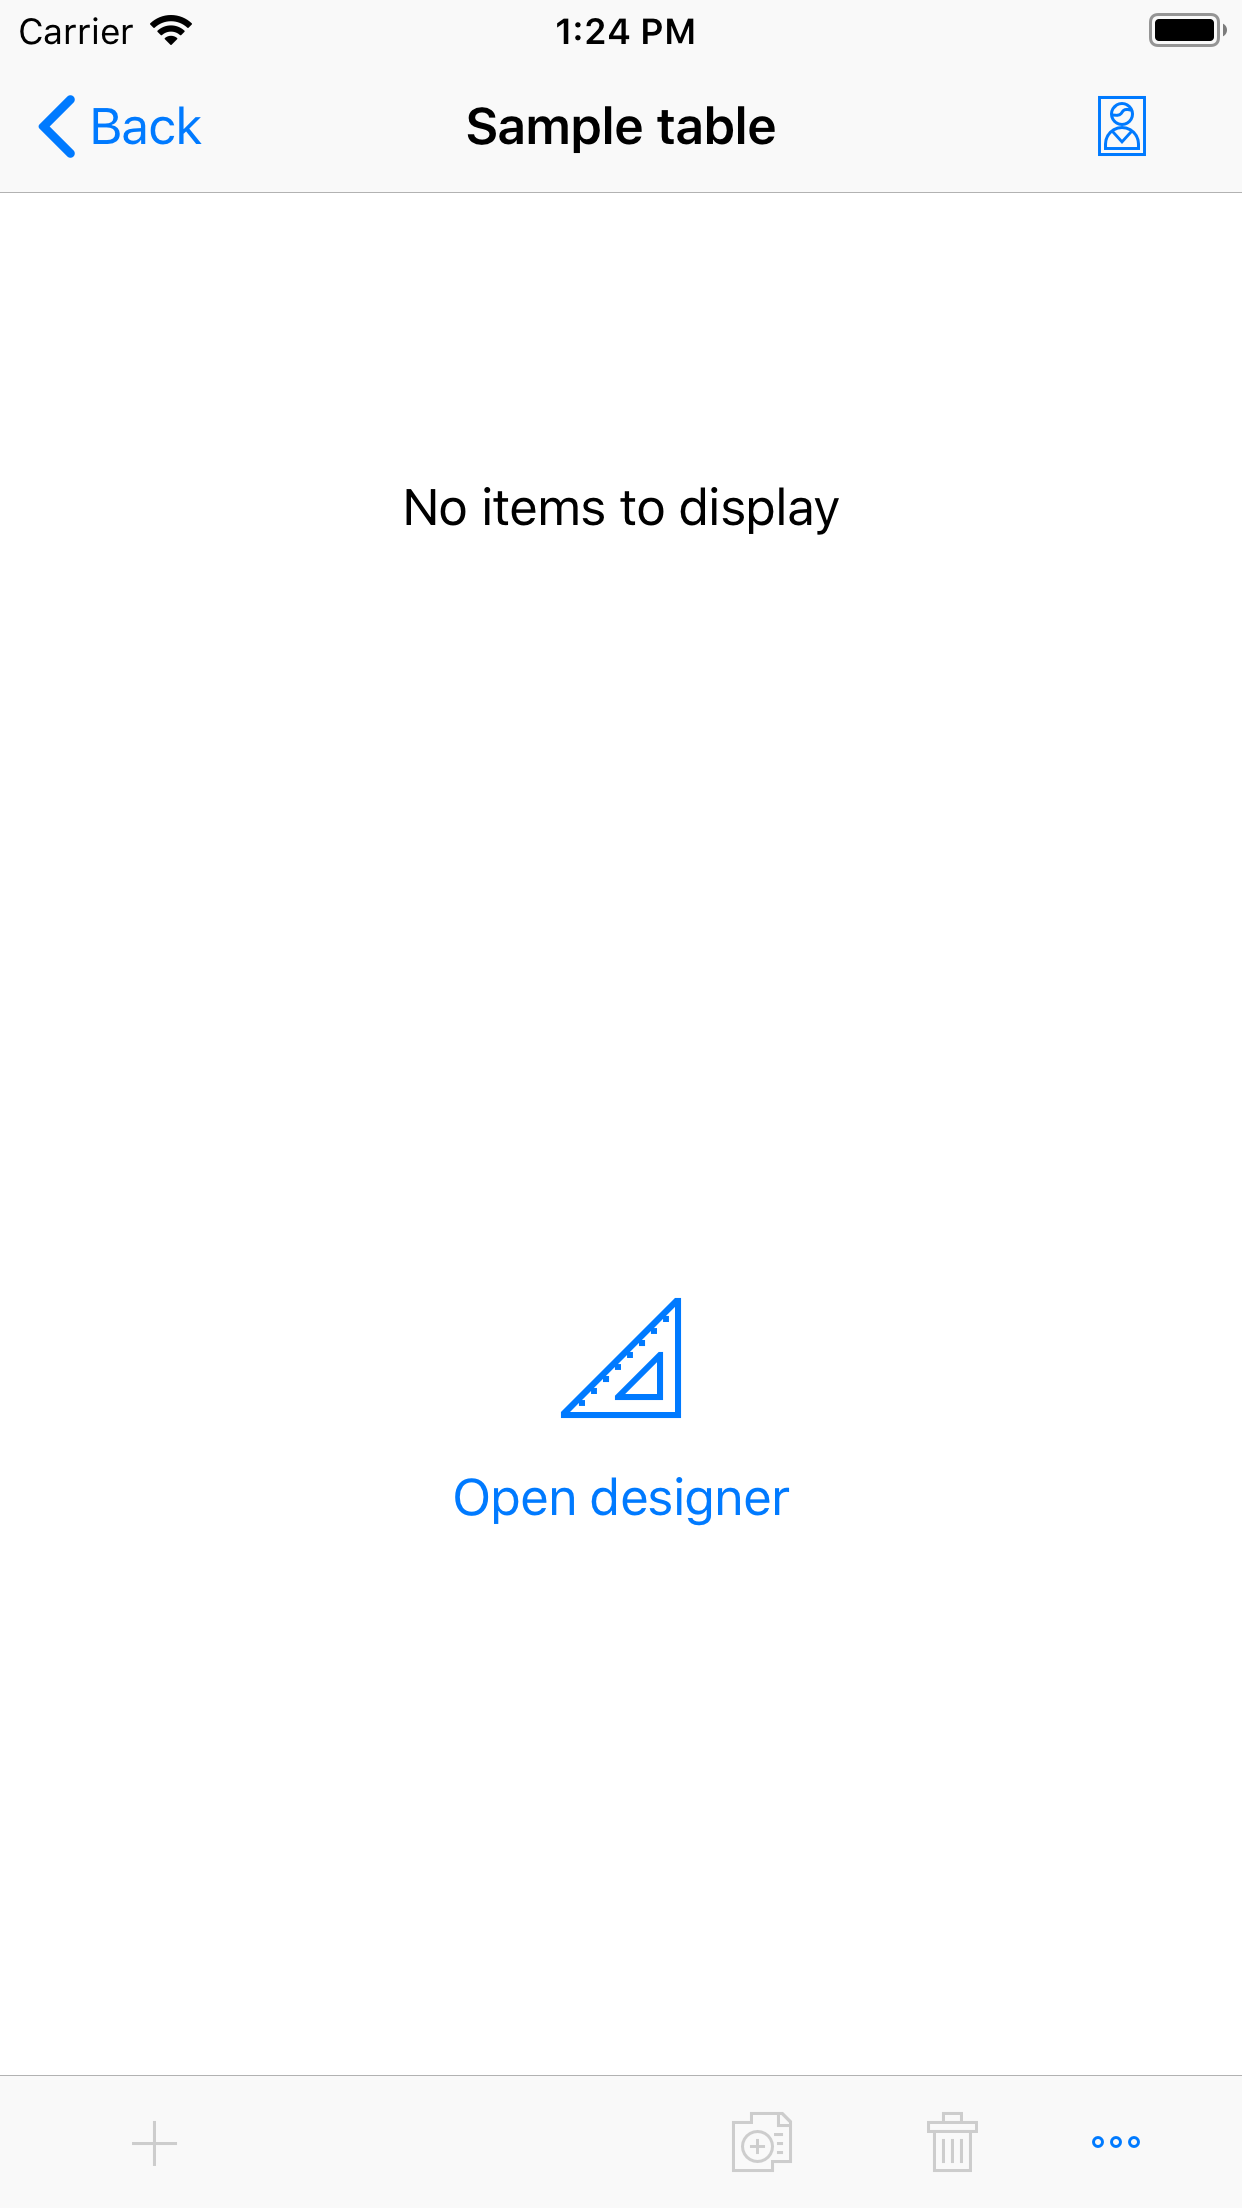
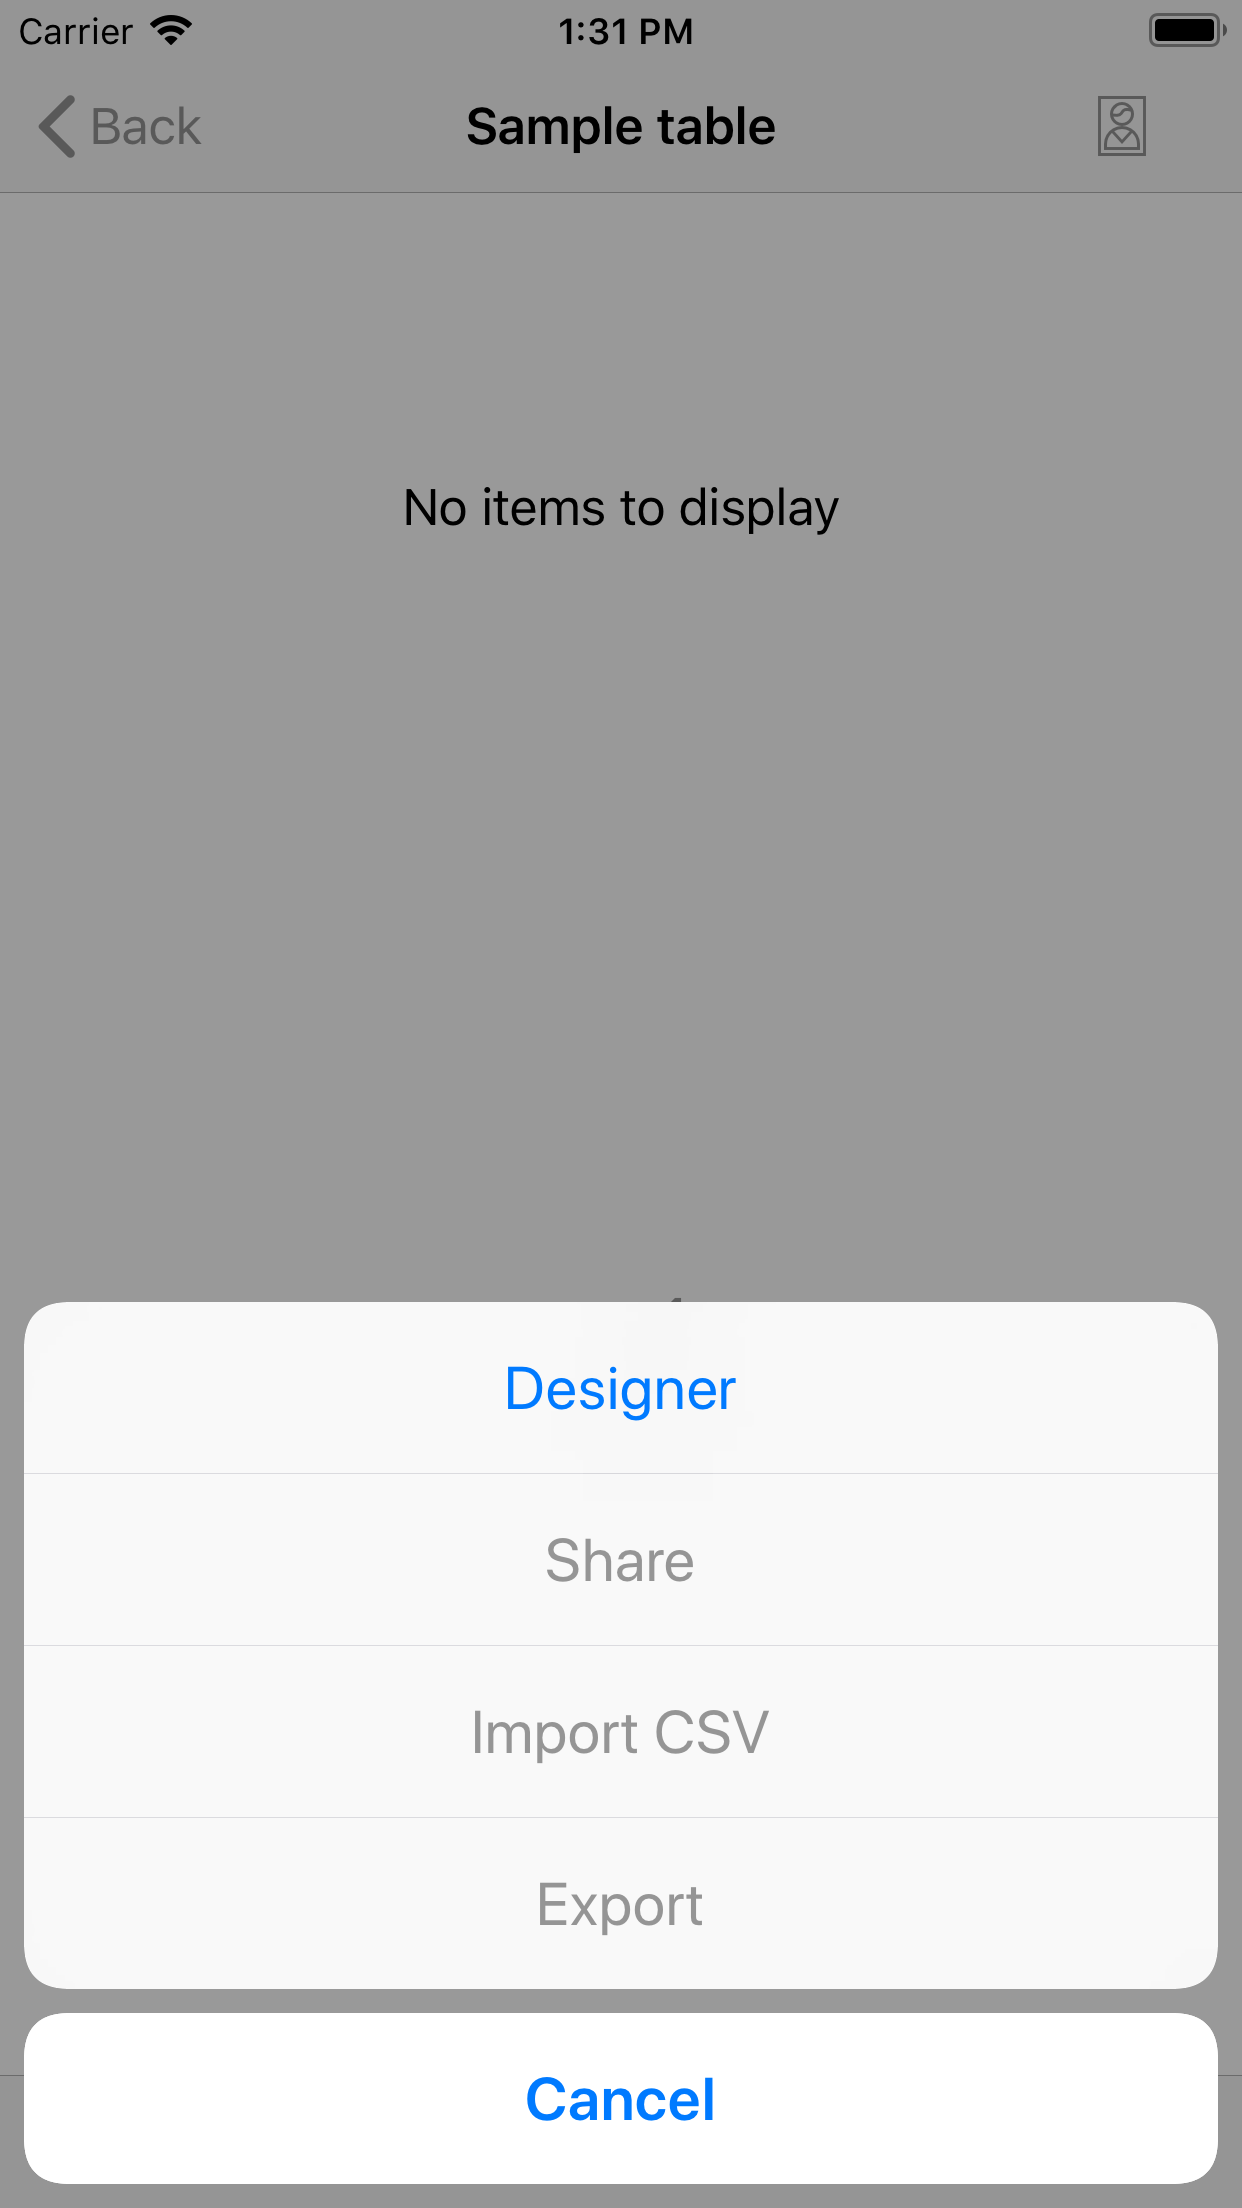
Open designer using Designer option of the ellipses button's  menu.
menu.
Step 3. Creating form layout
Form designer will appear.
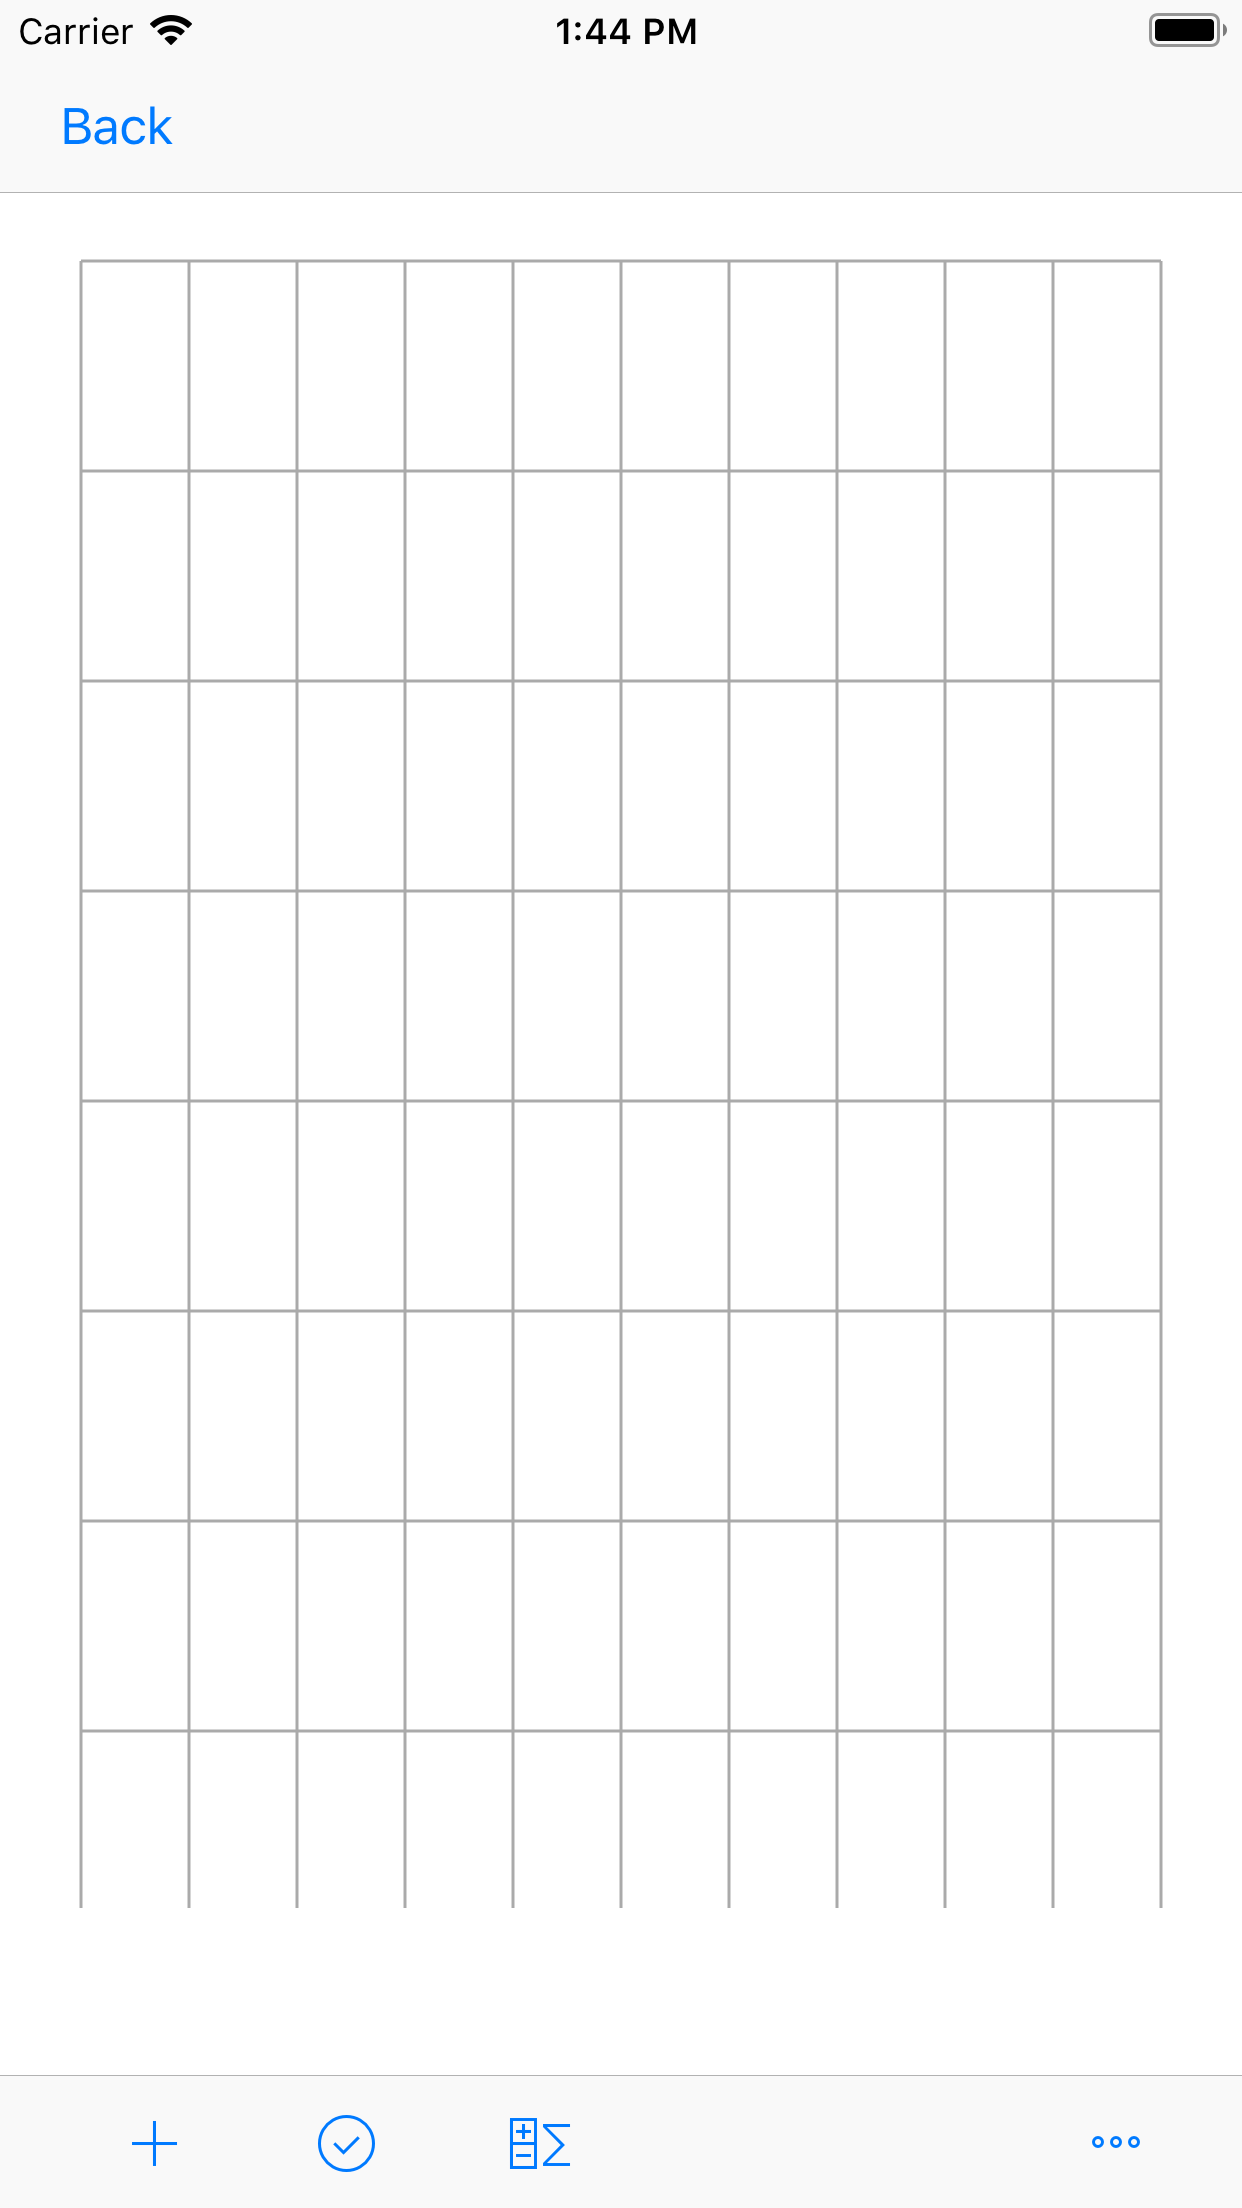
Let's assume we want to create table with the following fields:
- Product name field of text type;
- Price field of float type;
- Picture field of picture type;
In order to add fields hit  button and select field you want to add.
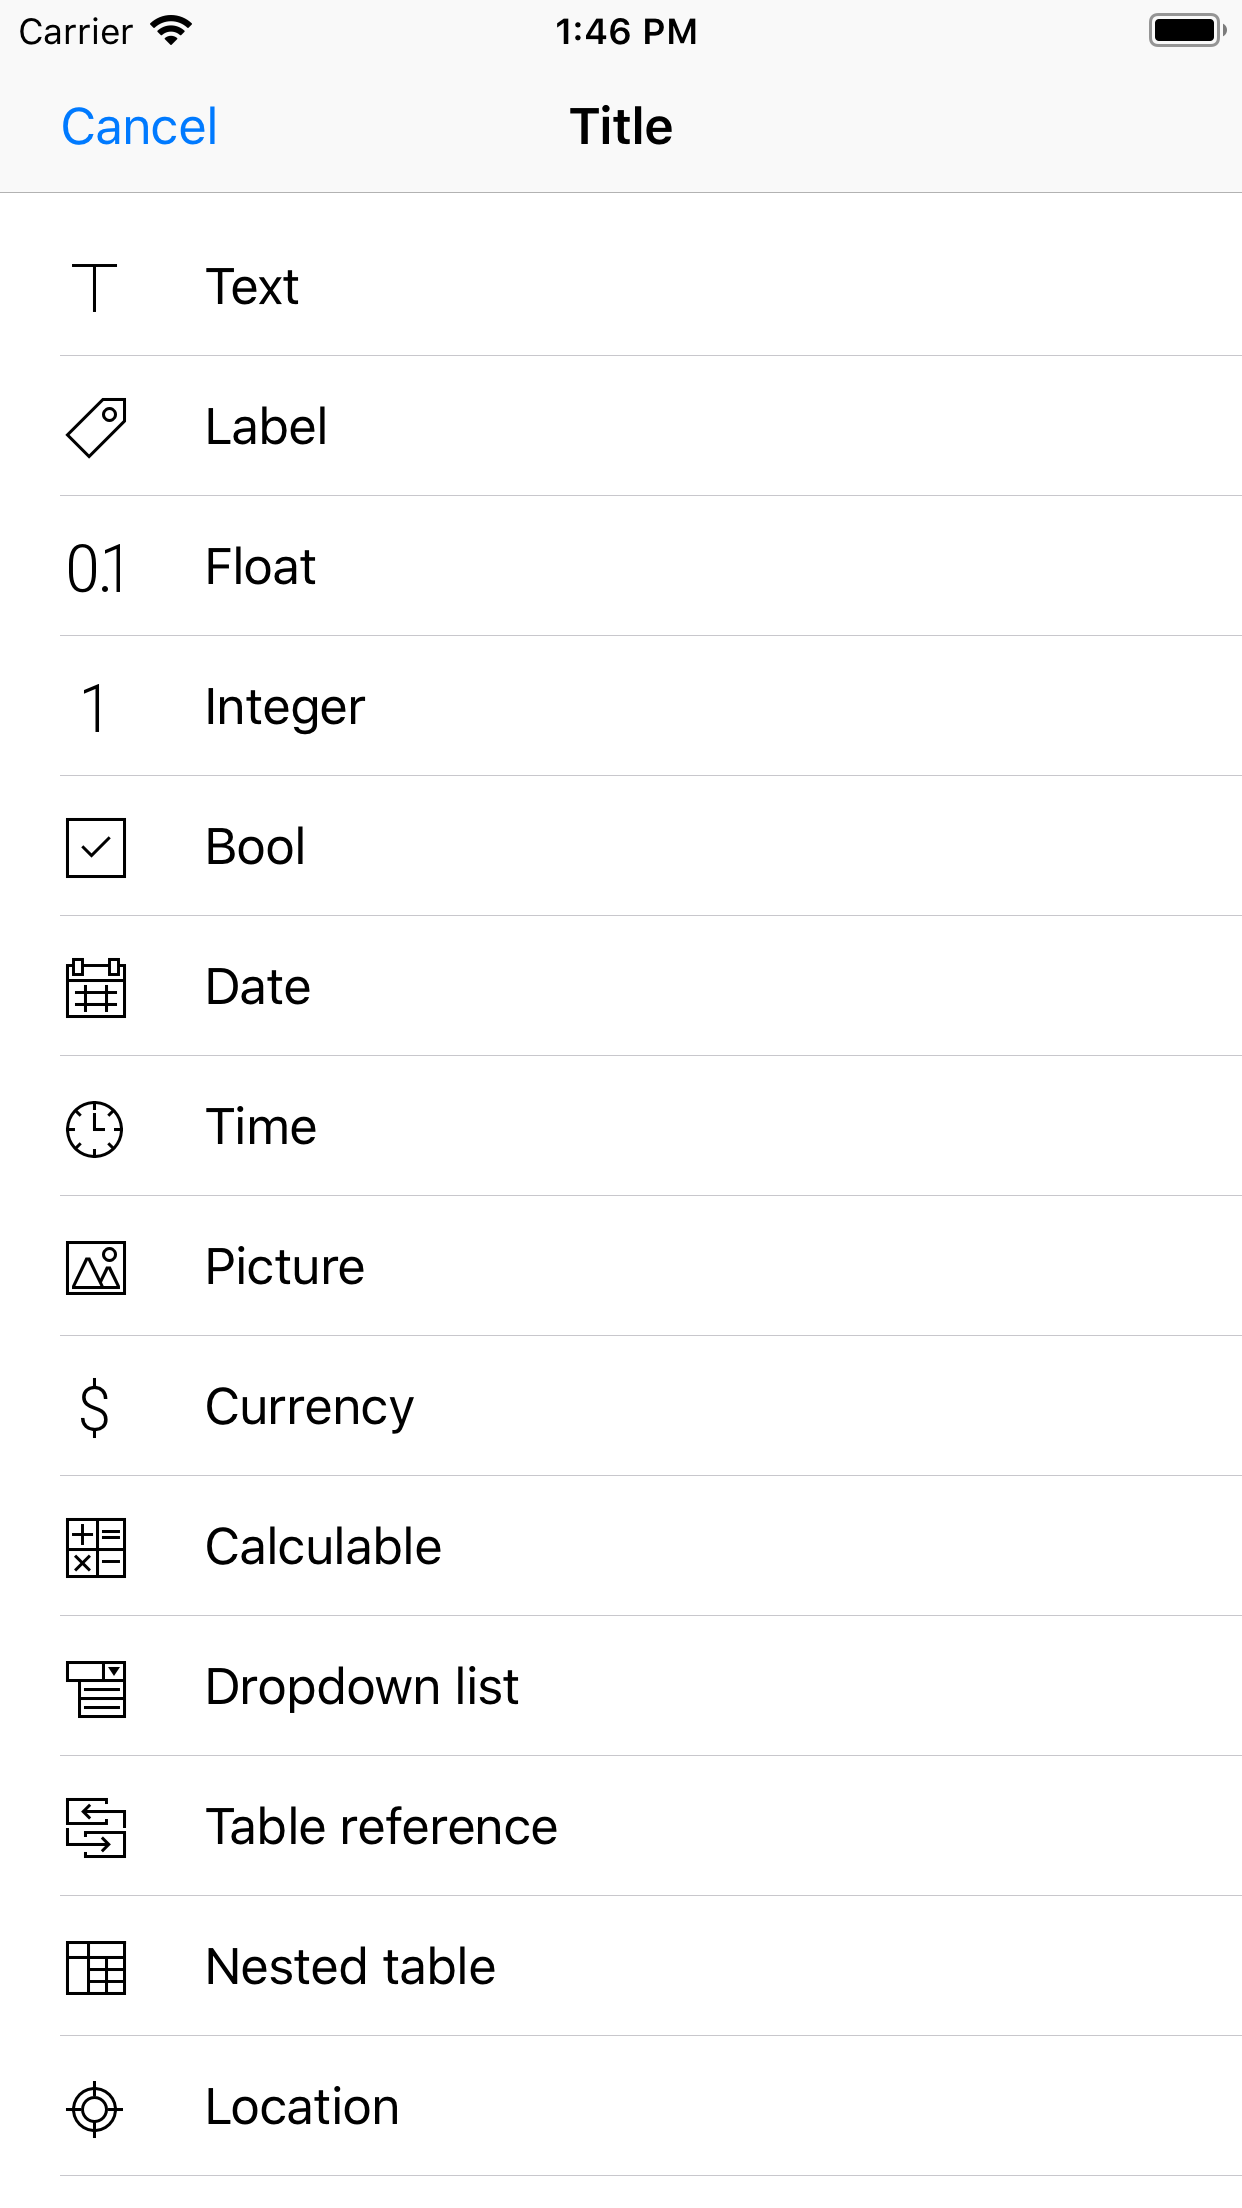
Once you add Text, Float and Picture field move them using drag and drop and change size with size grippers.
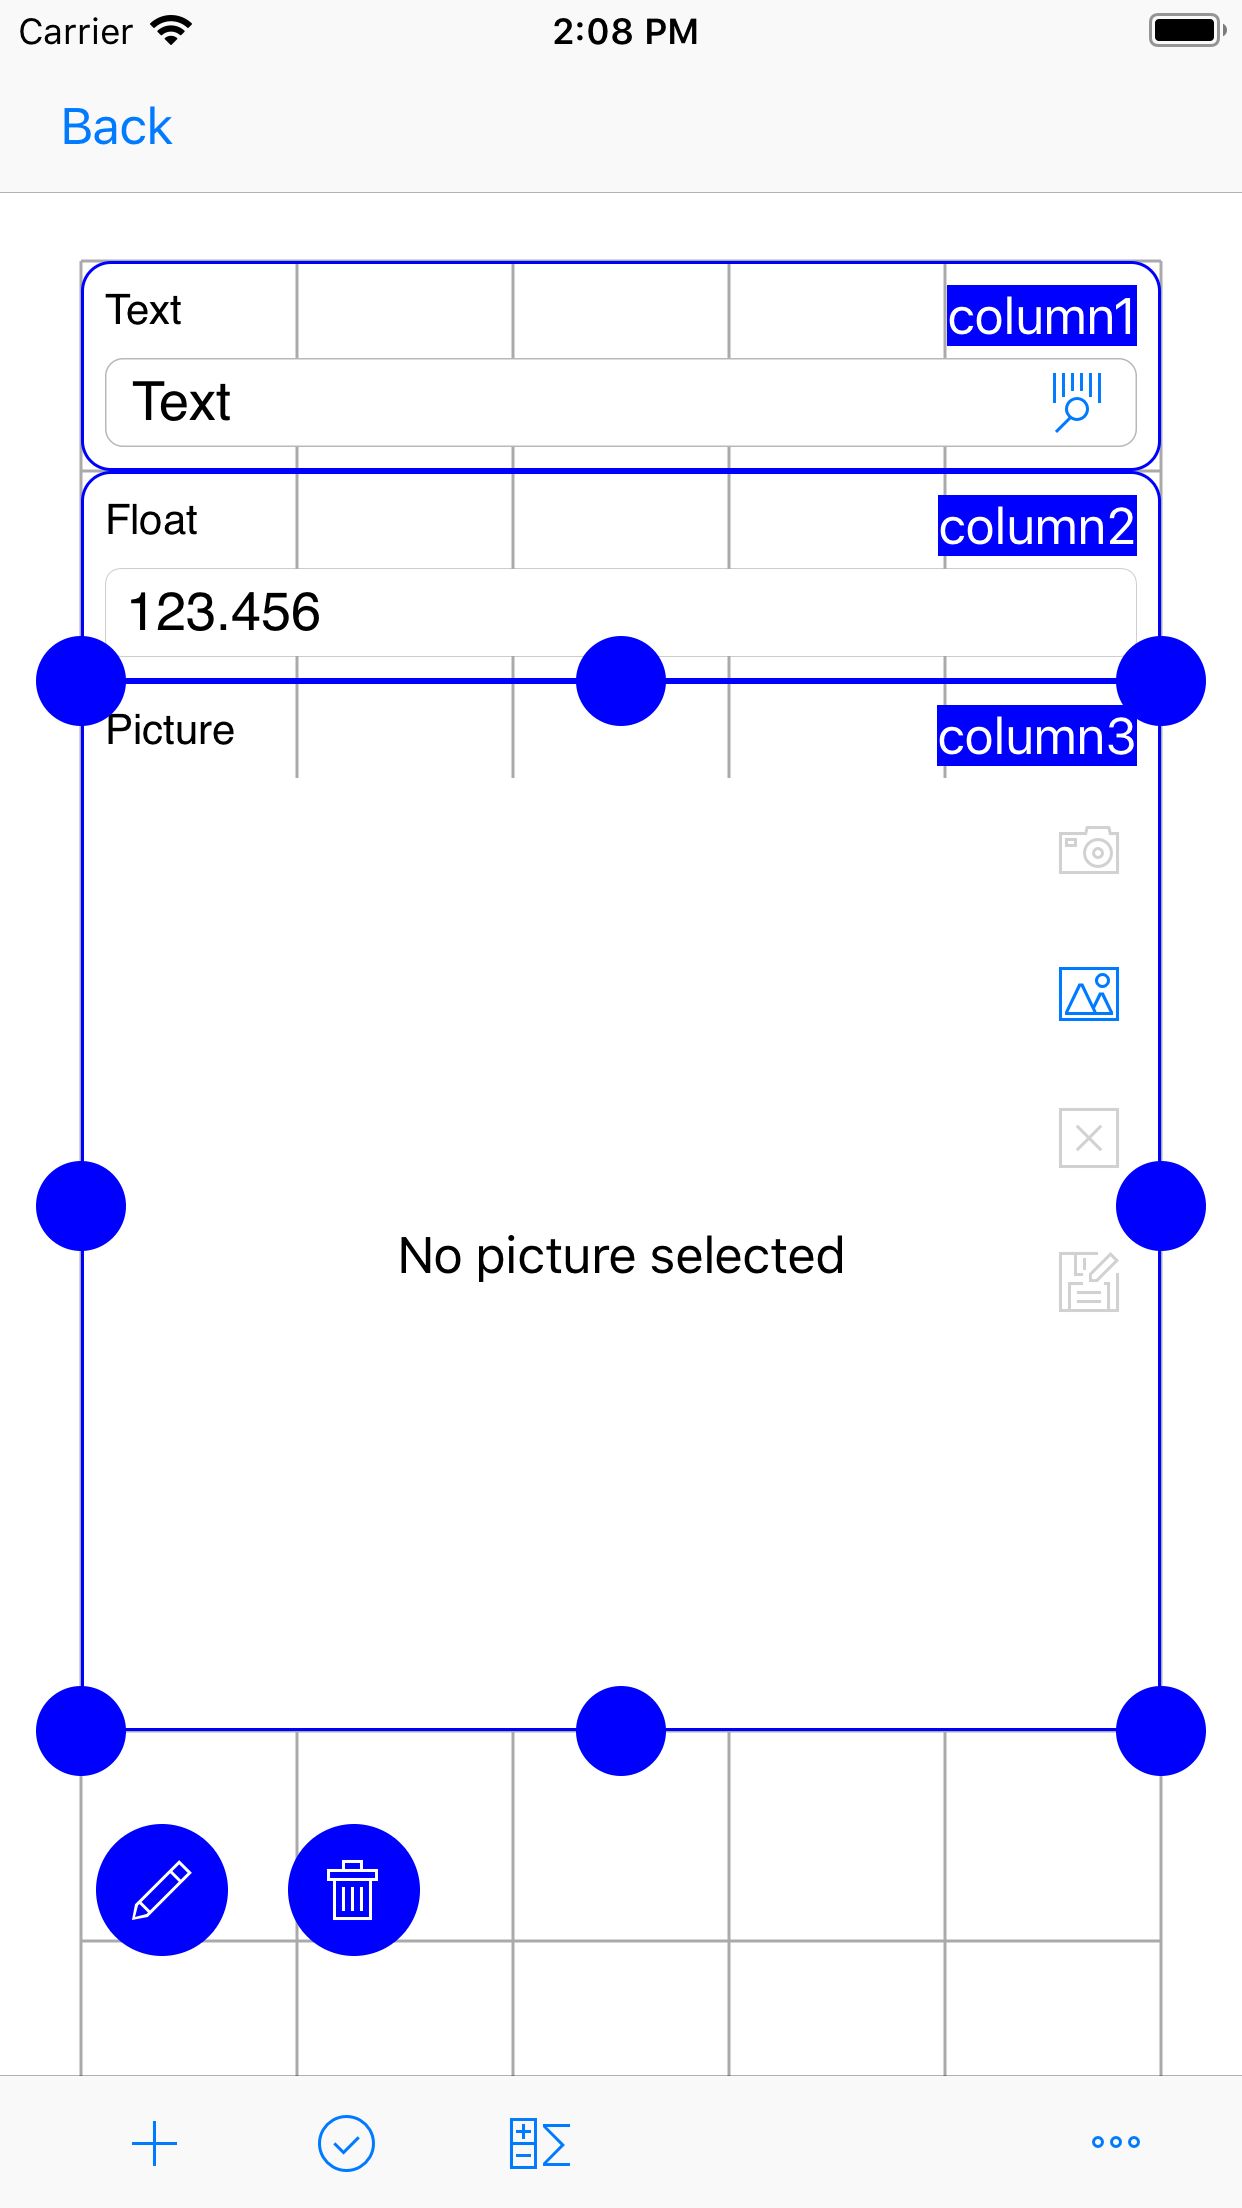
Let's change fields' titles.
In order to do that select element you want to edit and hit Edit button.
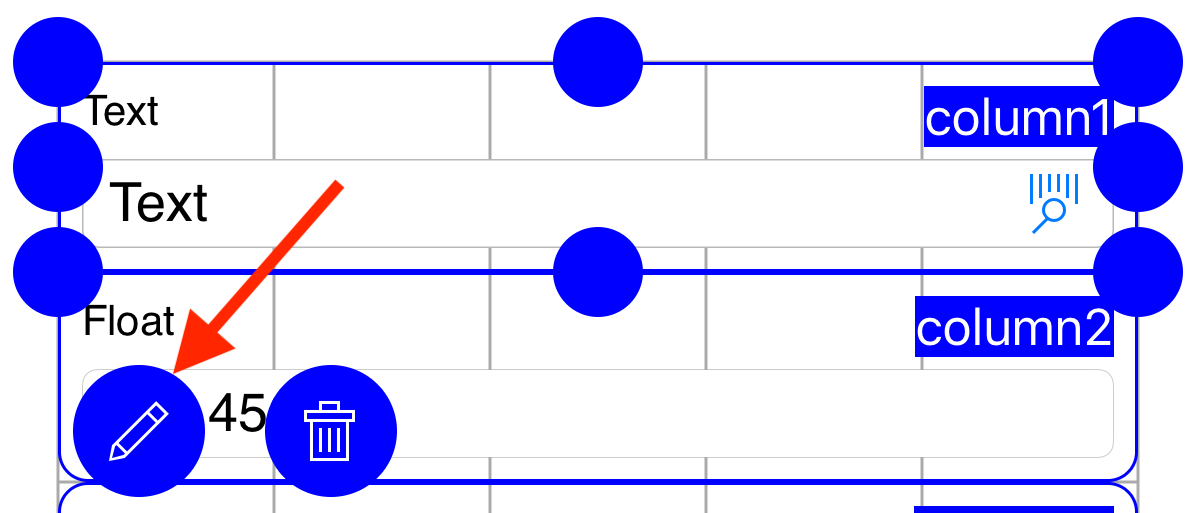
Property editor will appear. Edit properties, in particular Caption property and hit Save button.
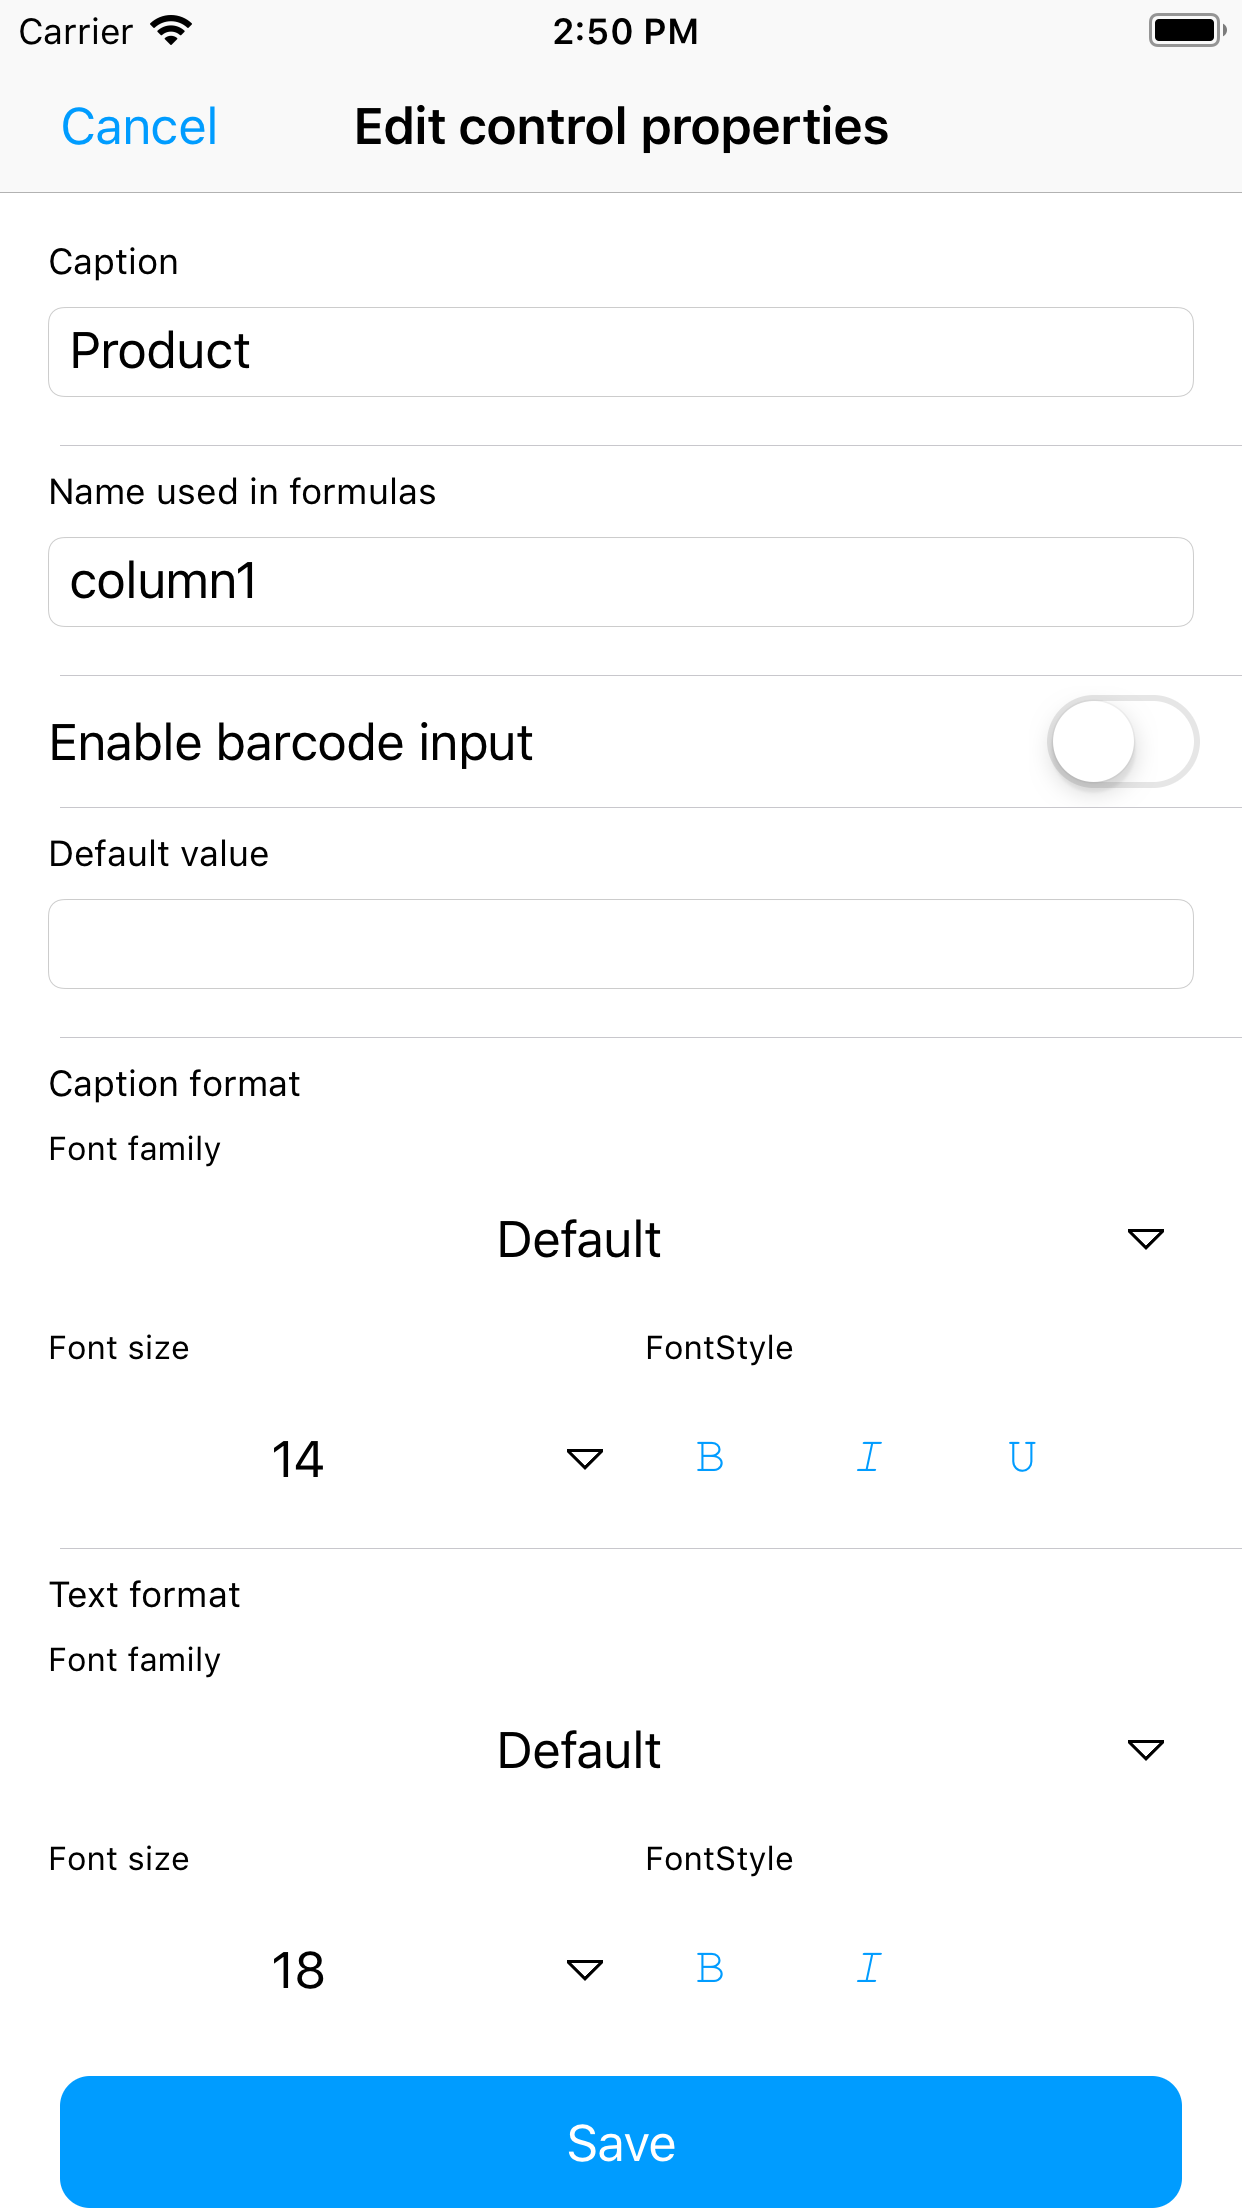
Edit the rest of the fields in the similar manner.
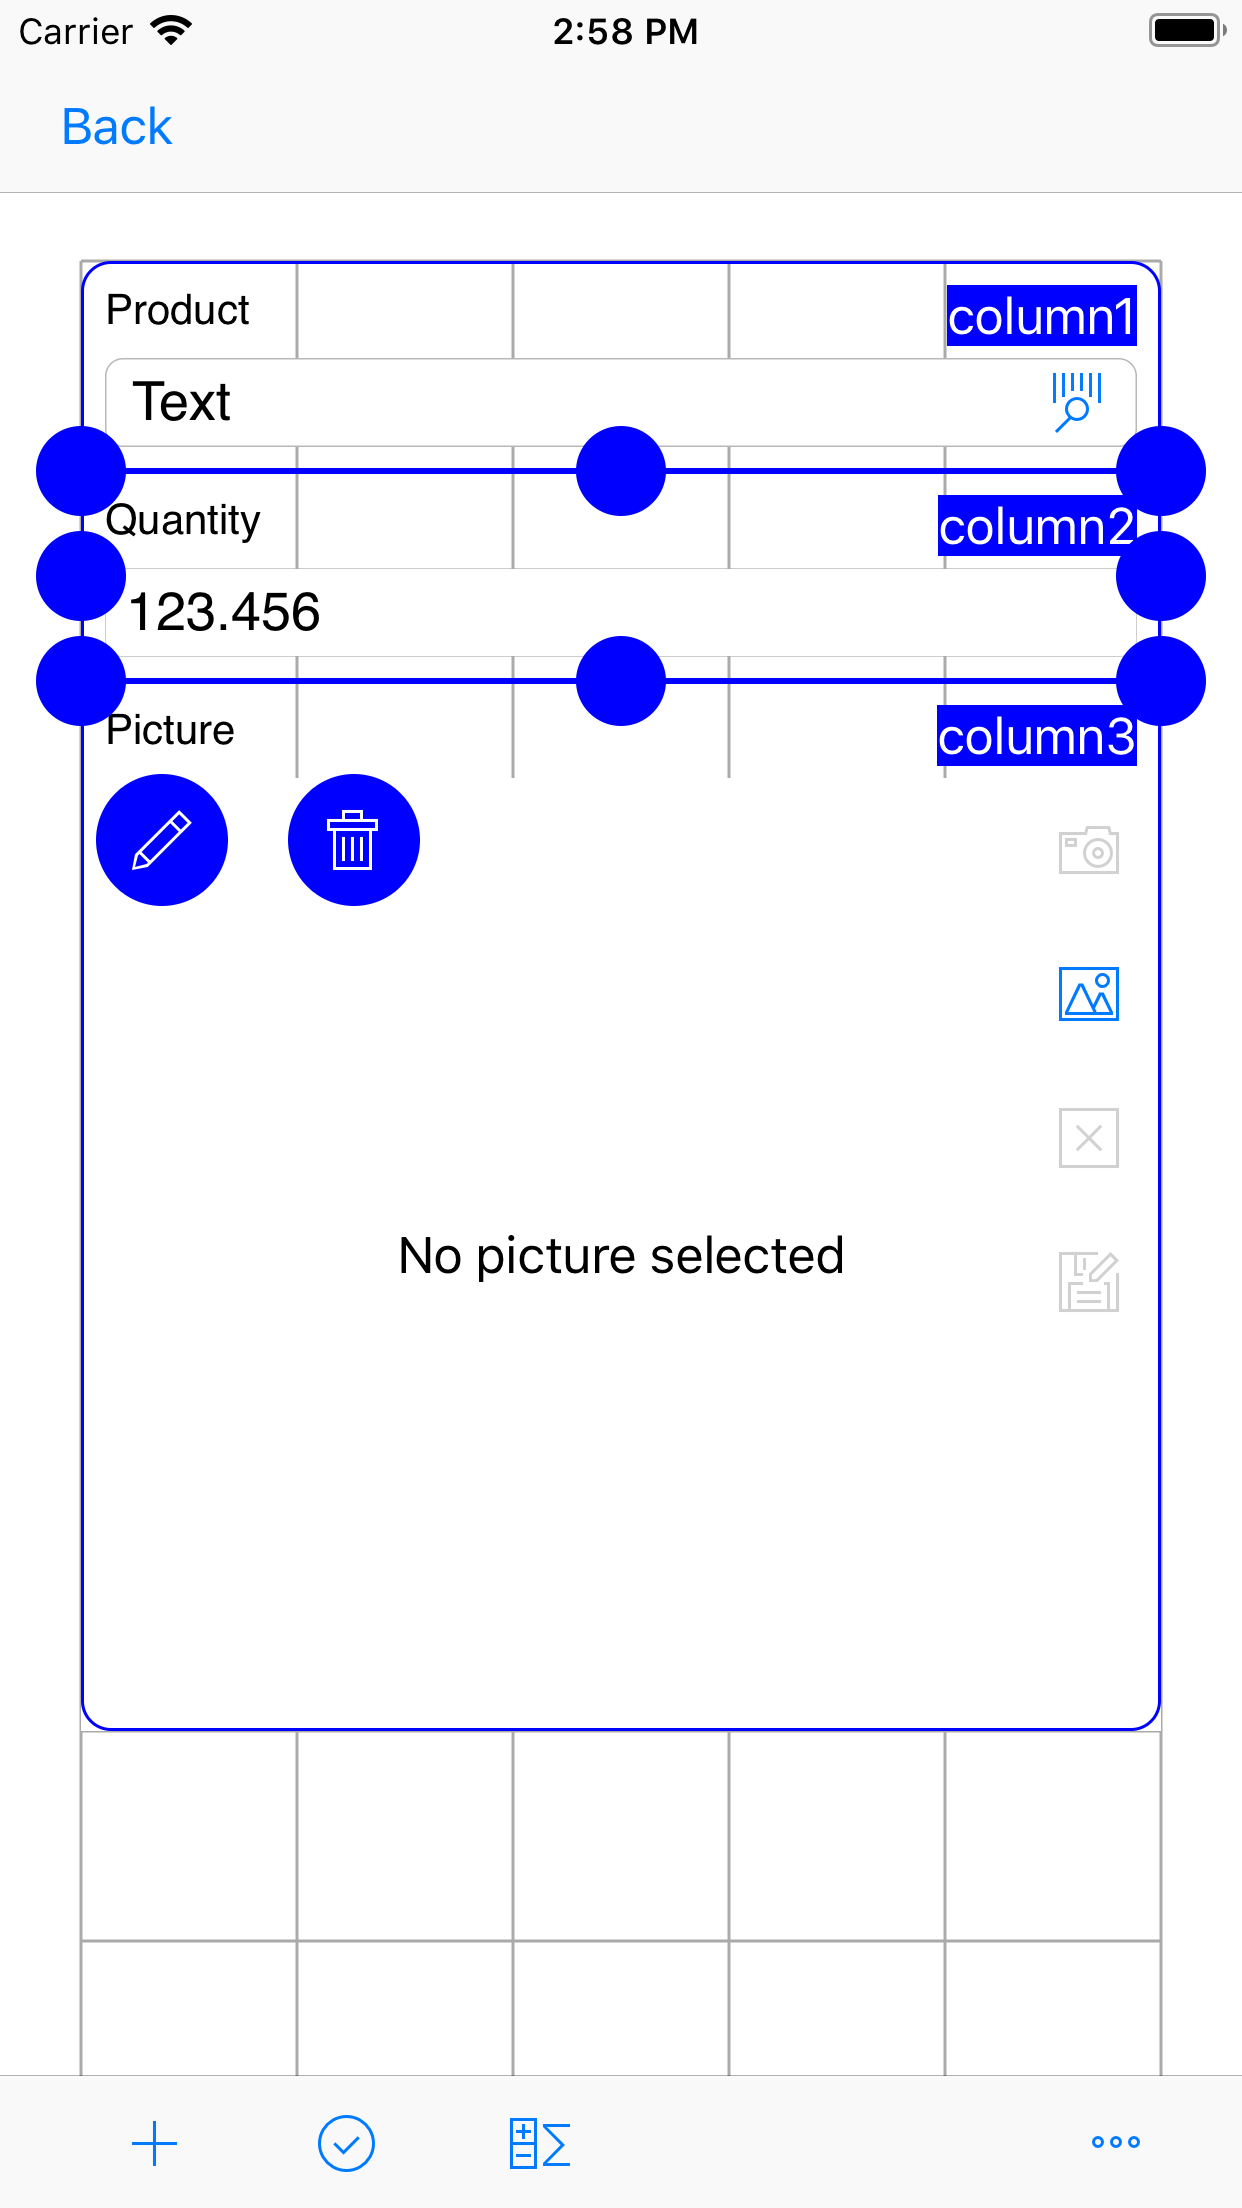
Hit apply  button to save form.
Step 4. Editing data
You will see Data editor screen.
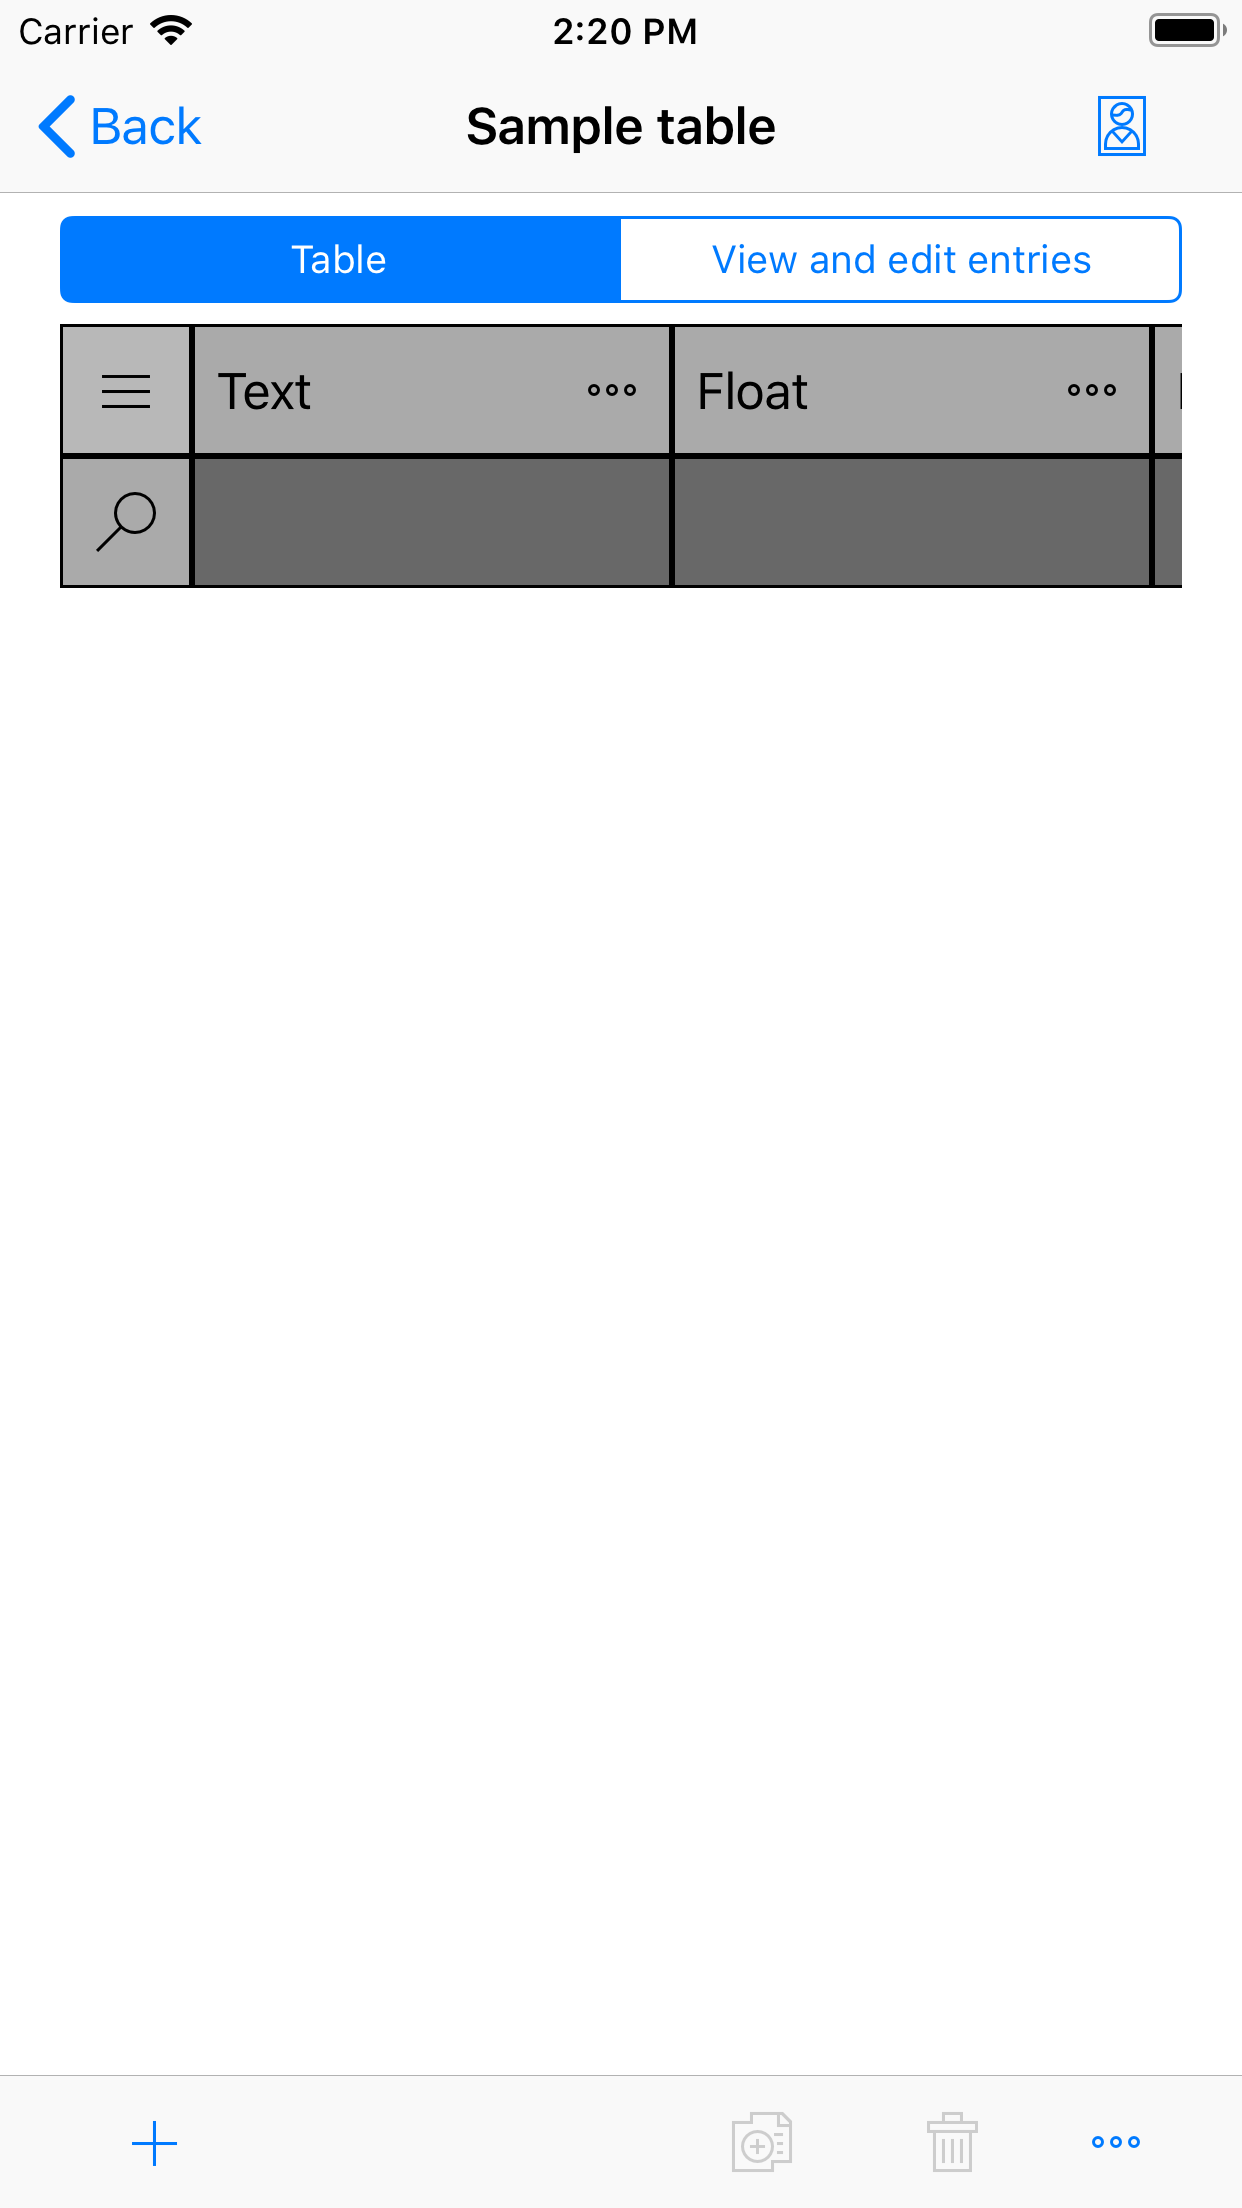
Hit plus  button to add new row to the table.
There are two options to edit data.
When you need to modify one particular cell it's possible to edit value in the table directly.
Tap on the cell to select cell.
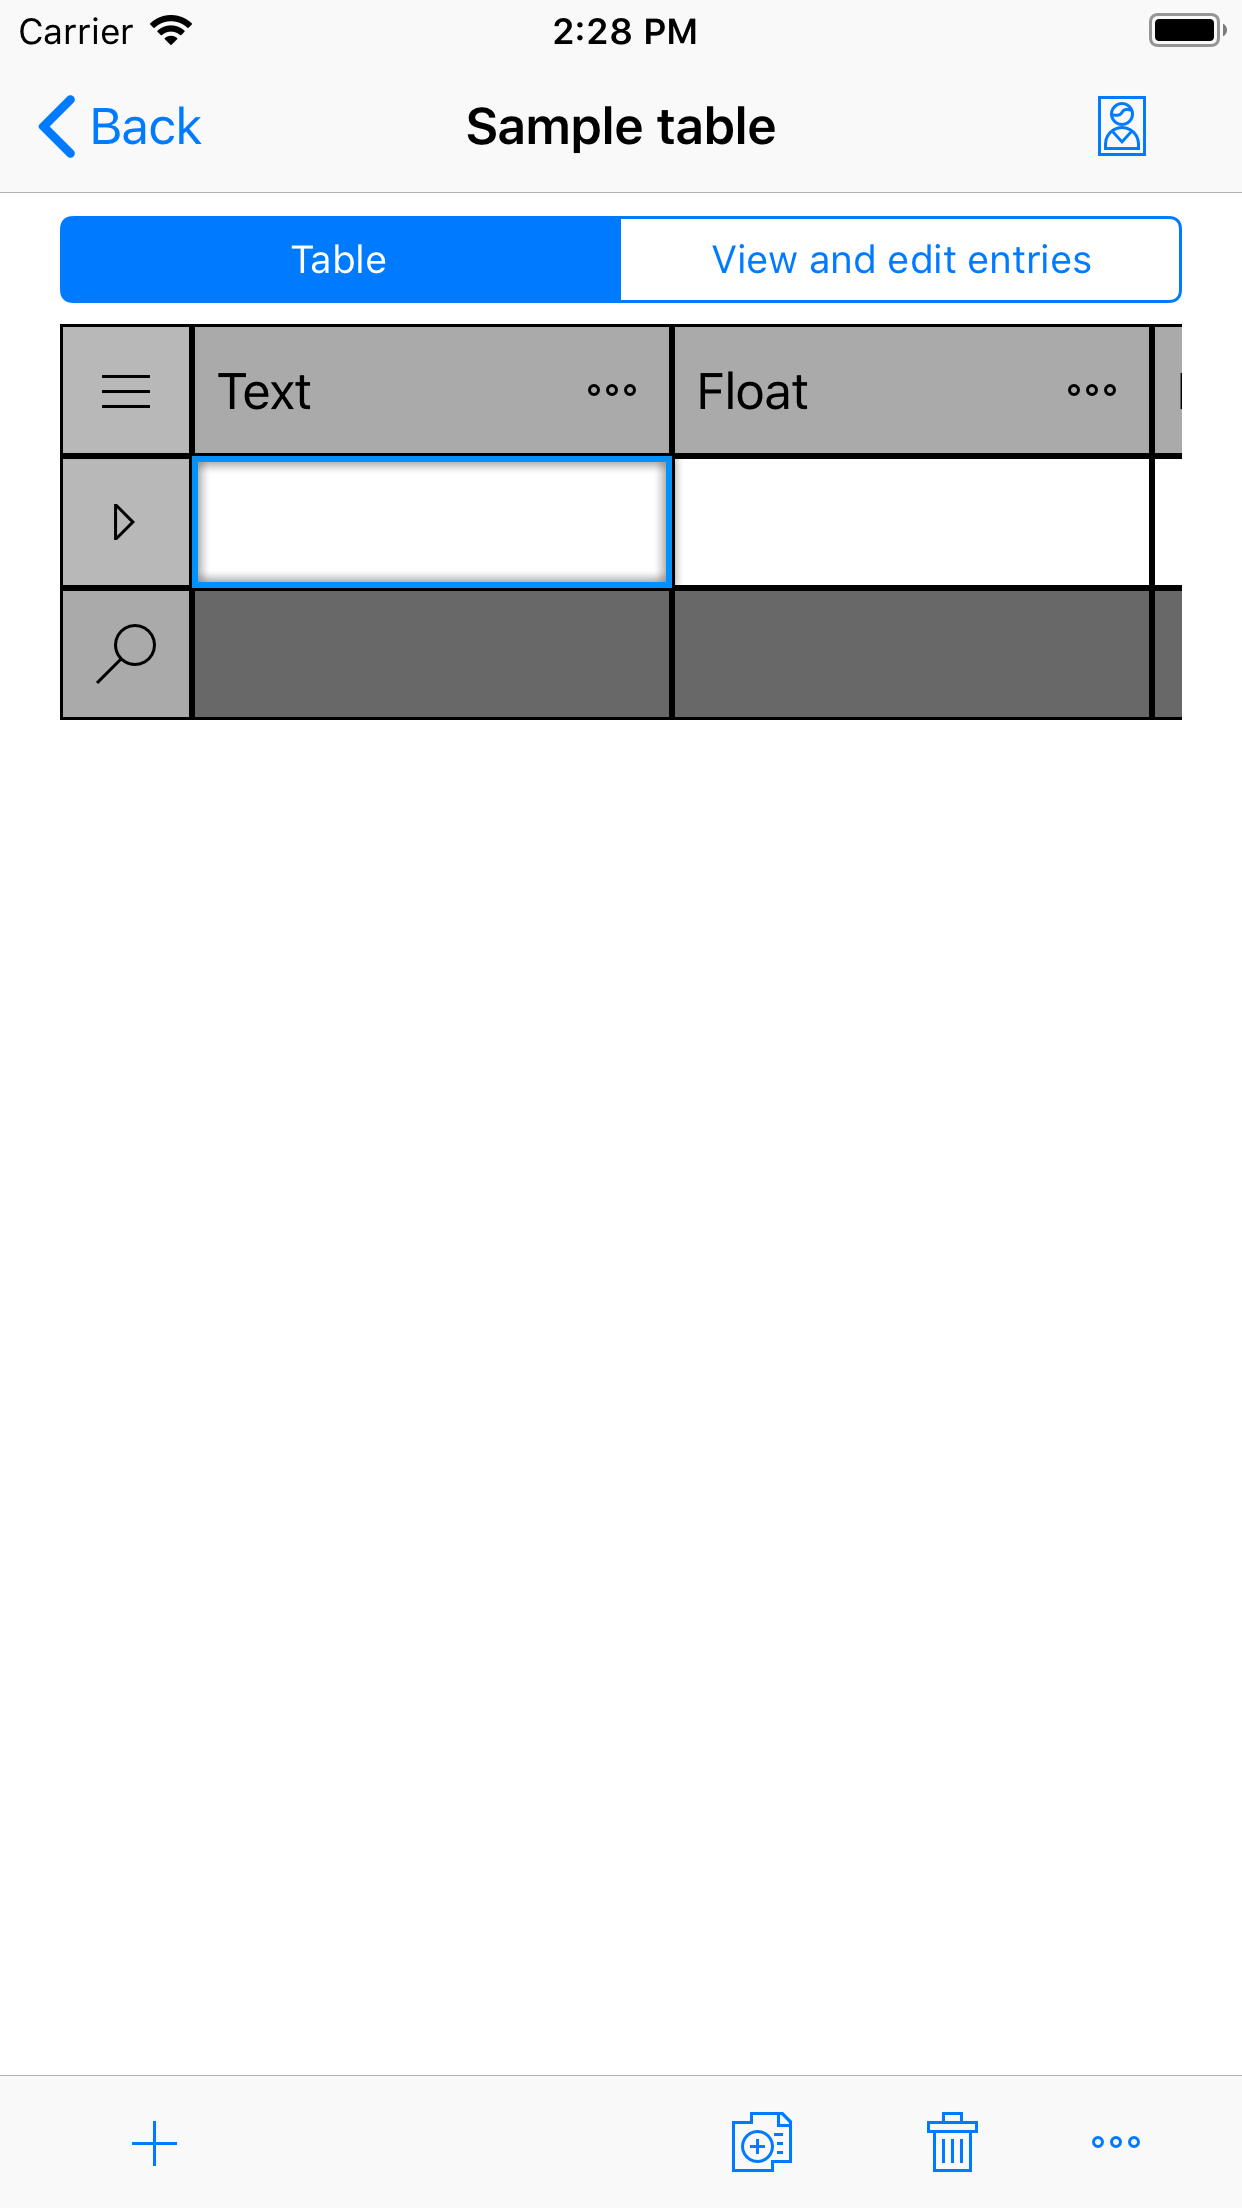
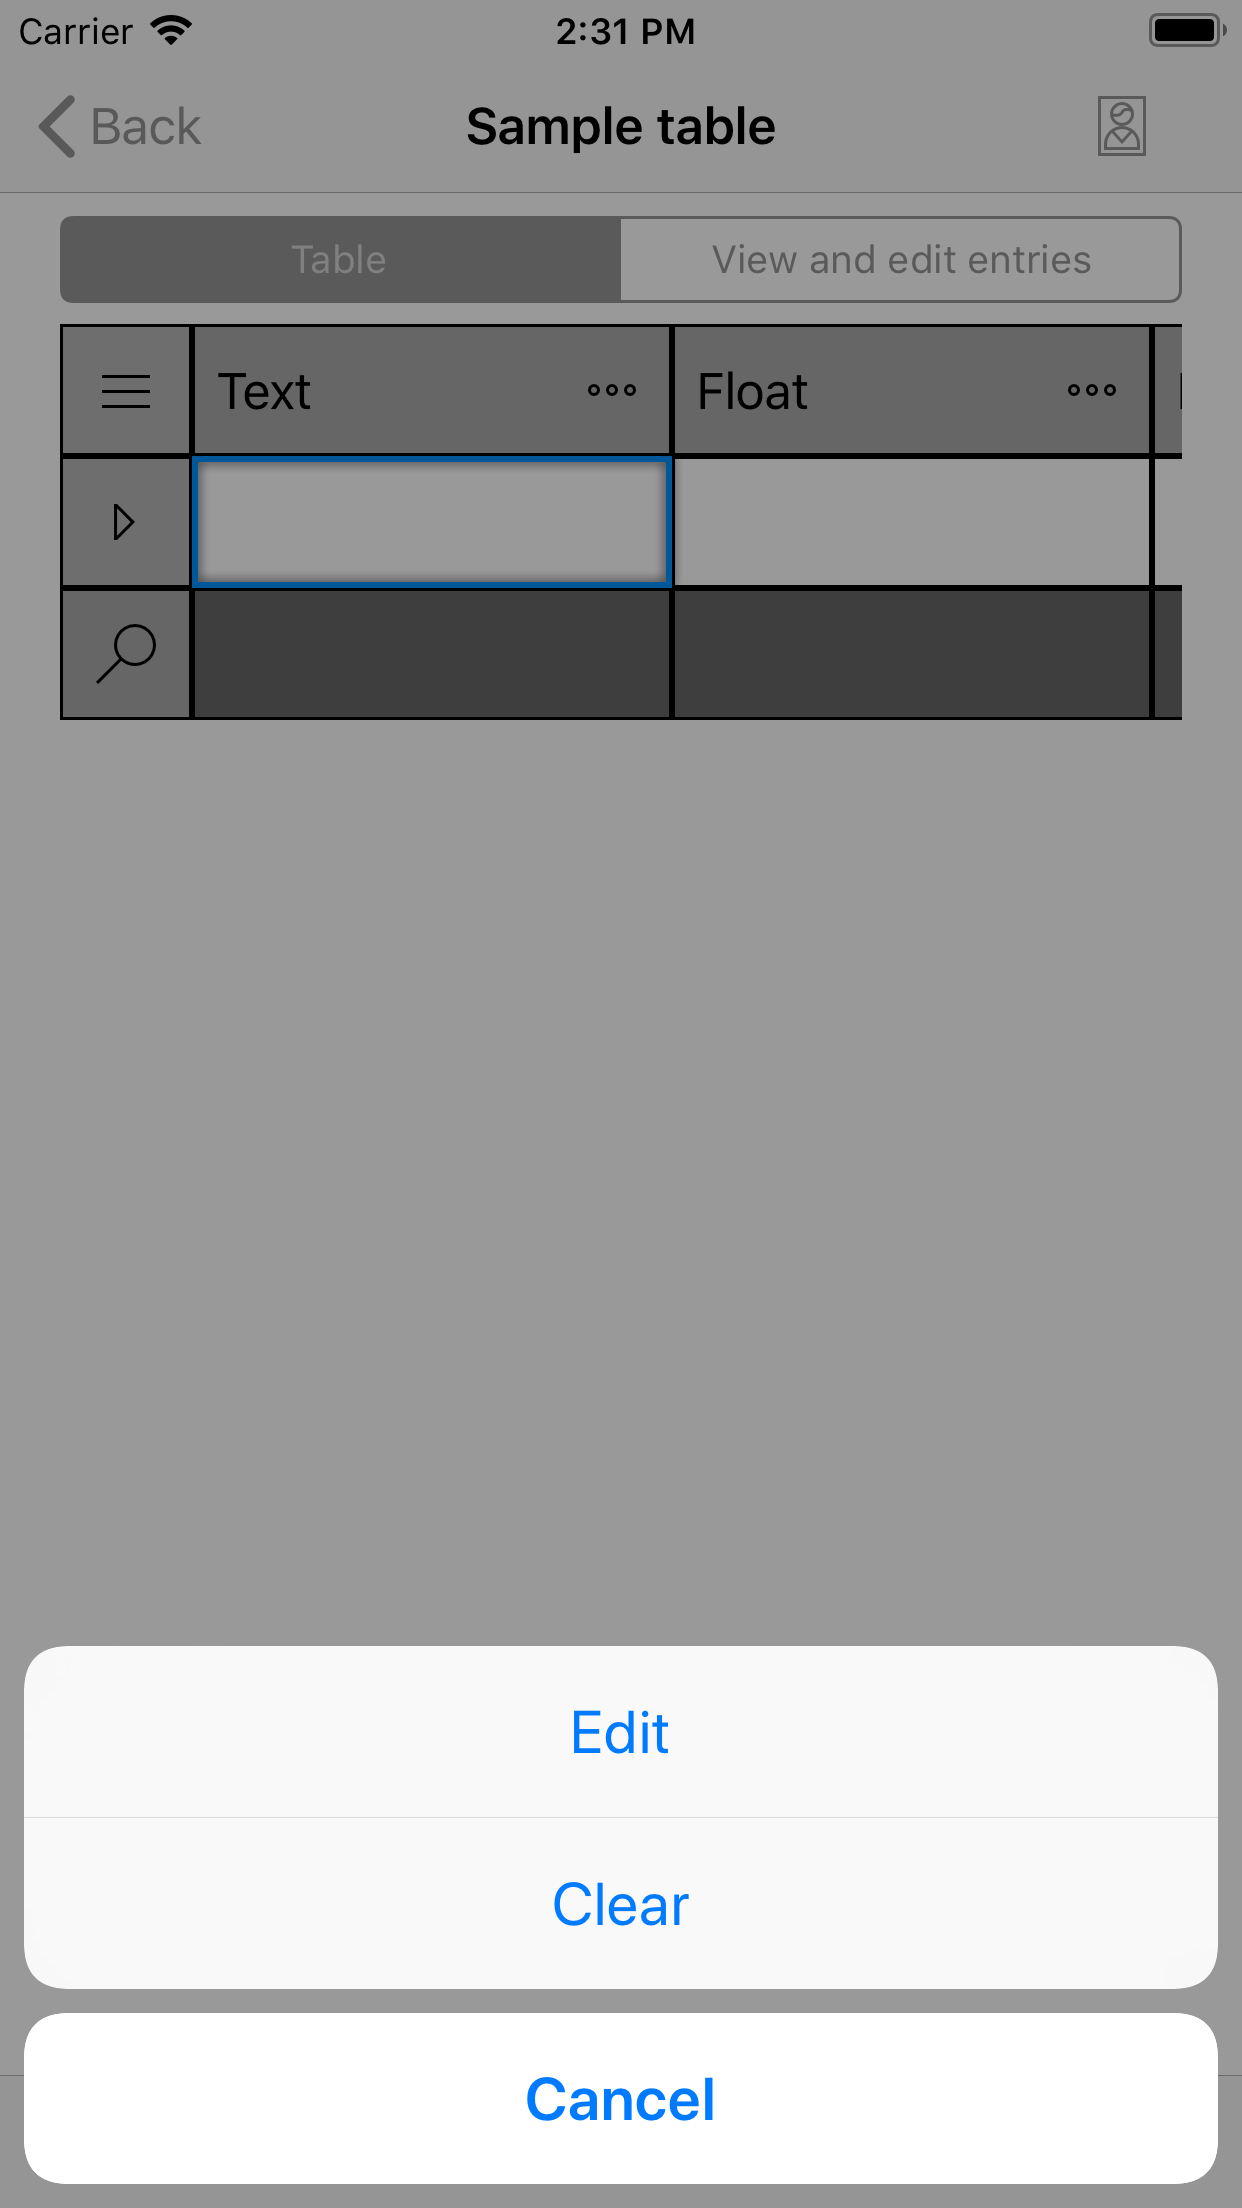
Tap again on the selected field to display menu. Select edit in the menu.
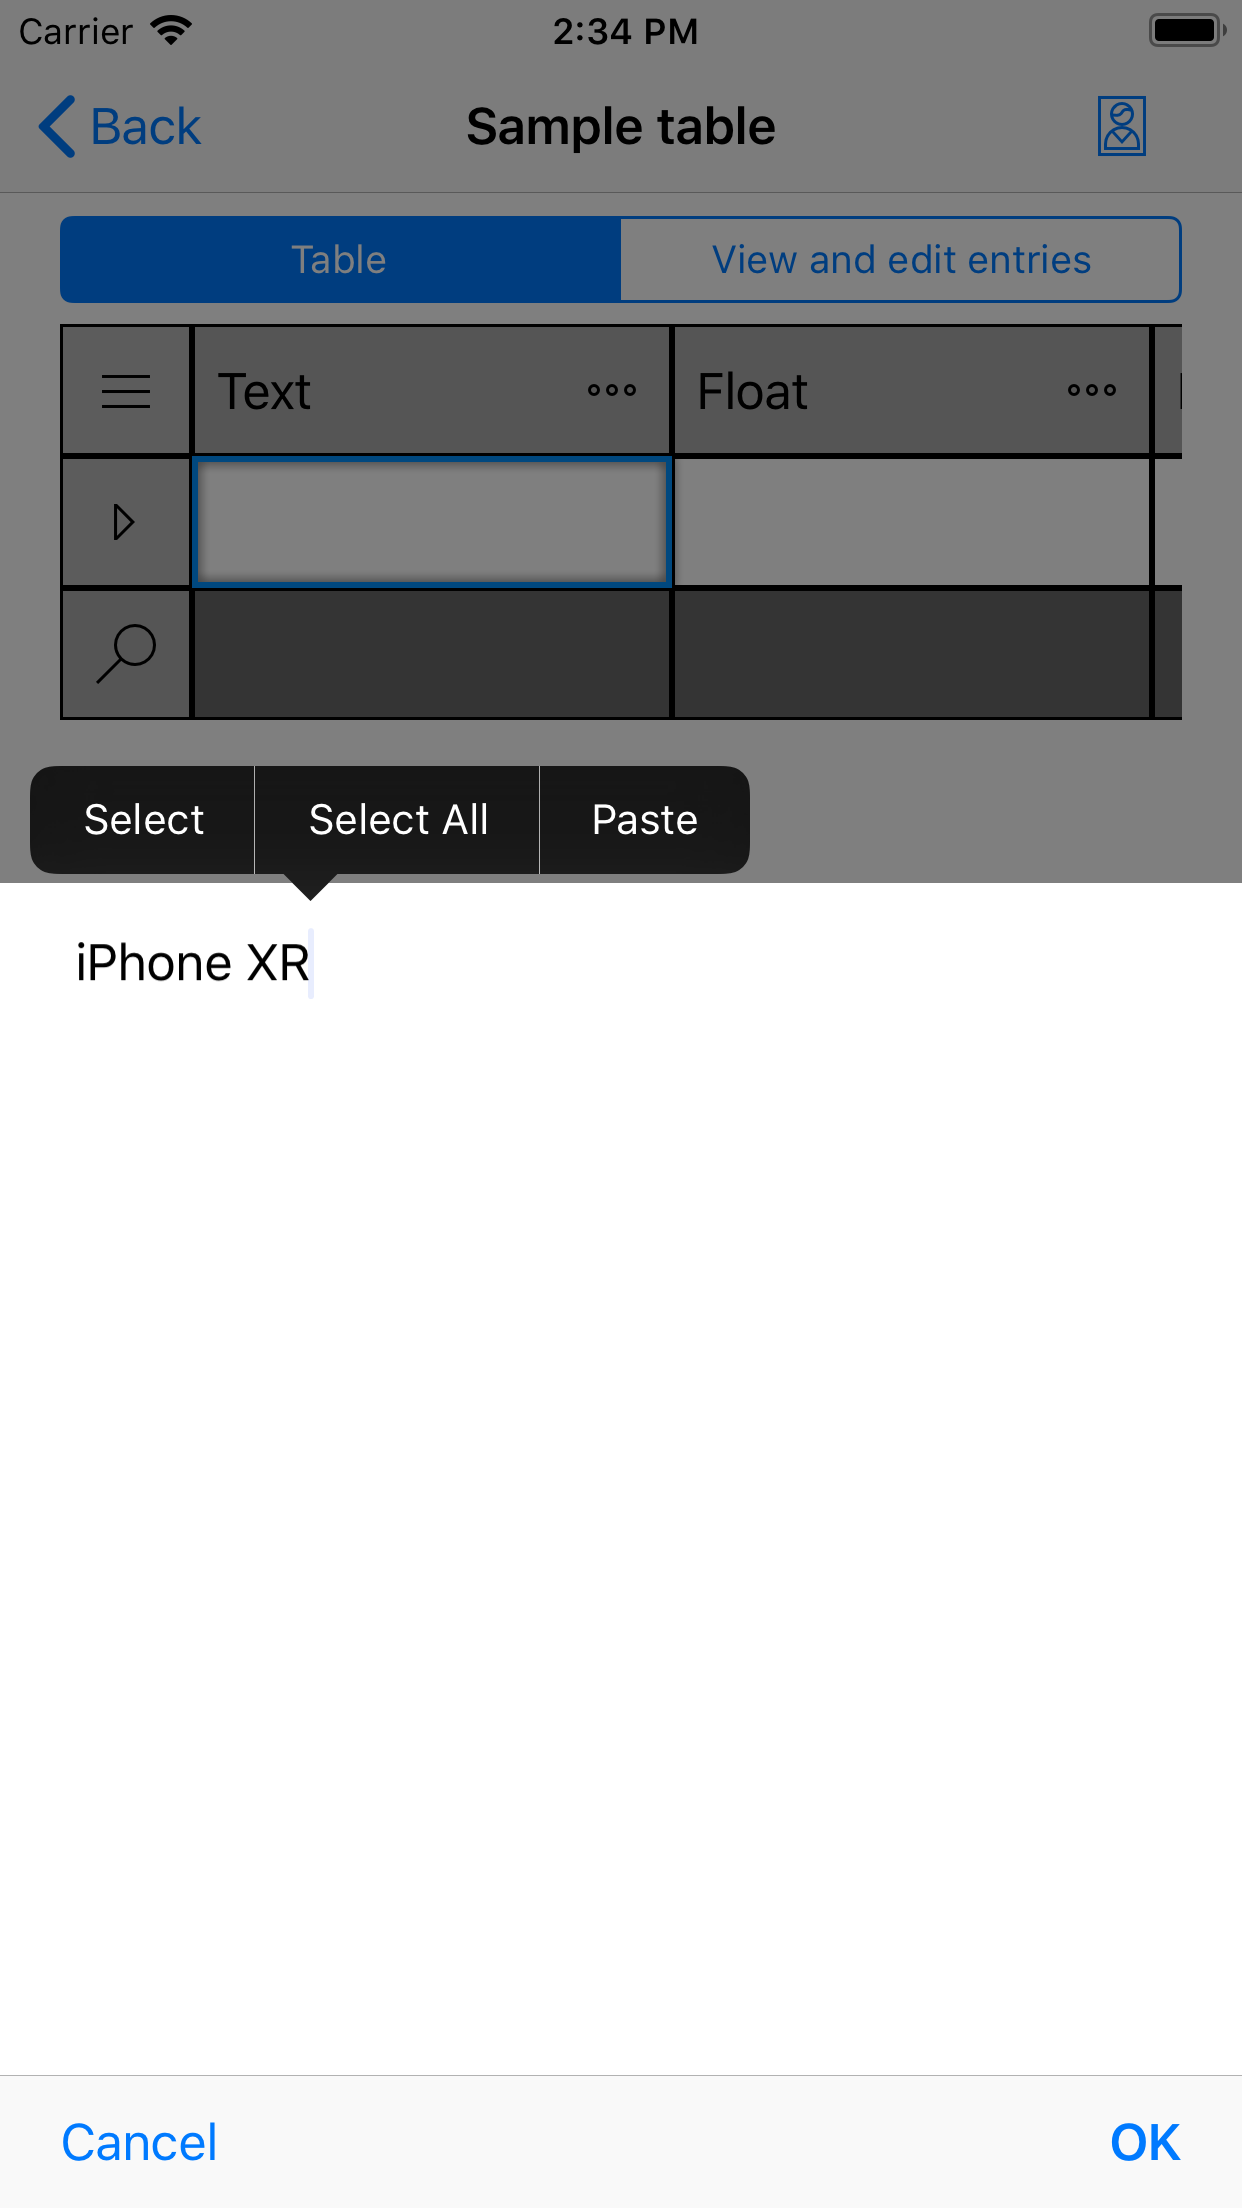
Edit data and hit OK to save data to selected cell.
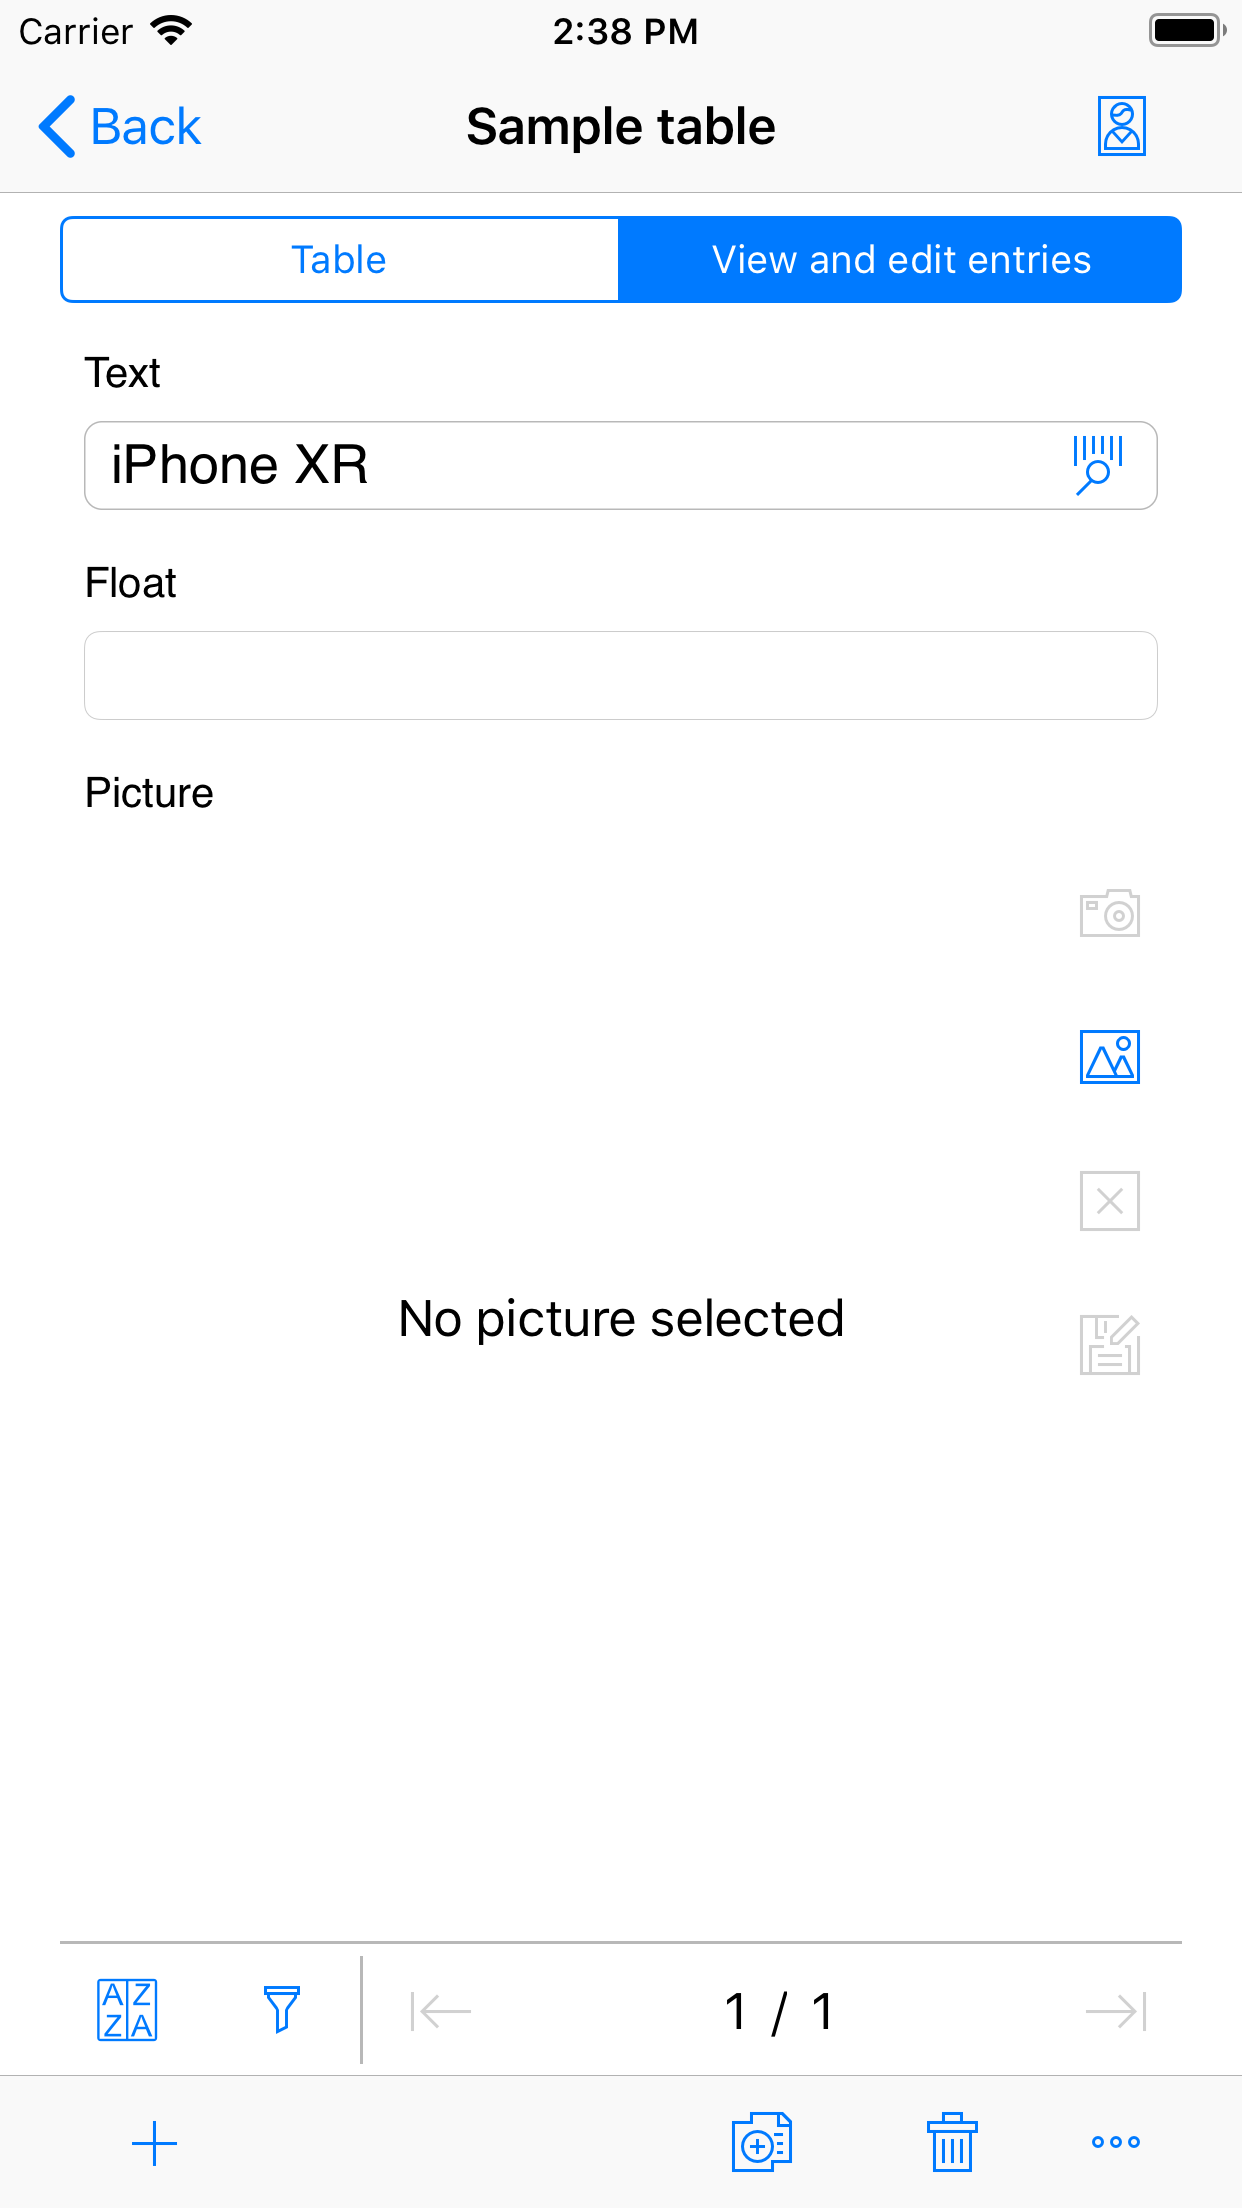
If you need to enter lots of data it's better to switch to View and edit entries mode.

Use swipe gesture to flip records.
Android
Step 1. Creating database
To create a database tap on the Add  icon at the bottom right corner of the databases window and select Create new database option.
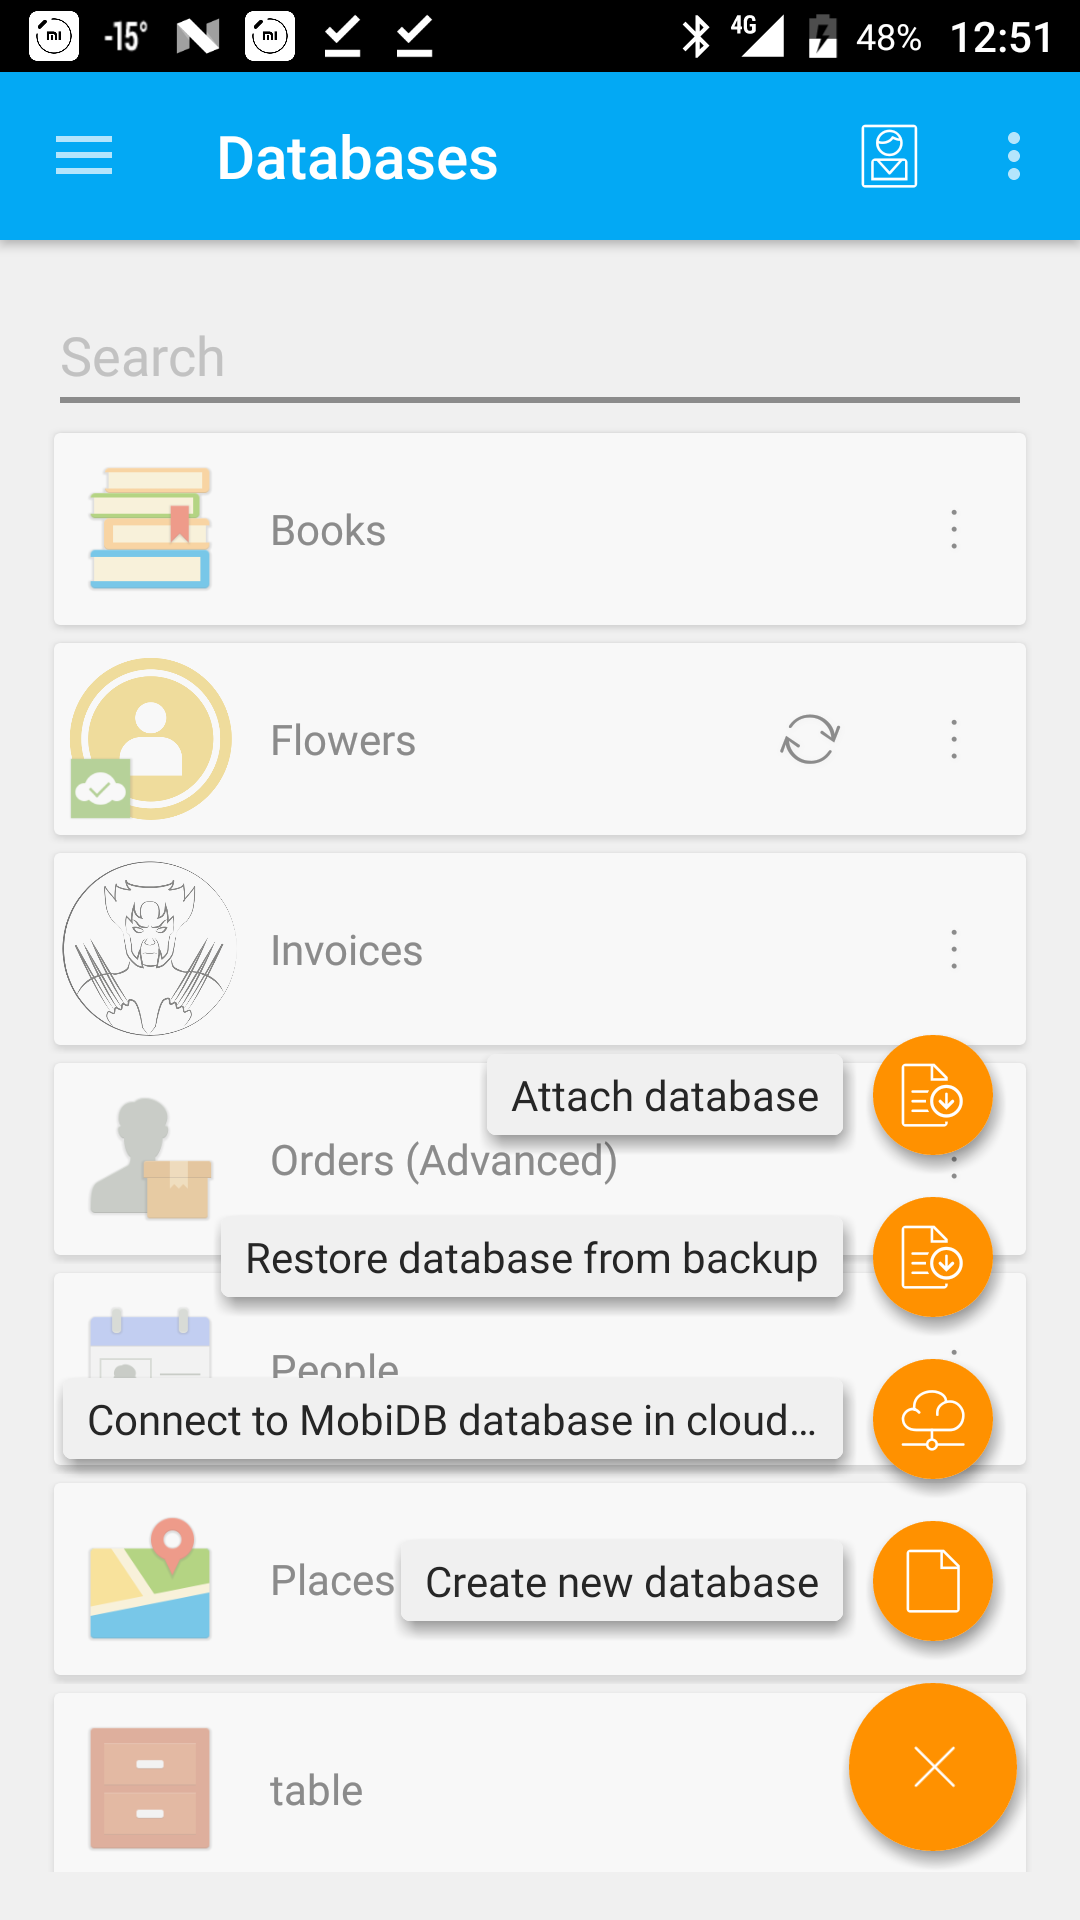
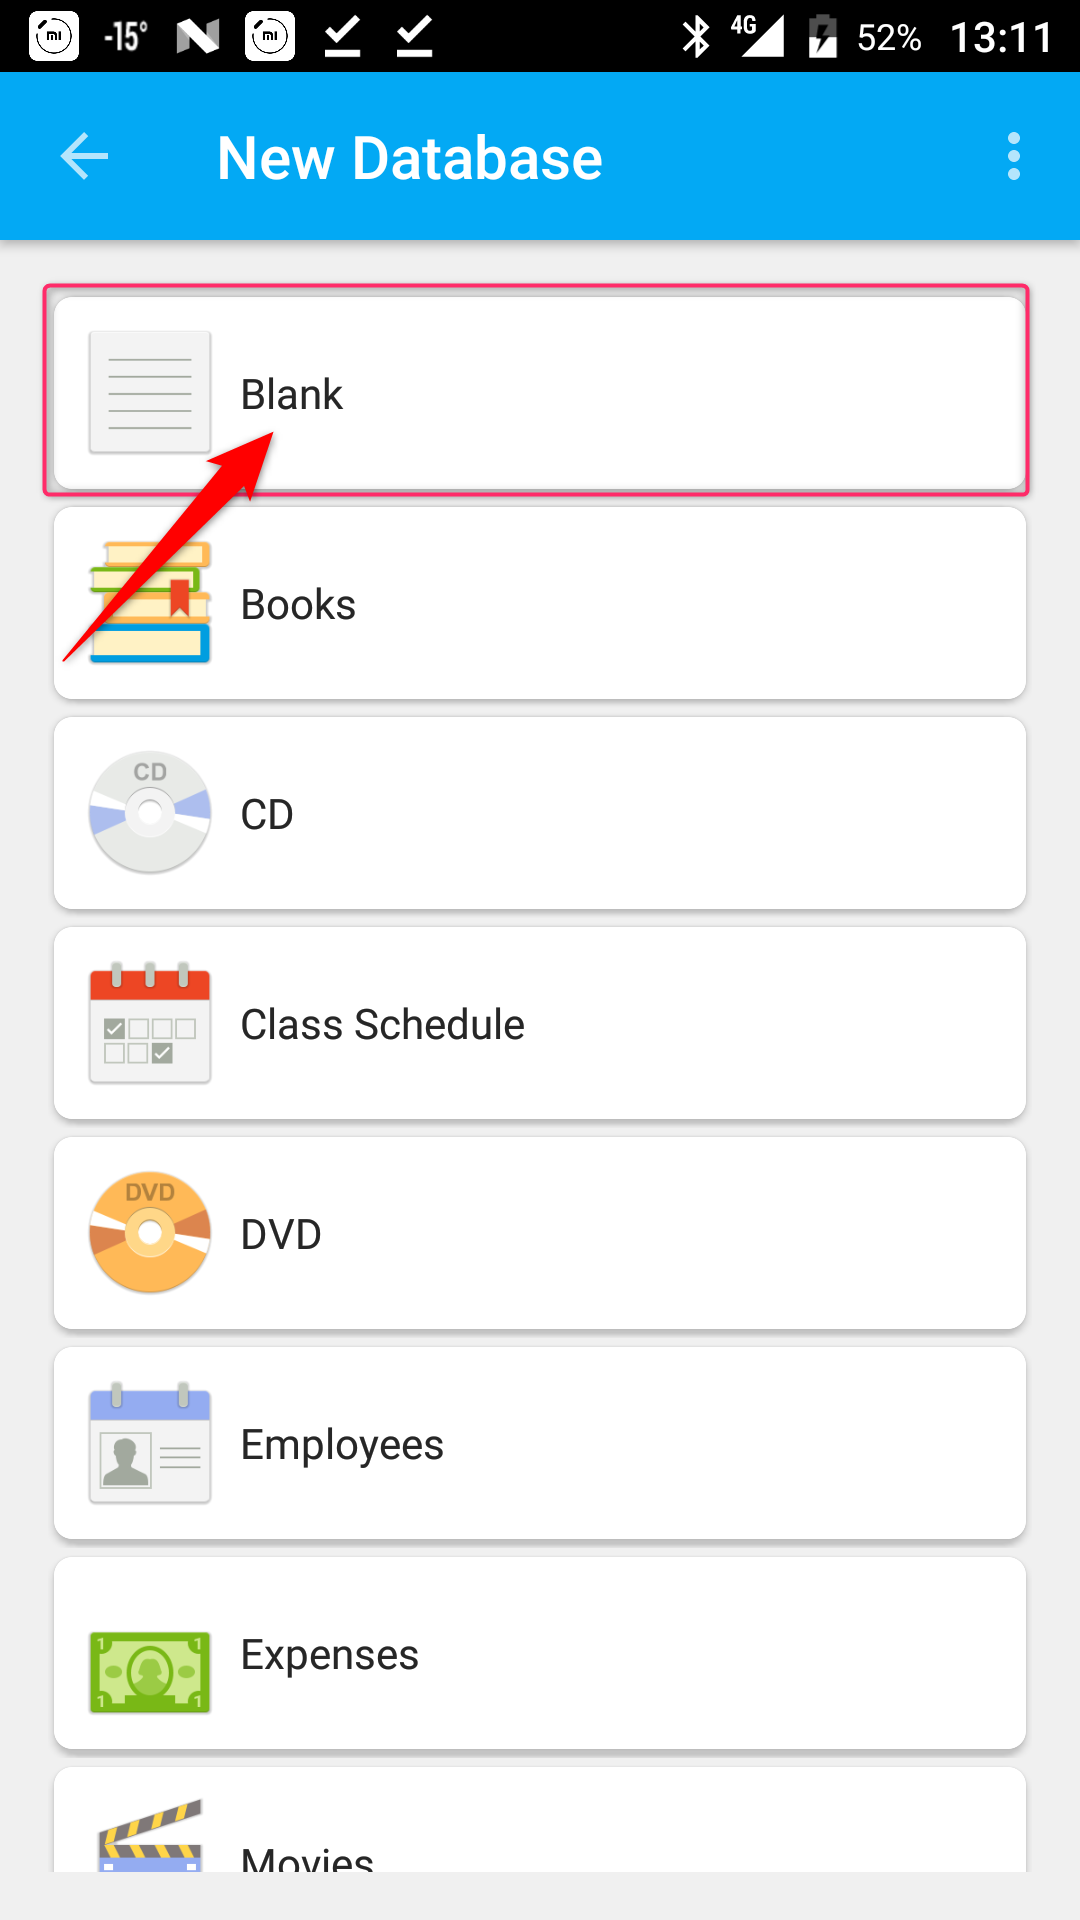
In database selection window tap on the Blank database icon to create an empty database.
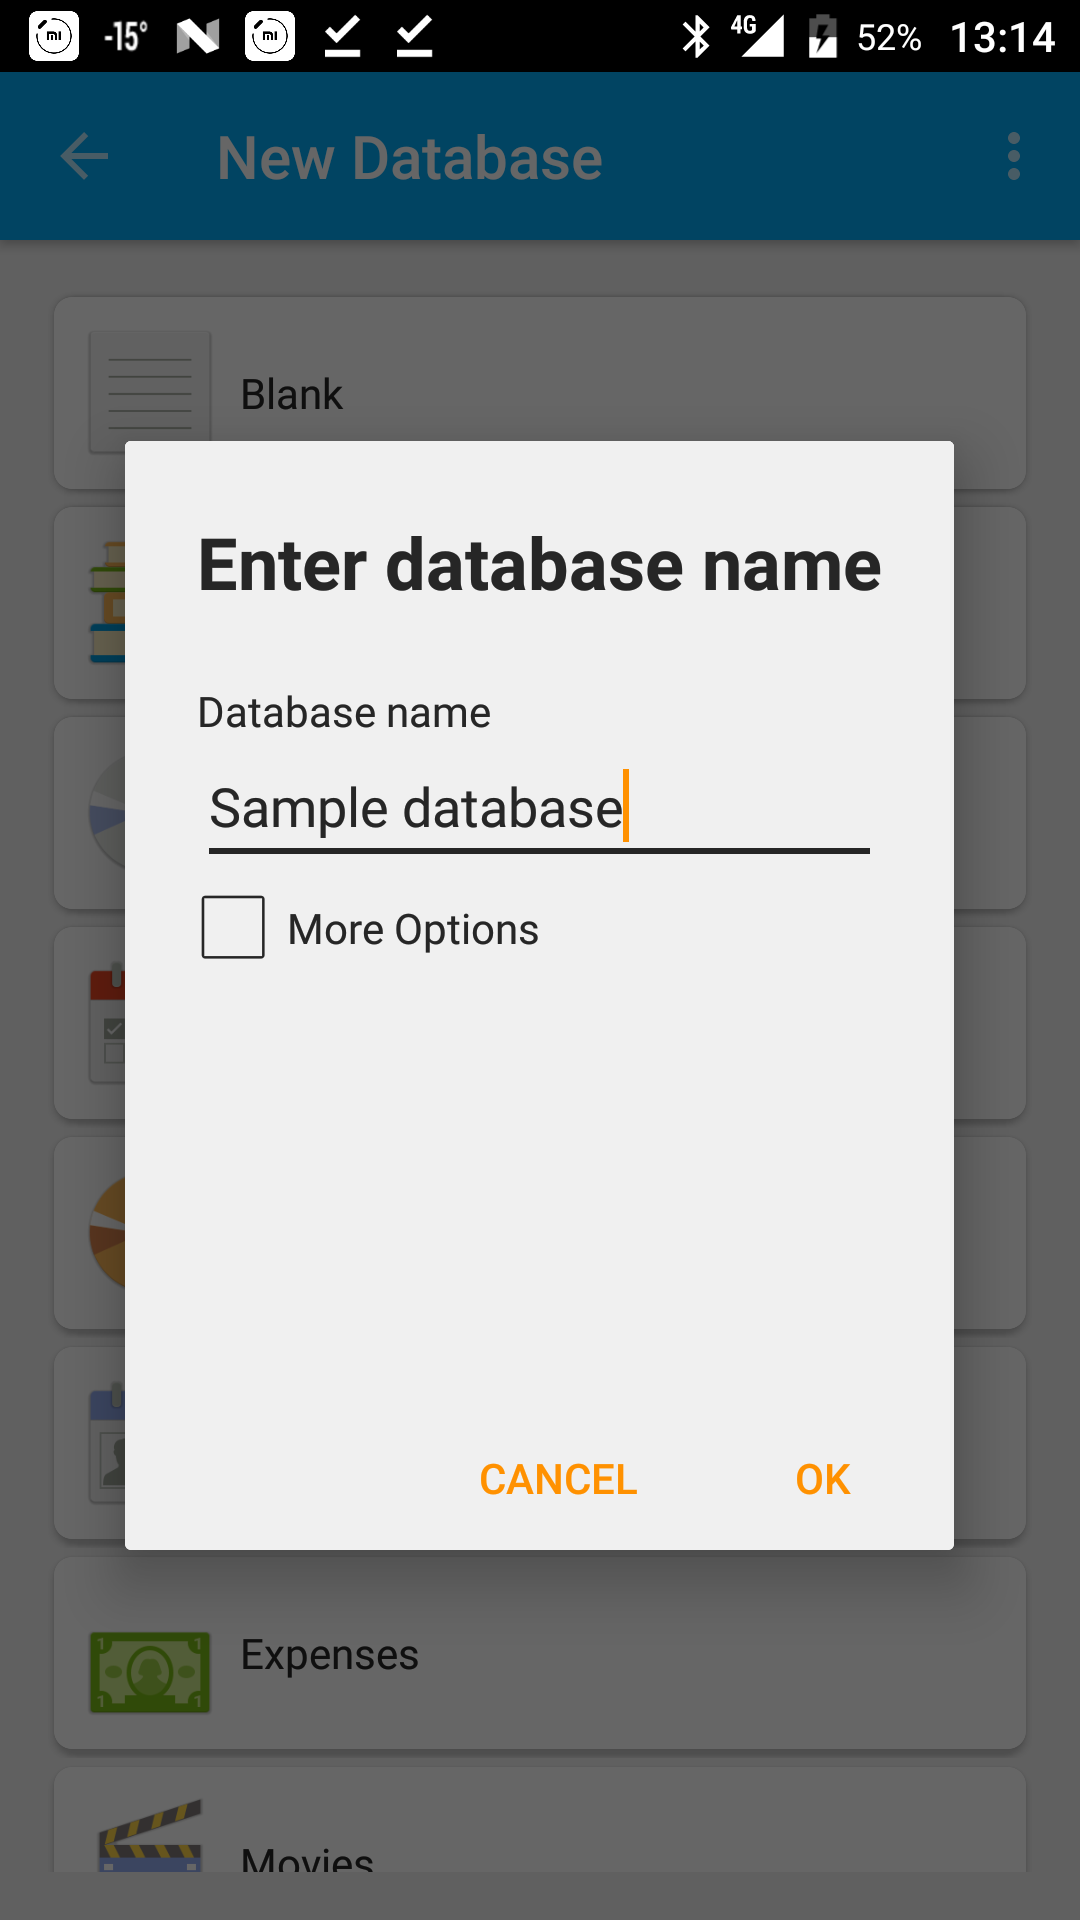
Set your Database name and click OK.
The new empty database will be created under the default application path.
Step 2. Creating table
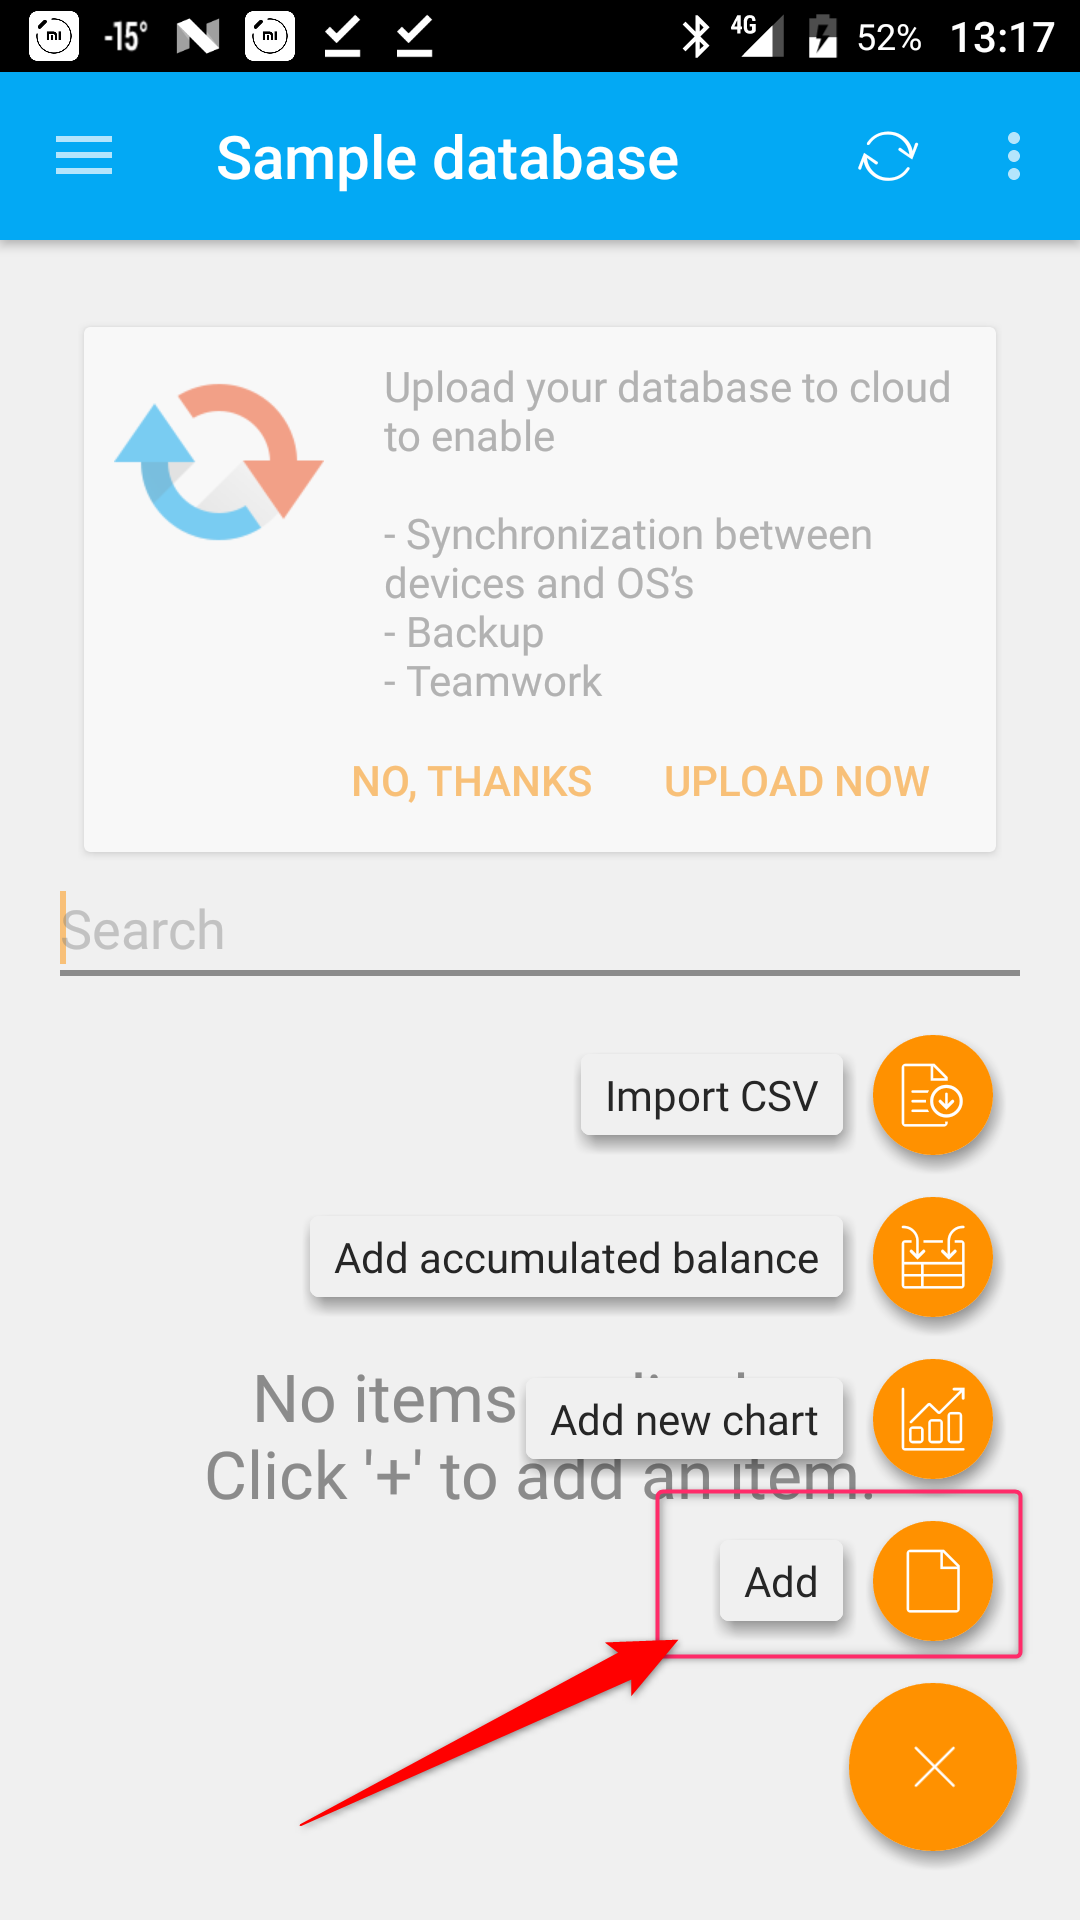
To create a database table, tap on the Add  icon in the bottom right corner of the Sample database window and choose Add options which means add new table.
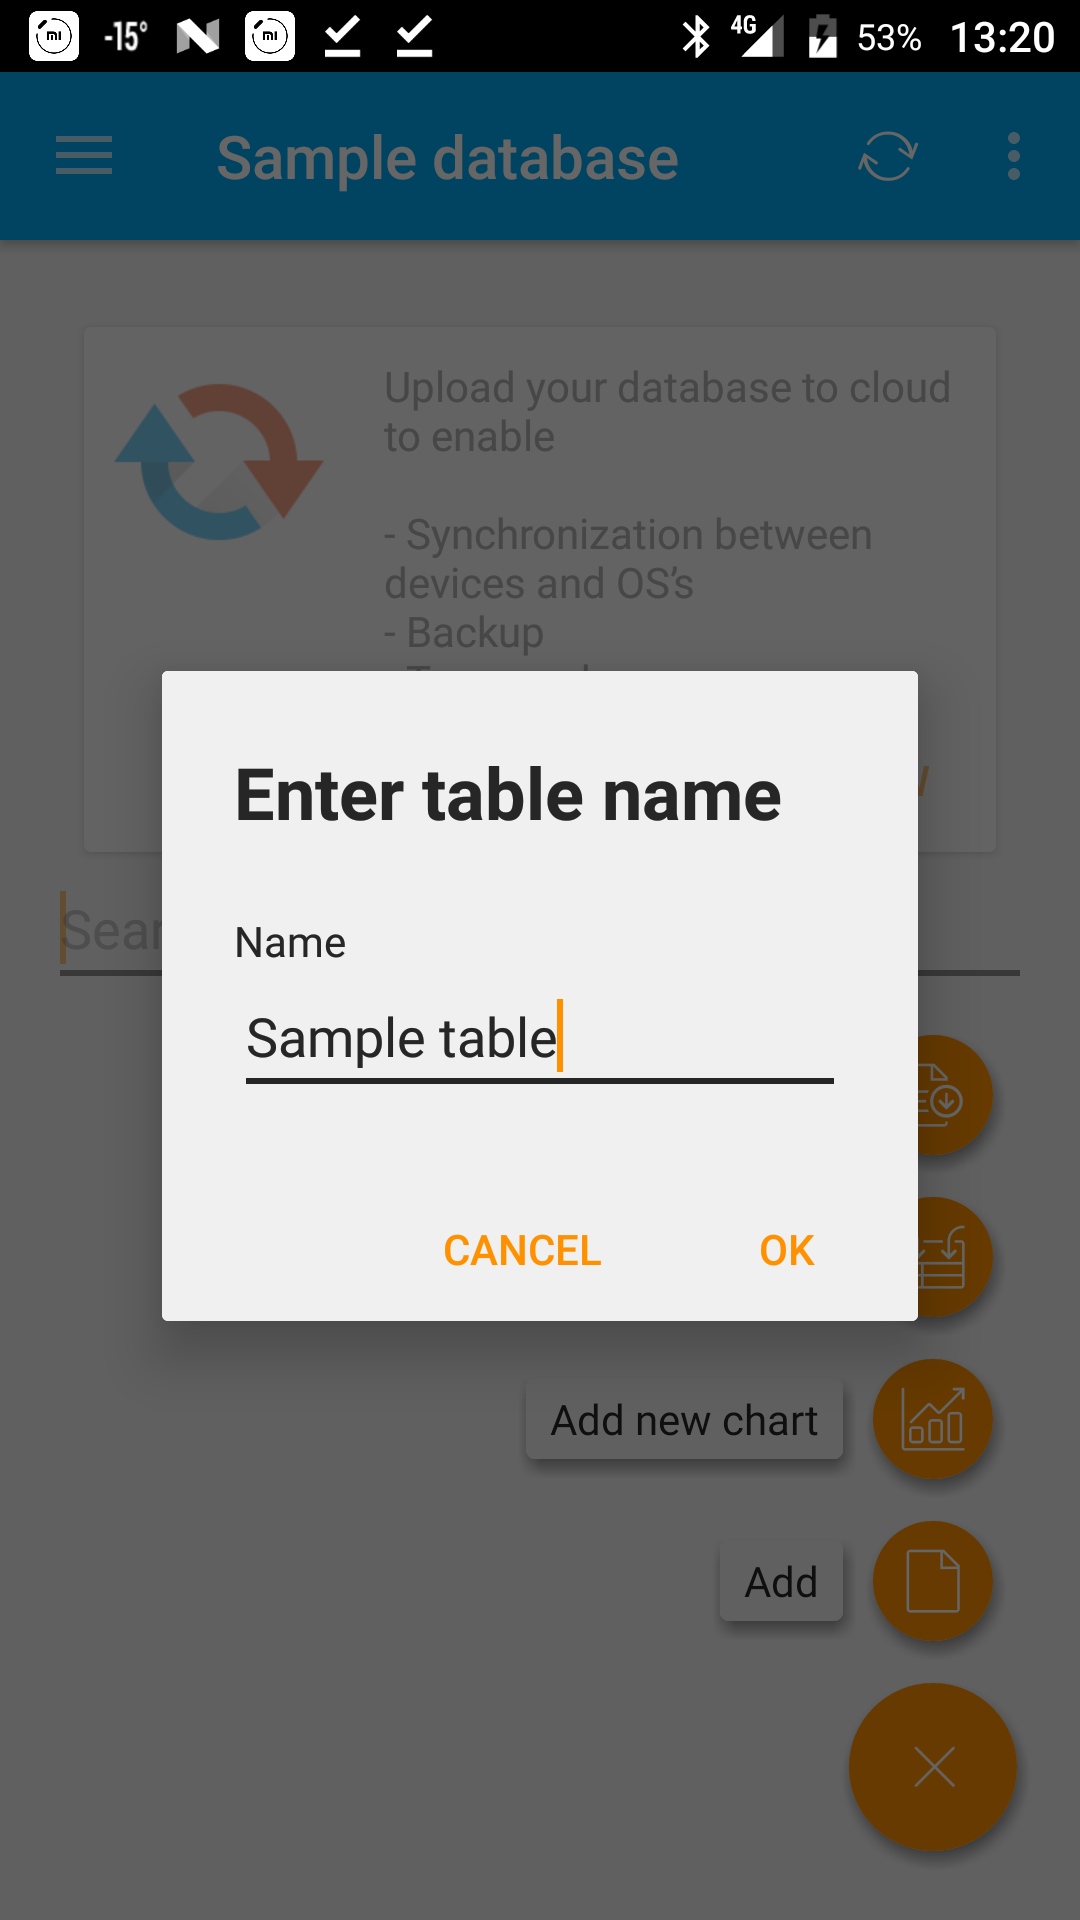
Enter table name and press OK to confirm.
What you see next is the database designer window that is used for creating or modifying a form layout and table columns at the same time.
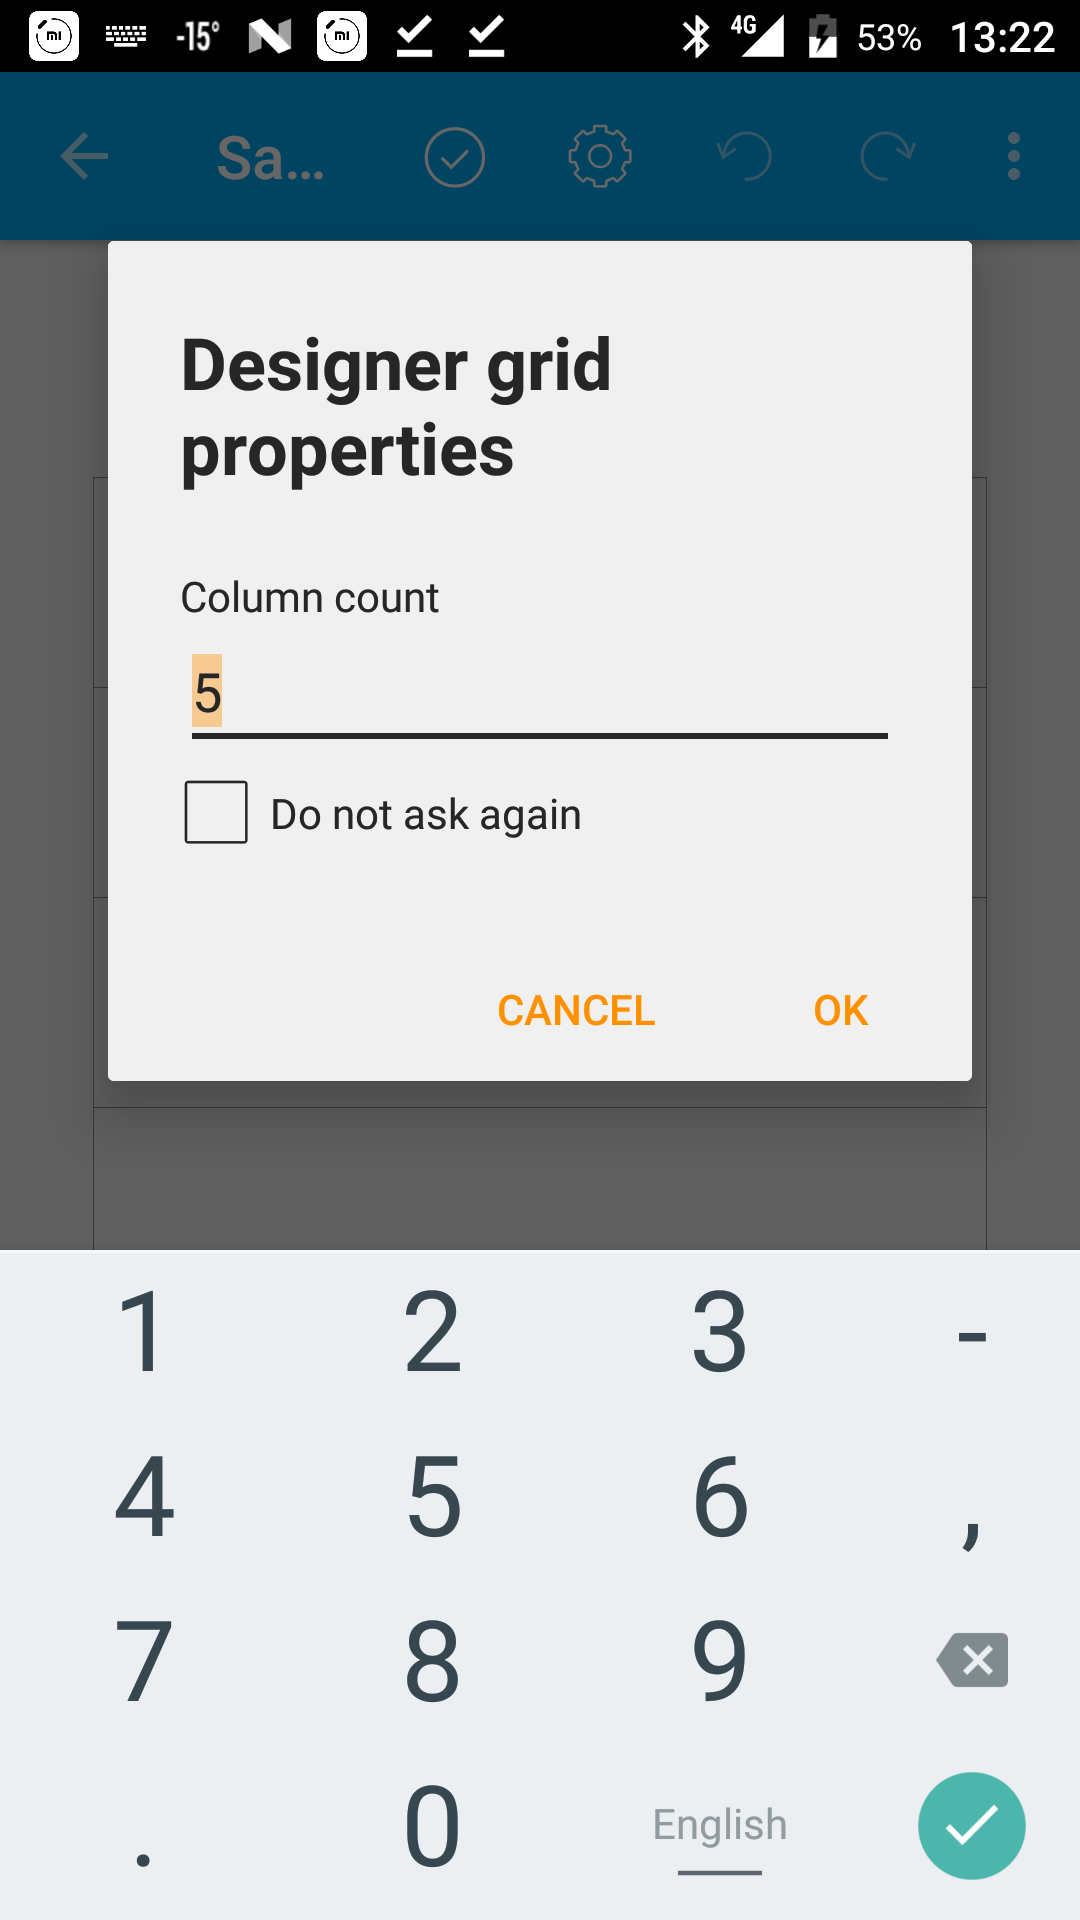
First you will have specify columns count for the designed table:
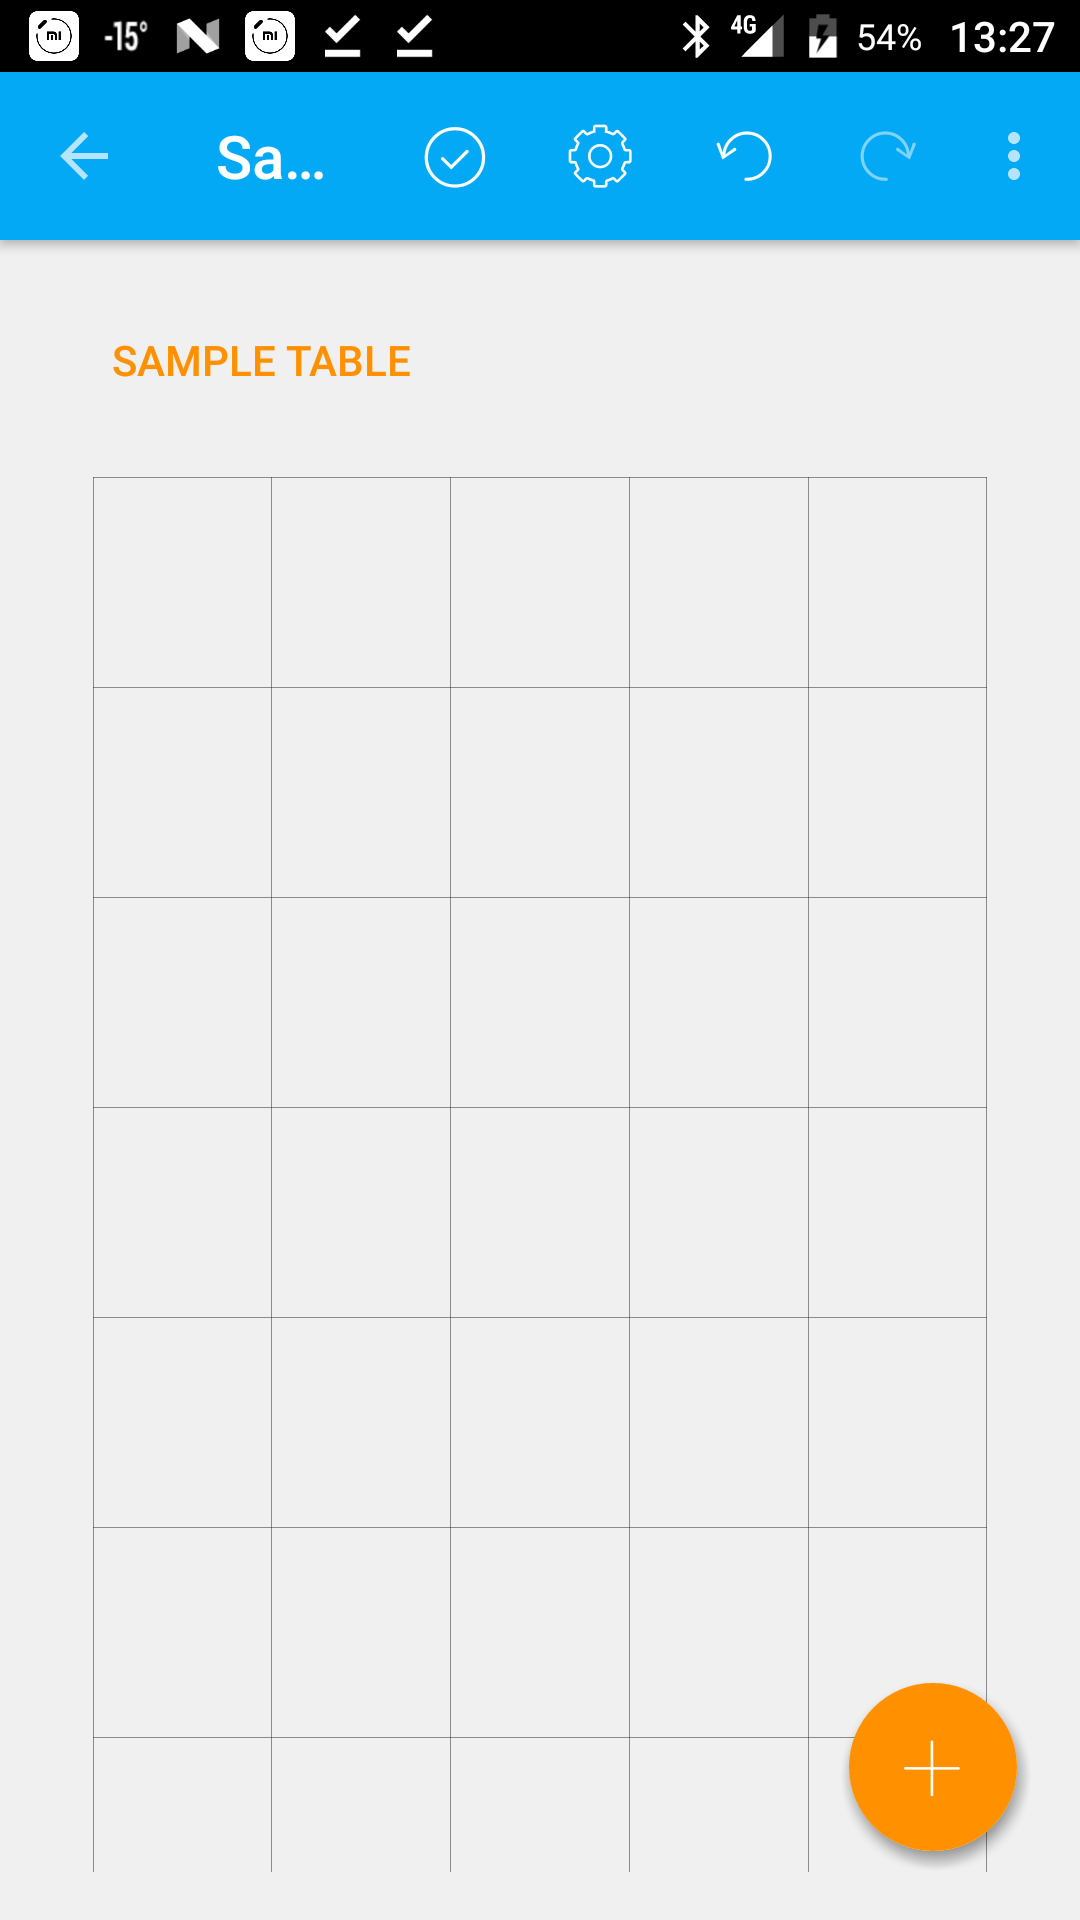
Once you are done you will see designer canvas. Note: phone designer is a little different from table designer. In order to add control to the phone you need to hit Add button and tap on the control we want to add to the form.
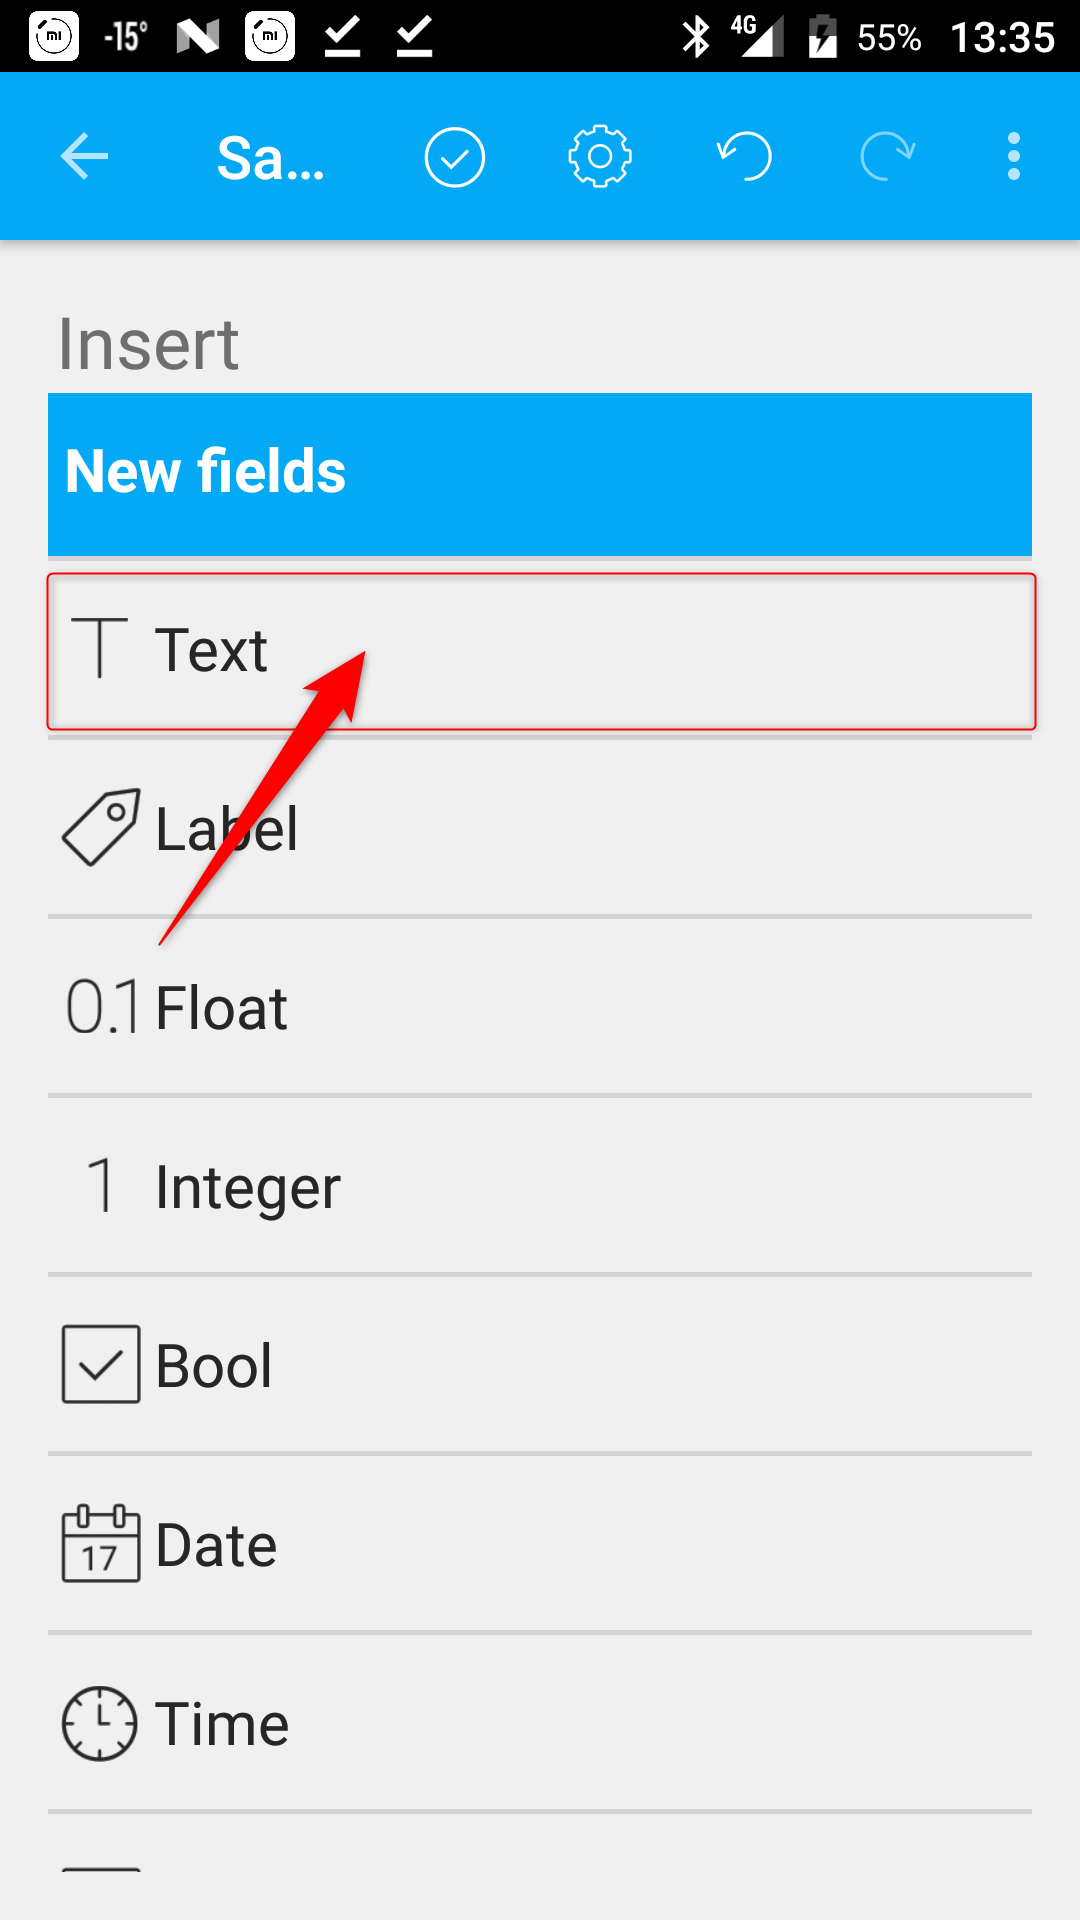
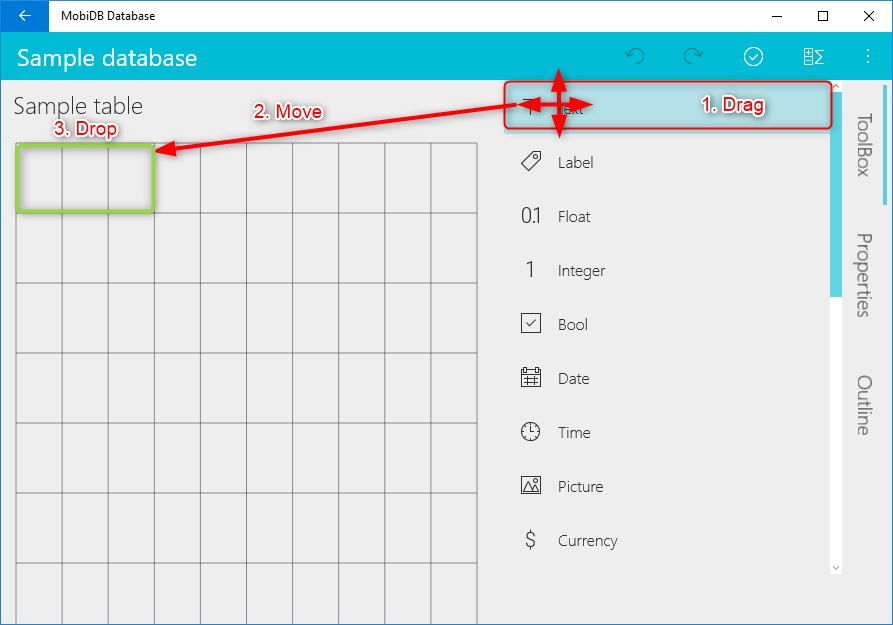
As for tablet designer you need to drag and drop data from toolbox:
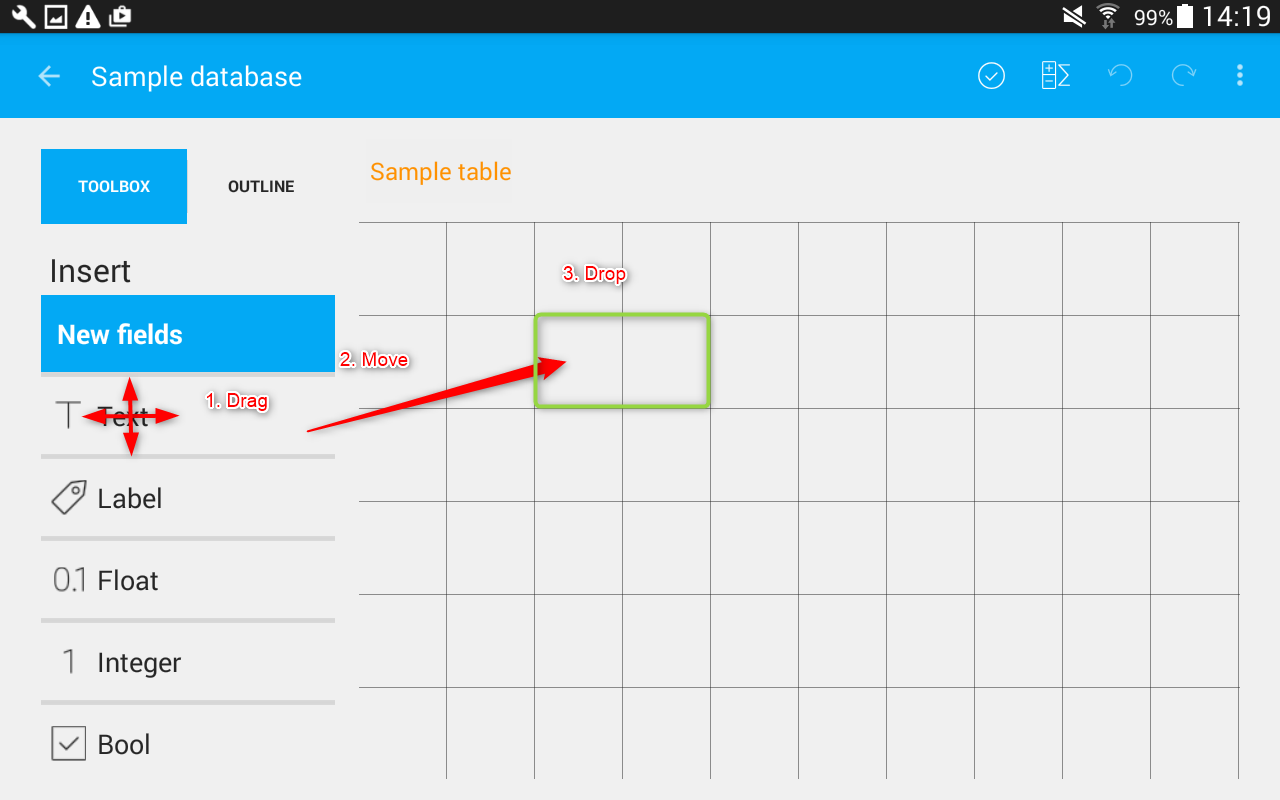
The database designer consists of the Toolbox panel to select the required fields and the working area grid to the right of the Toolbox, where the selected controls will be allocated. The fields can be added to the working area grid by simple drag-and-drop action. Next to Toolbox you can find an Outline tab that represents a descriptive view of controls placed onto the working form.
Step 3. Creating form layout
Let’s assume we are creating a database that will contain product name, quantity and image fields. Thus, the fields we select for use in our sample would be as follows:
String (product name), Integer (quantity), Picture (product image).
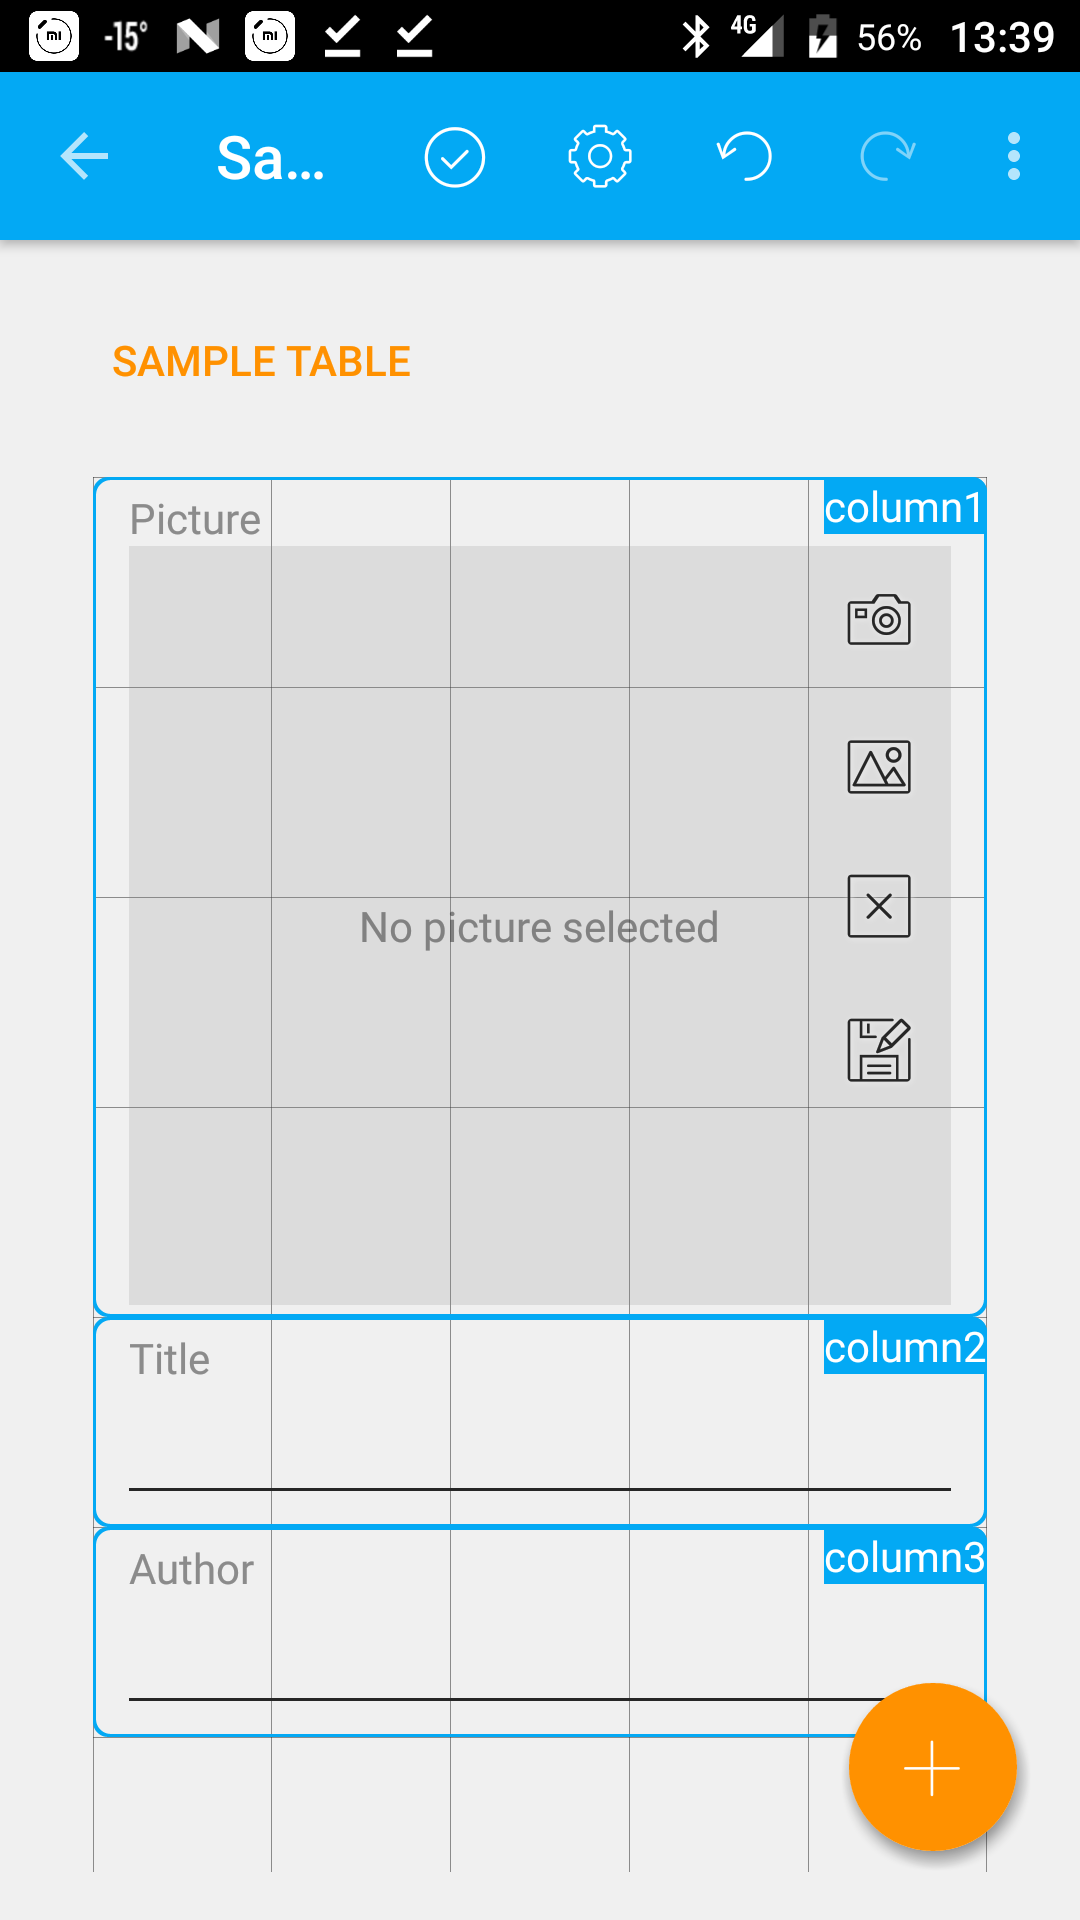

After adding the controls to the form we can modify their properties. To do this, select the control in the working area grid by tapping it, and then use an Edit element properties button  below the selected table element to open the Edit control properties window.

Press Save  icon in the upper right corner. All your changes will be saved and you will see the Card view window that is used for filling in your table with data.

Step 4. Adding data
After finishing filling in the first card, you can add a new record by simply tapping on the Add record  icon in the upper right corner of the Card view window. All data added to the table is saved on the fly, that's why there's no need to save the changes during data input phase.

Switching between the Card view and the Table view is done with the help of Switch button. Simply tap the Switch icon  in the upper right corner to switch to Table view layout, or tap
  icon to return to Card view.
Note: You can increase or decrease the width of any of your fields by tapping the column border in a Table view layout and move it left or right while holding it pressed.
Before:

After:

Step 5. Filtering and sorting data
It is possible to filter the table data and sort the output data order. To do this, switch to Table view layout and press the menu icon in a column header.

In opened menu you can set sorting order. The available values include None, Ascending and Descending data output order. Clear sorting will reset sorting. Advanced sorting offers setting up sorting by multiple columns.

Setting the filter option is performed by selecting a query criterion. If a table value matches the pattern you enter, it appears in the query results. It is possible to set only one query criterion for each individual column at a time. None is the value used by default.
Step 6. Application Menu settings
The Application Menu is composed of a drop-down button control that displays a menu containing commands that expose additional functionality. The available options depend on the view layout the menu was called from.
For example, if the menu was invoked from the Database view layout the available options will be different from options displayed in Tables Collection view or Table/Card view.

Below, you can find more detailed description of all commands in alphabetical order.
- Duplicate record - duplicates the selected record.
- Edit table view settings - allows changing the order of the table columns and their visibility. To change the column order you will need to tap on the 'four-way arrow' sign and move the column up or down while holding it pressed.
- Export - offers the ability to export a table to PDF or CSV.
- Print - offers the ability to print a table.
- Share - allows saving your database to a DropBox folder.
- Reset all filters - resets the set filters in the table.
- Import CSV - imports data to a separate table from a CSV file.
- Create shortcut - allows to create a shortcut on your home screen tapping on which you will get directly to the certain table.
Windows
Step 1. Creating database
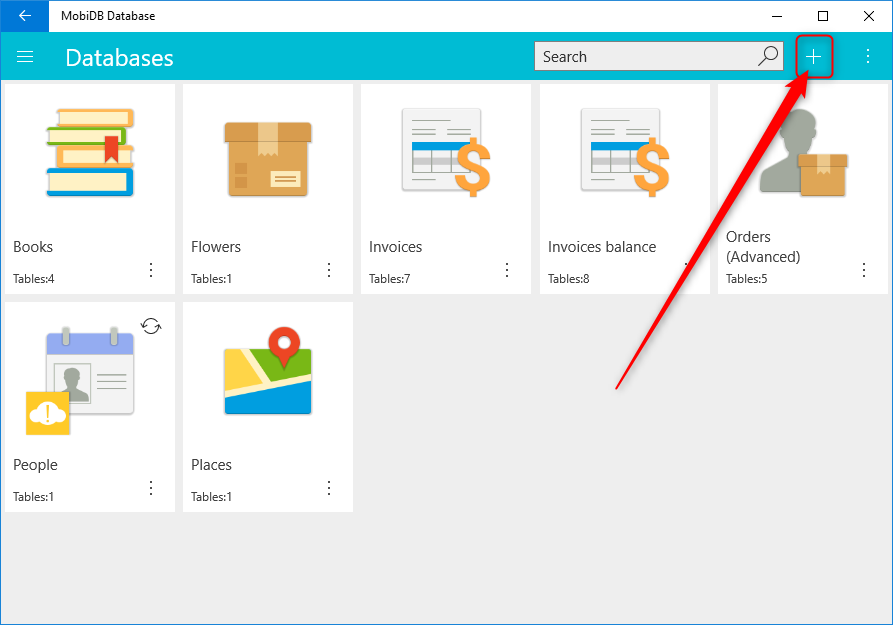
In order to create database on Windows open MobiDB and hit + button at the top toolbar:
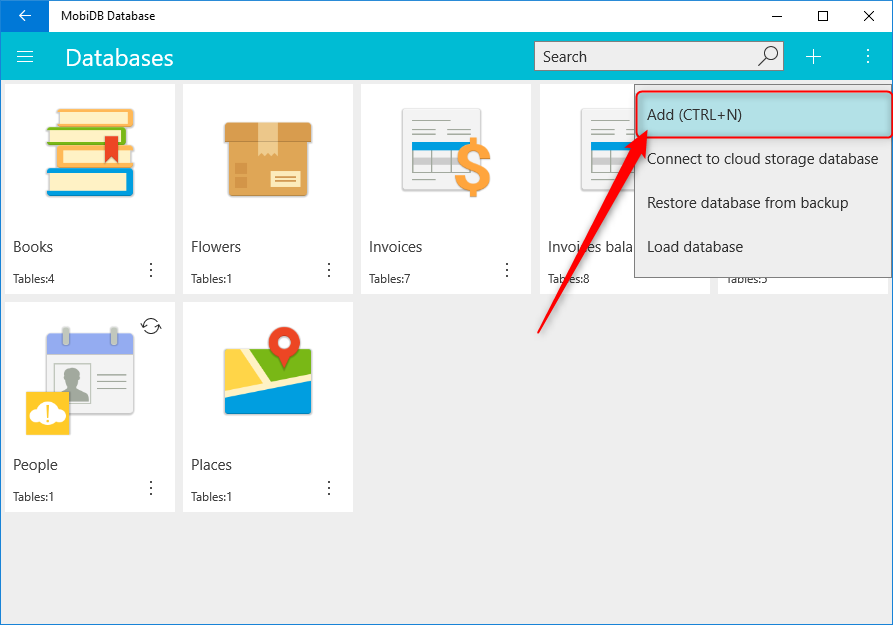
Choose Add option in the menu:
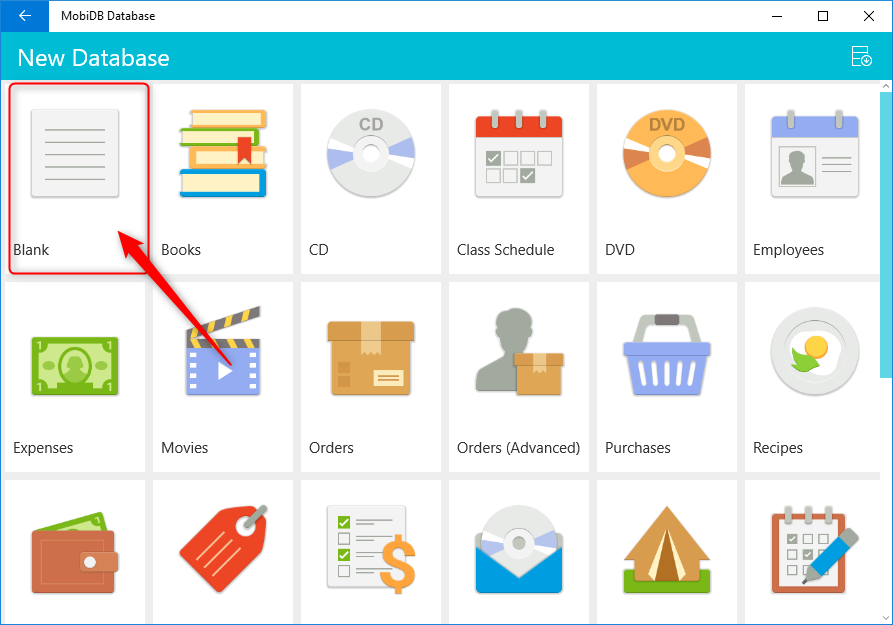
Choose Blank template:
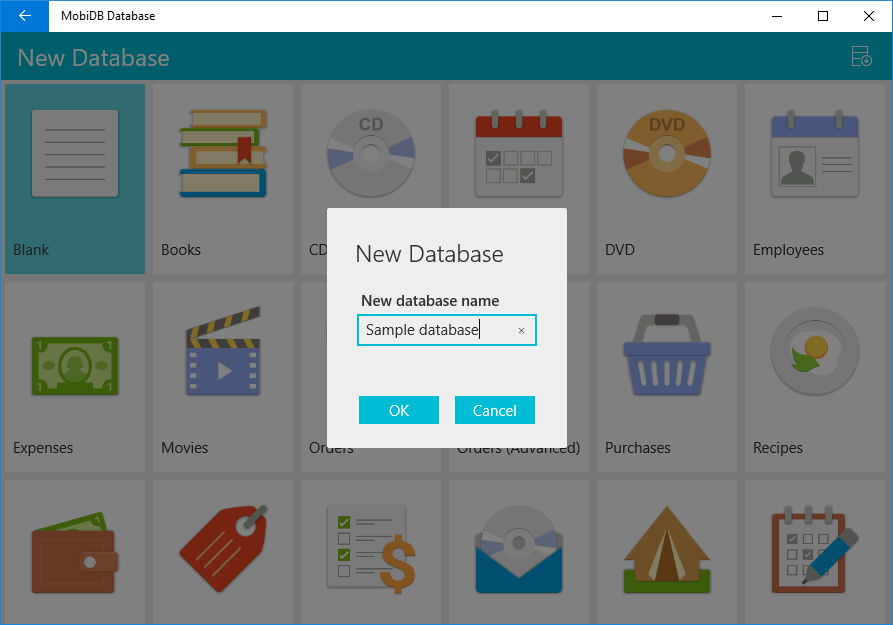
Specify database name:
Step 2. Creating table
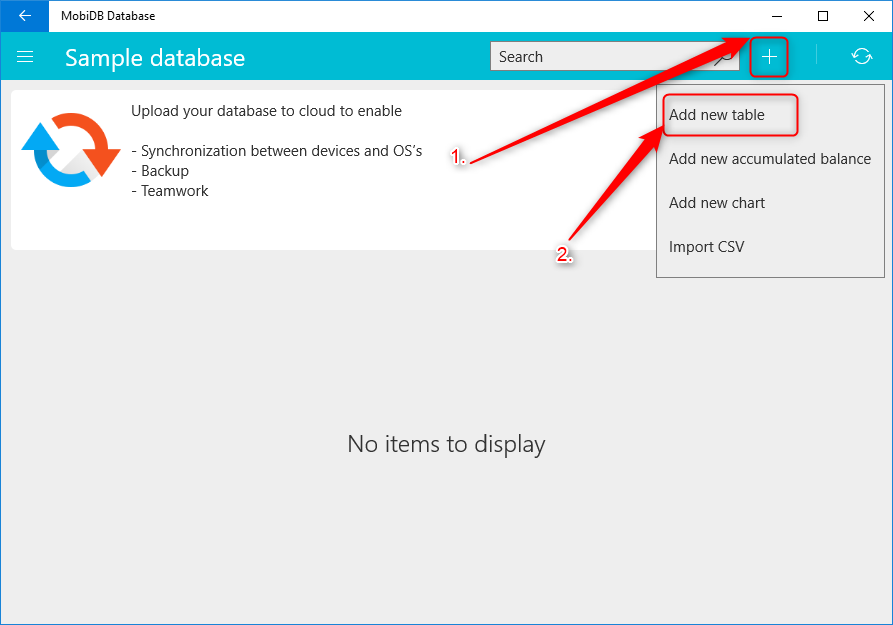
You will see list of tables which is yet empty, hit + button at the right of the upper toolbar:
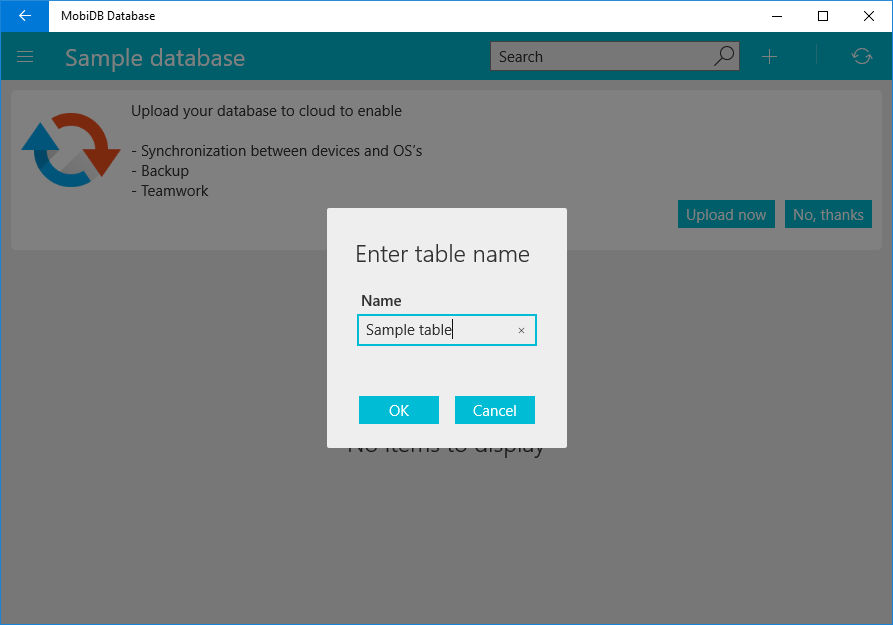
Specify table name:
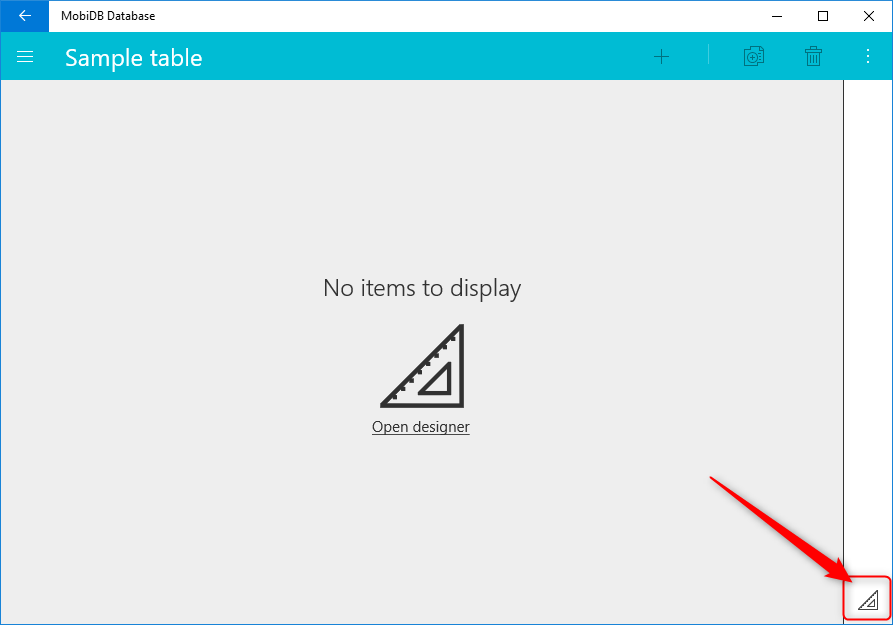
Now we are inside our table input screen, but no columns and no forms are yet designed.
Open designer:
Step 3. Creating form layout
Specify designer columns count (10 is a good choice for desktop).
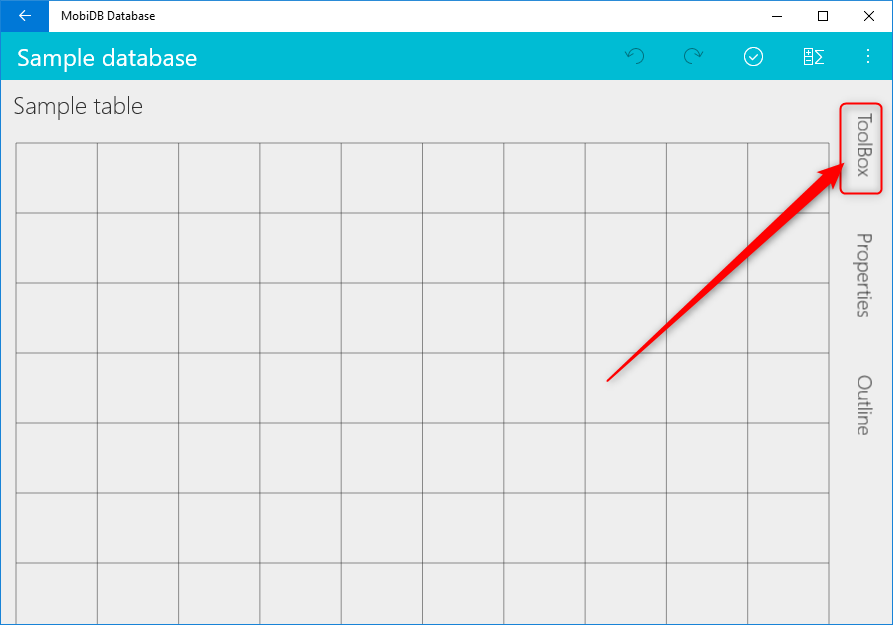
Open toolbox in the designer:
Use drag and drop to add/move items on the form:
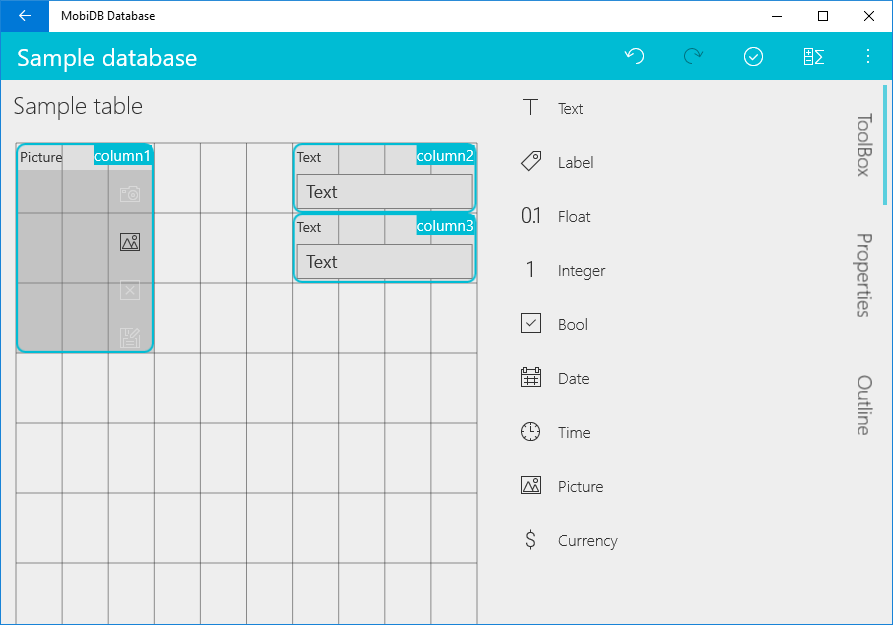
Let's design form with Picture, Author, Title fields:
Let's change titles for the columns. Choose control and open Properties:
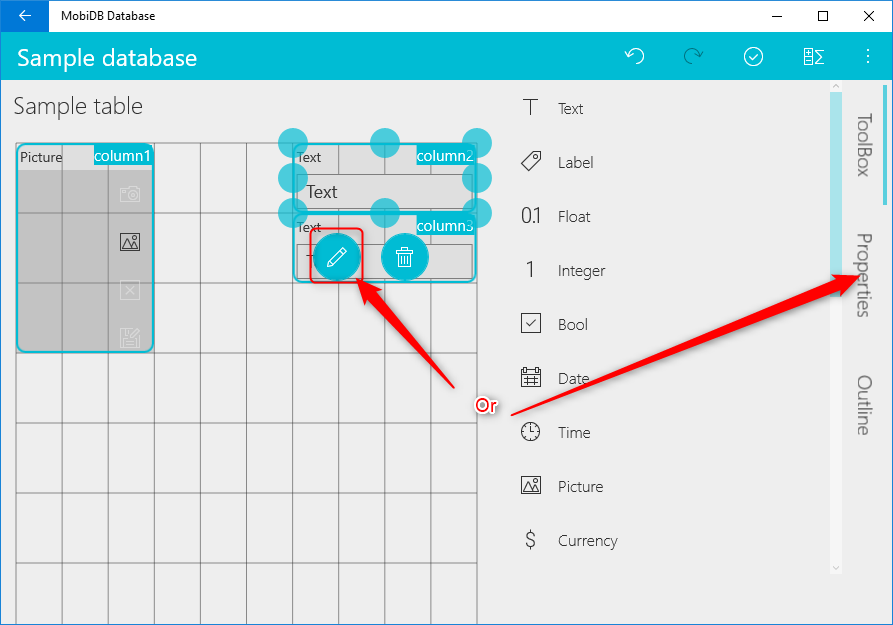
Specify titles for the newly added fields:
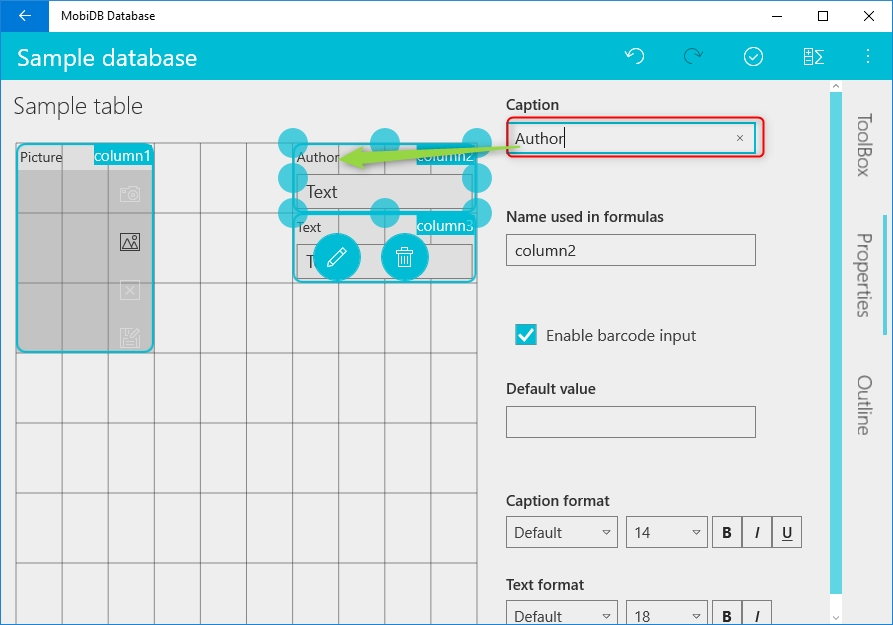
Once we are done hit Save button:
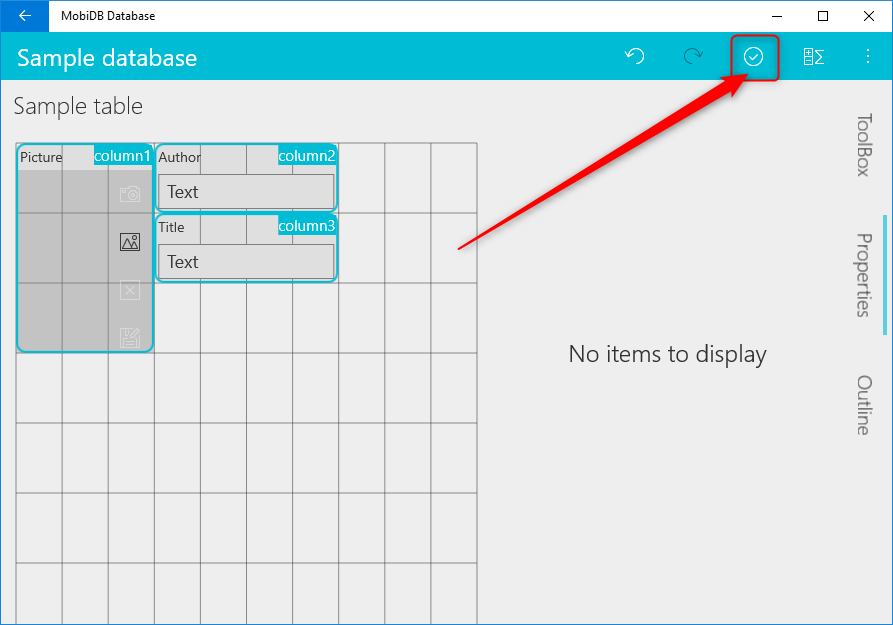
Step 4. Adding data
Now we have table with three fields and we can add records to it:
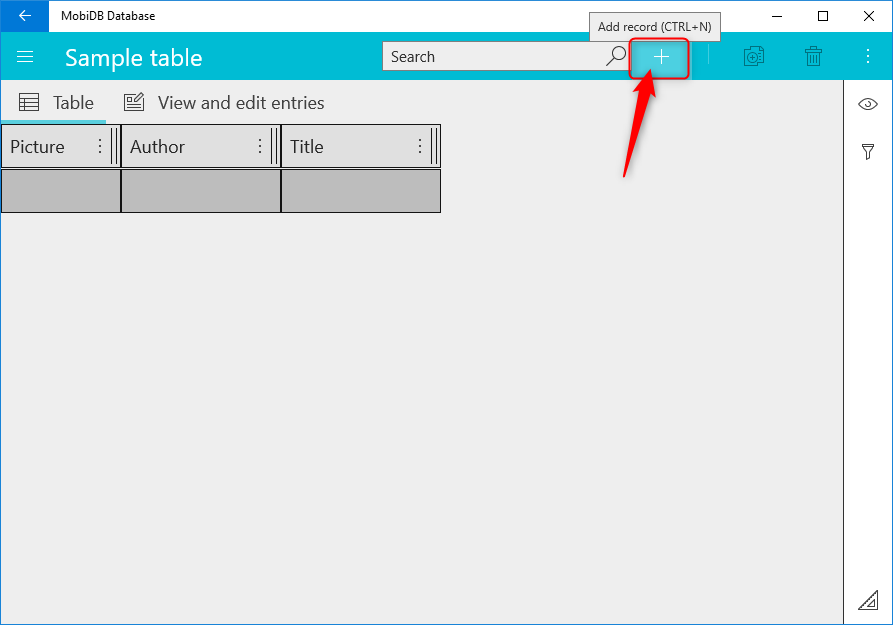
Hit menu (right button click) on the picture and choose gallery:
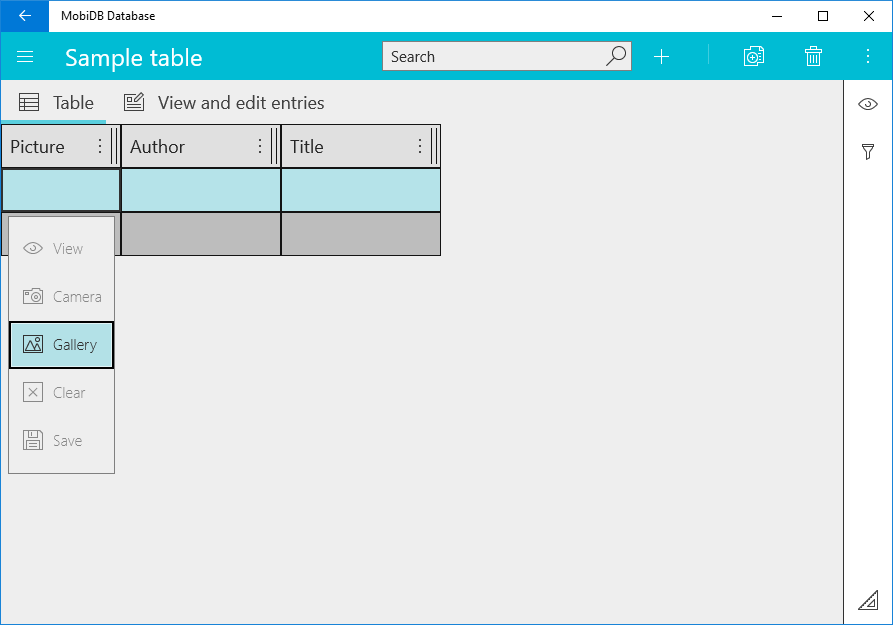
Choose picture:
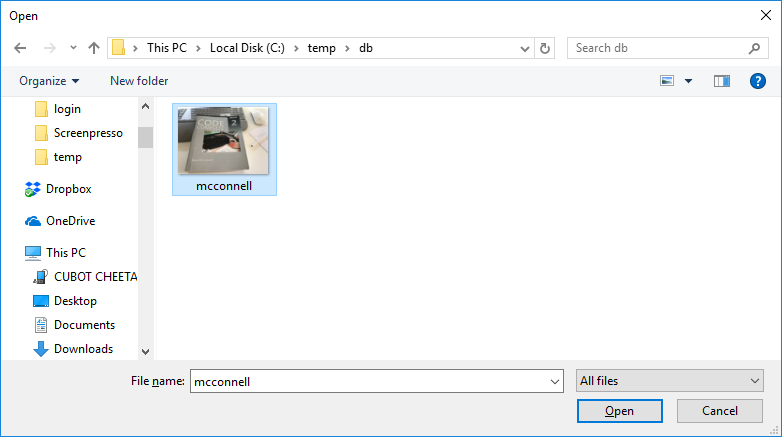
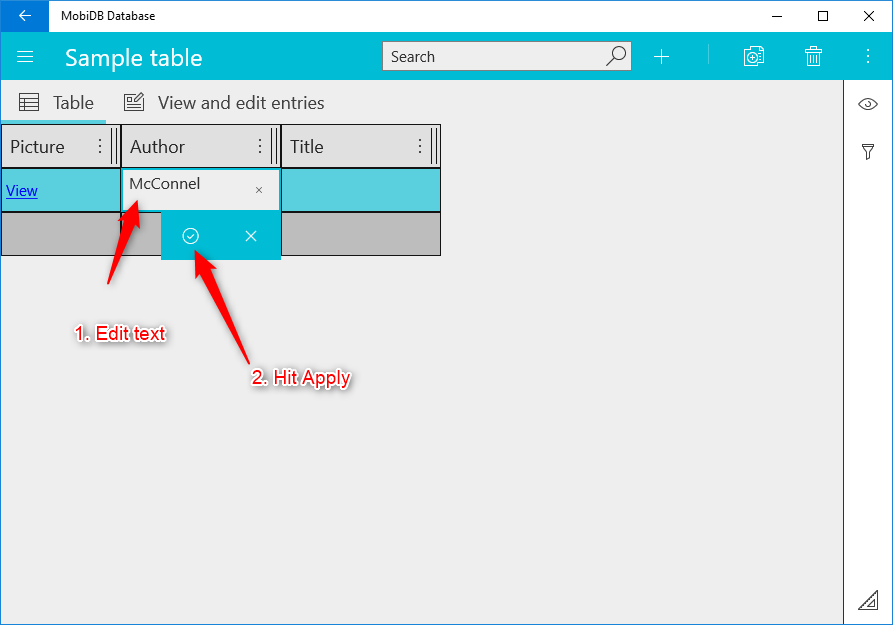
Click on the Author cell and hit F2 (or use menu as with a picture case), edit text and hit apply:
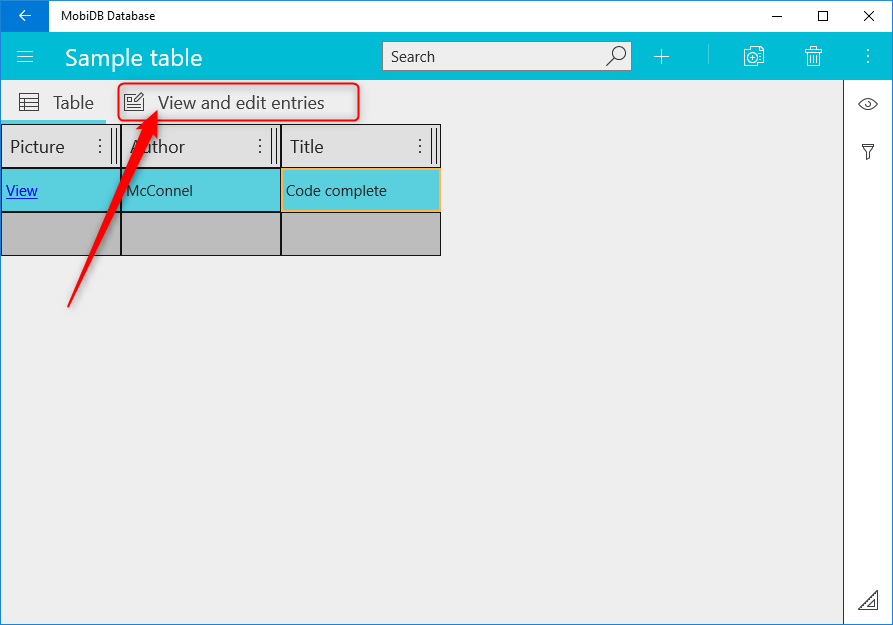
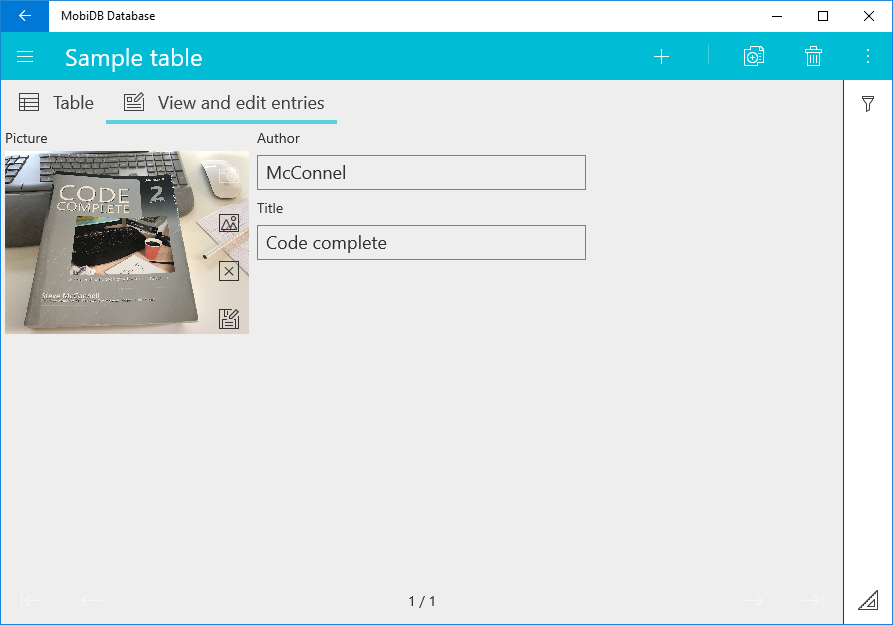
You can also use Form view to input data:
Step 5. Filtering and sorting data
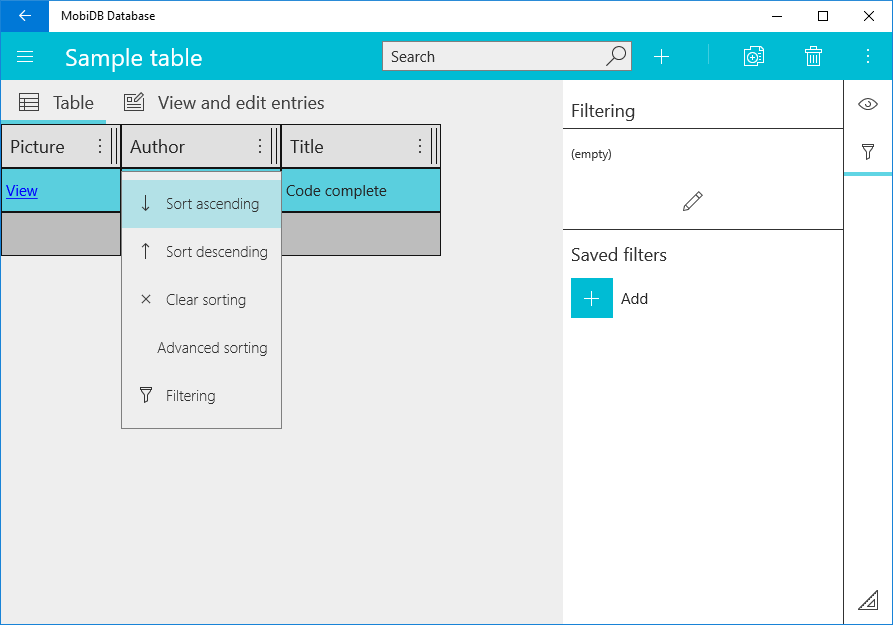
In order to sort data tap on the table's column header and choose Sort mode:
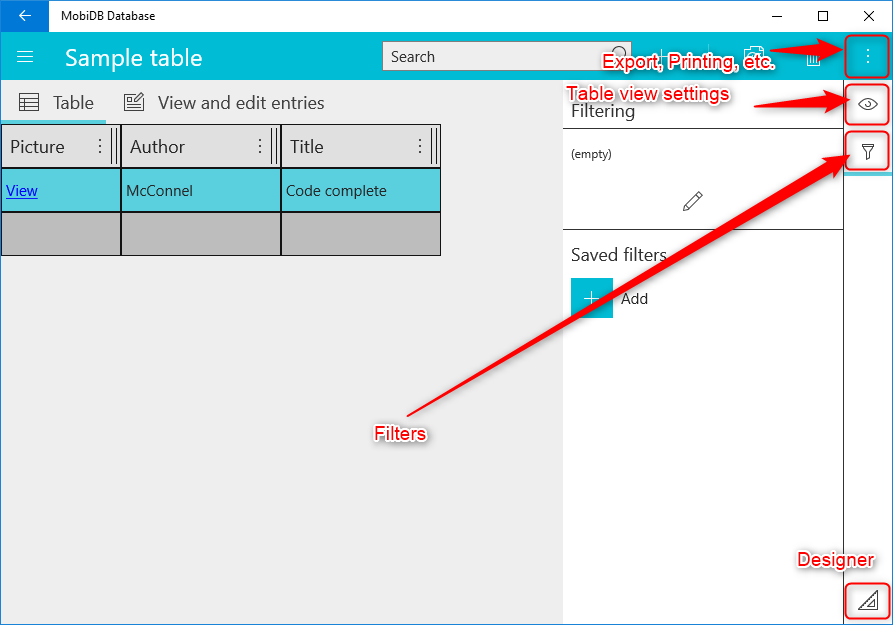
Filtering and table view settings available on the right side:
Synchronization
The most powerful feature of MobiDB is cloud sync. It's available through Dropbox, OneDrive, Google Drive. Let's assume that we designed our database on the PC and want to access it from android Phone.
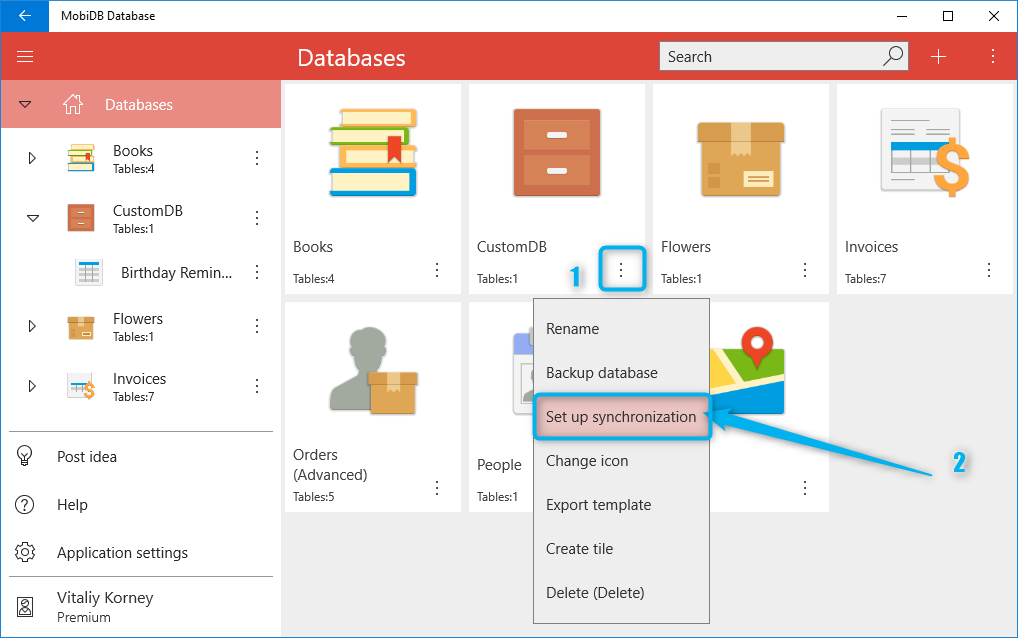
1. Upload database to the cloud
First thing to do is to upload database to the cloud:
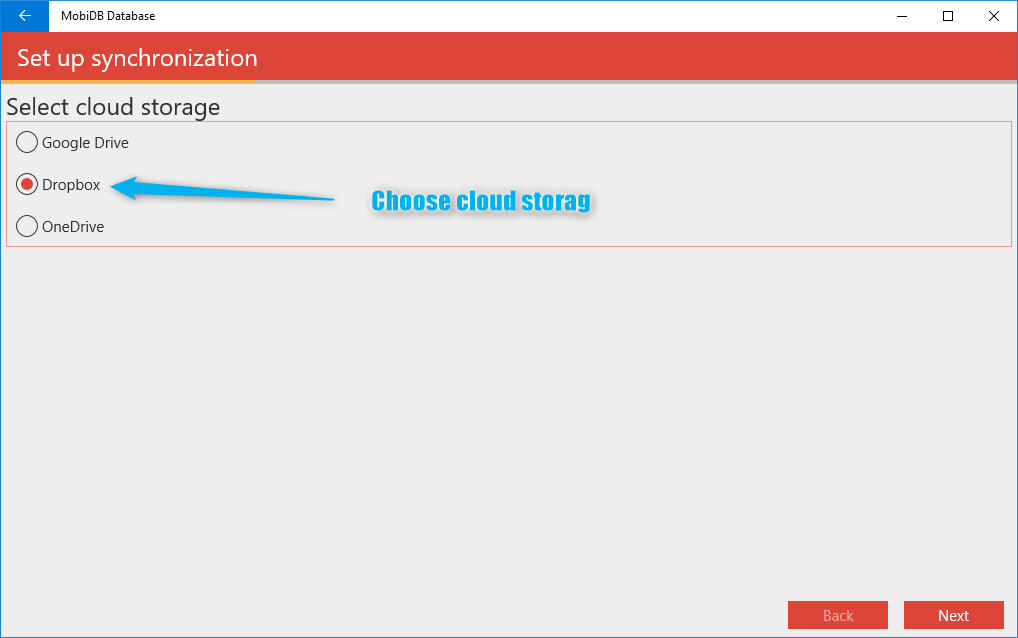
Choose cloud provider: Dropbox, OneDrive, Google drive:
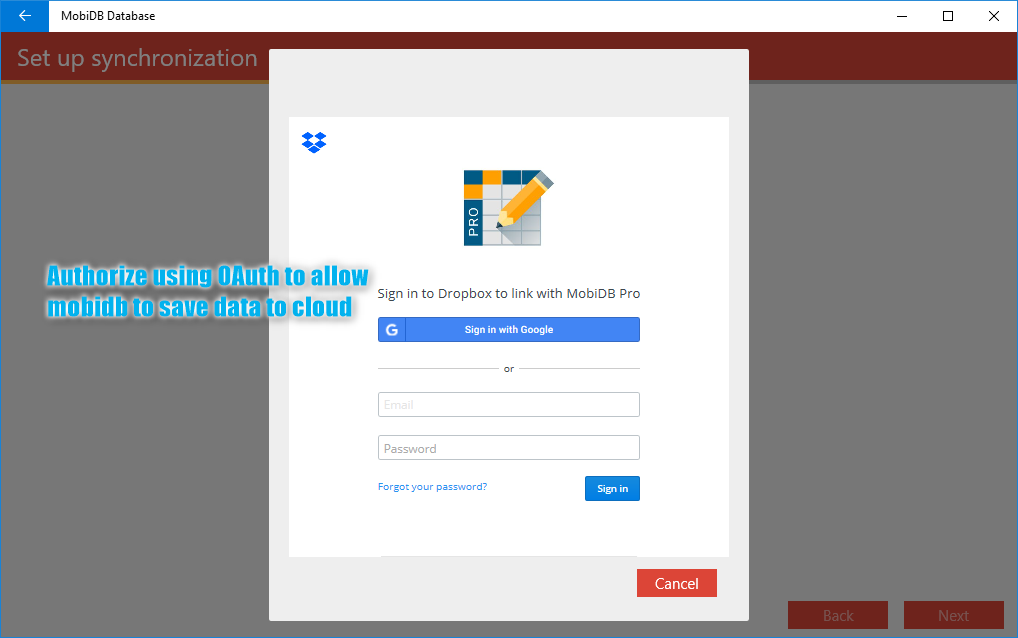
Allow mobidb to upload db to cloud provider:
Specify server's database name (folder with this name will be created):
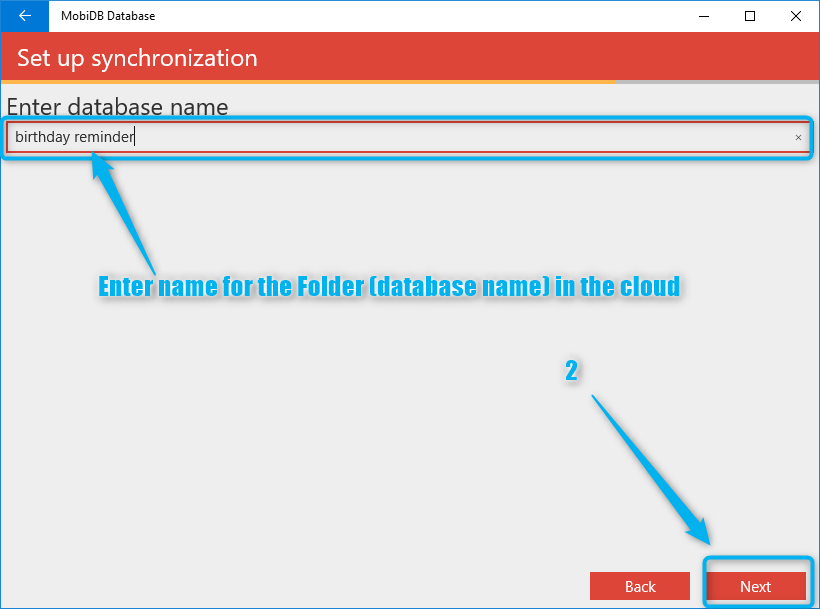
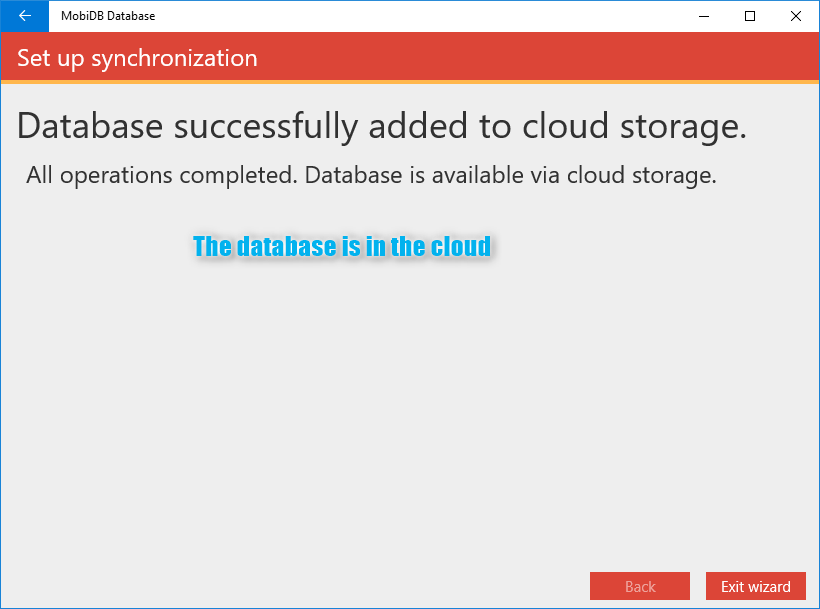
Hit next and we are done:
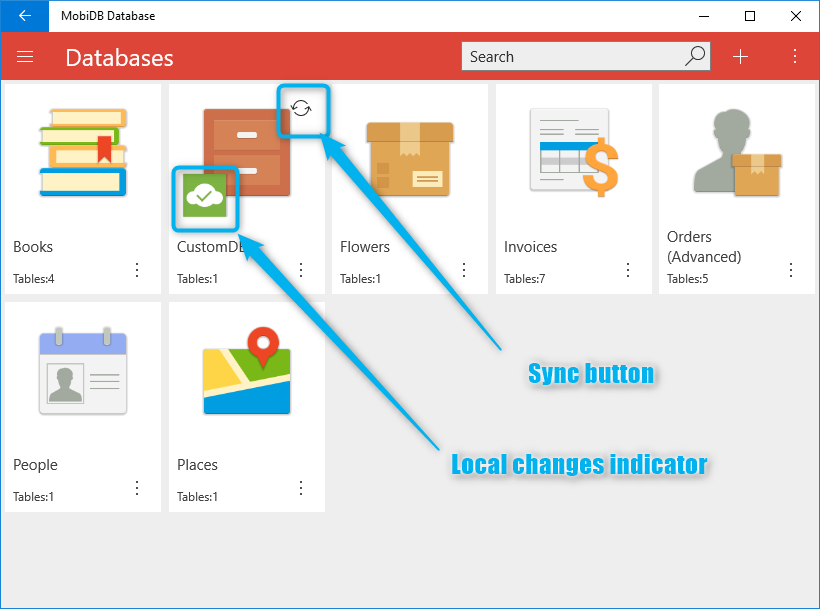
Now you can start syncing and see local changes indicator:
2. Connect from phone
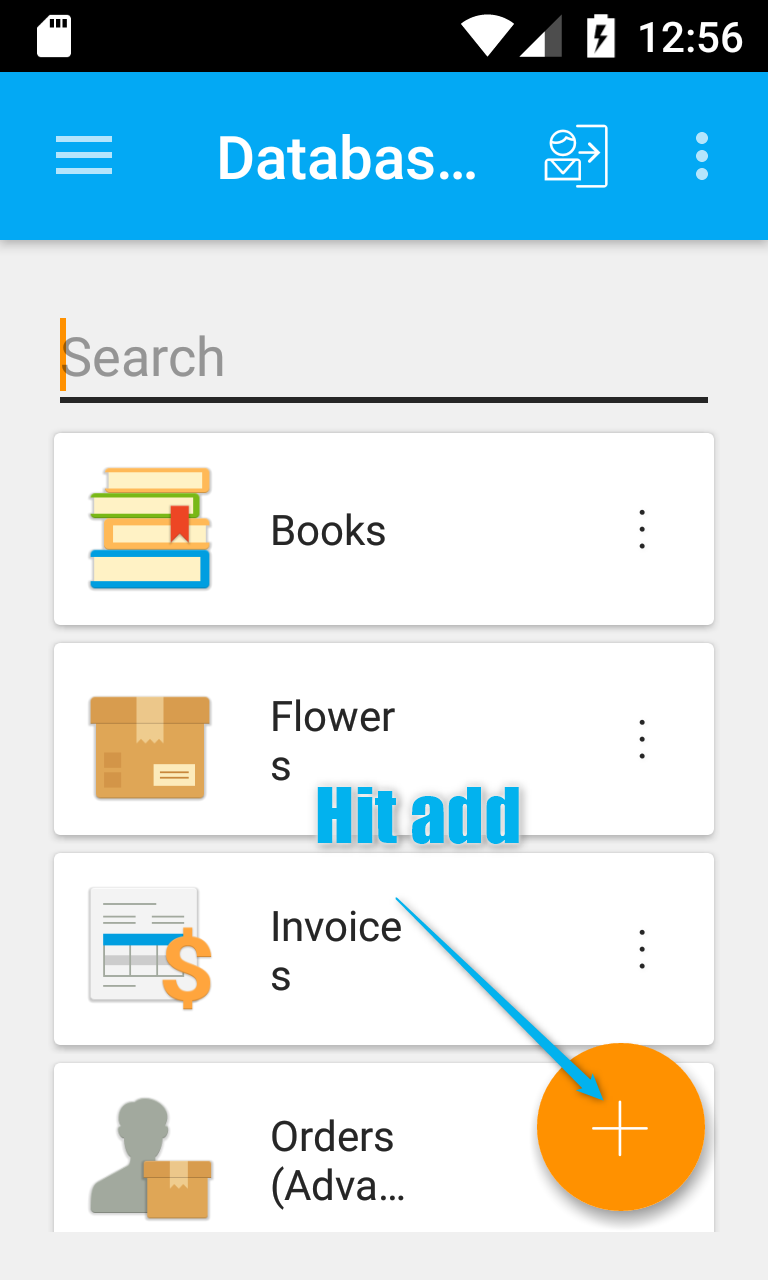
Open android app and hit add button:
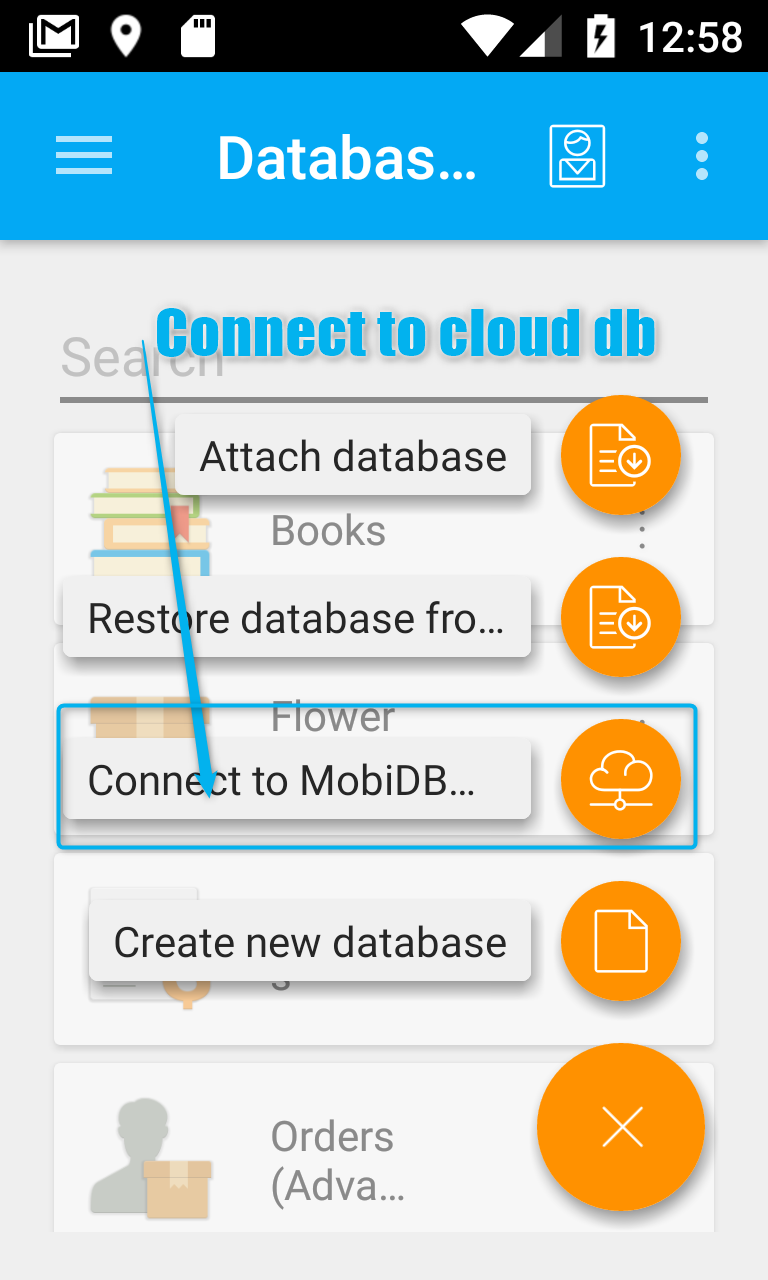
Choose connect to cloud option:
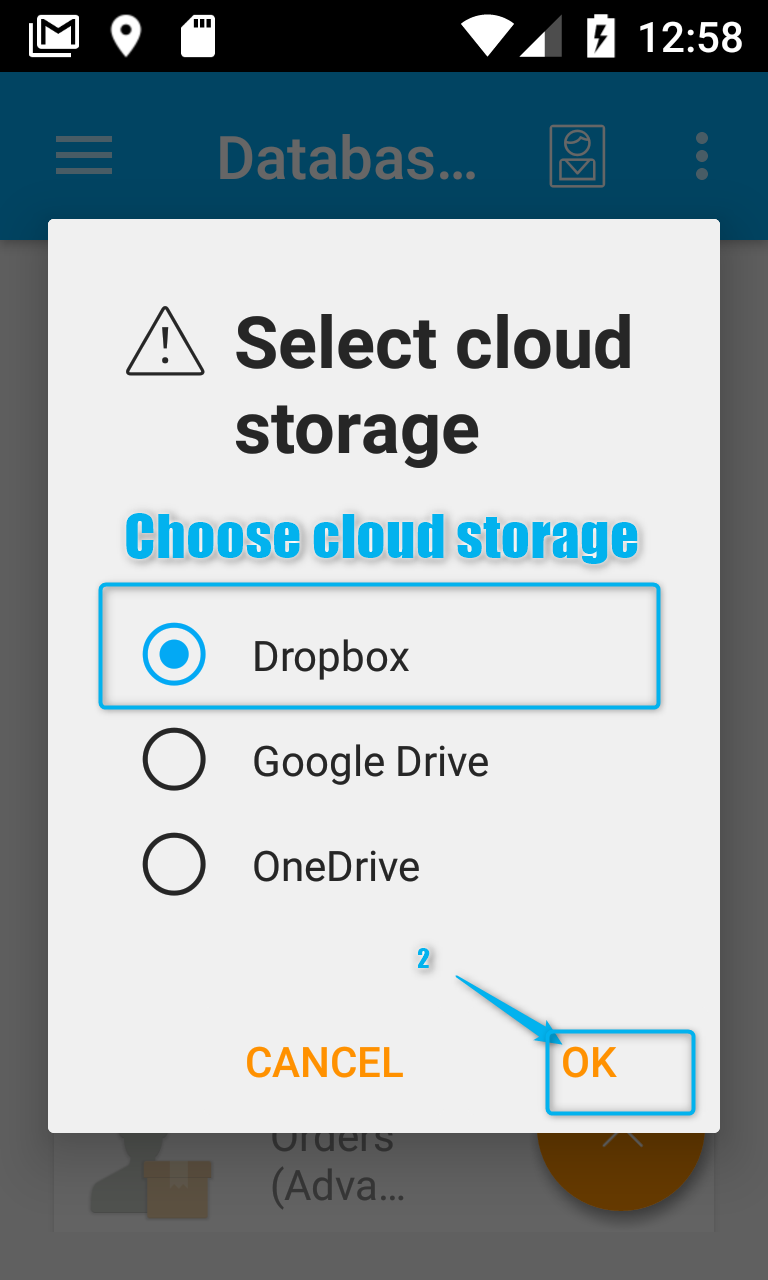
Choose cloud provider you specified on the PC:
Enter credentials:

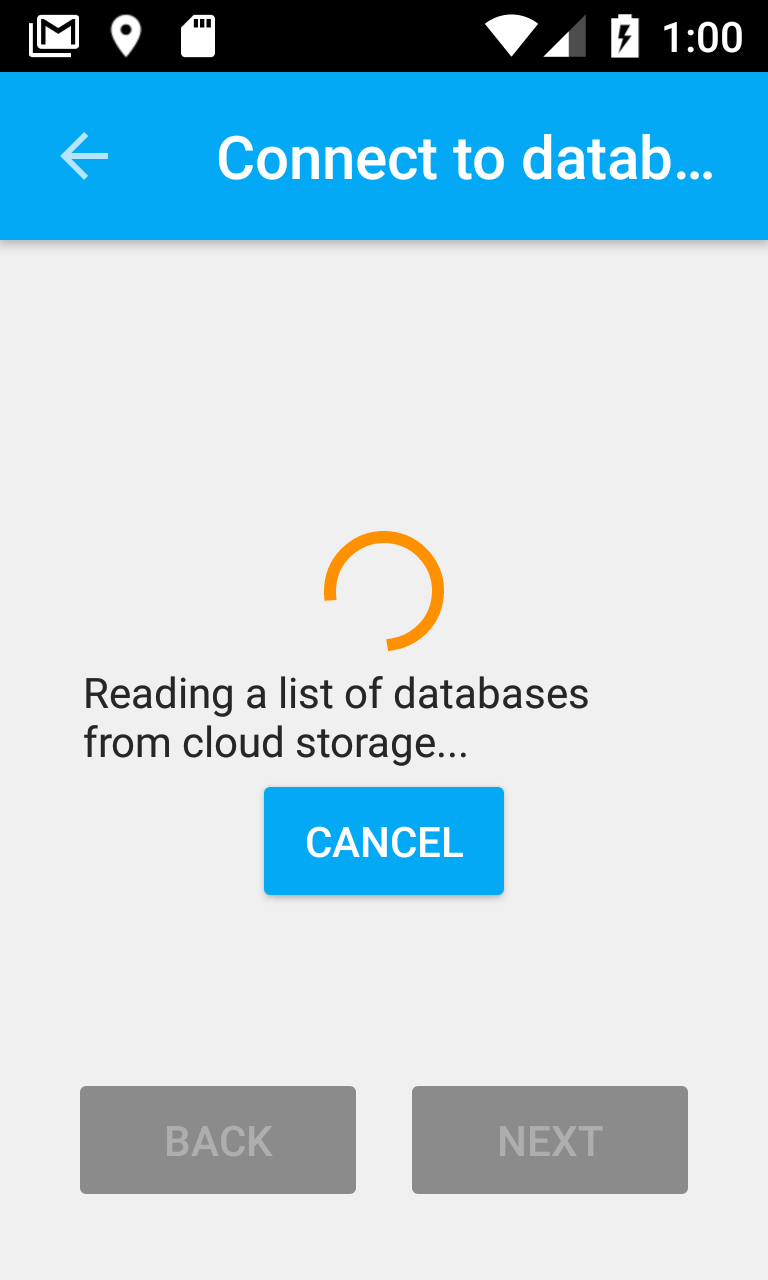
Wait a bit to read cloud databases list:
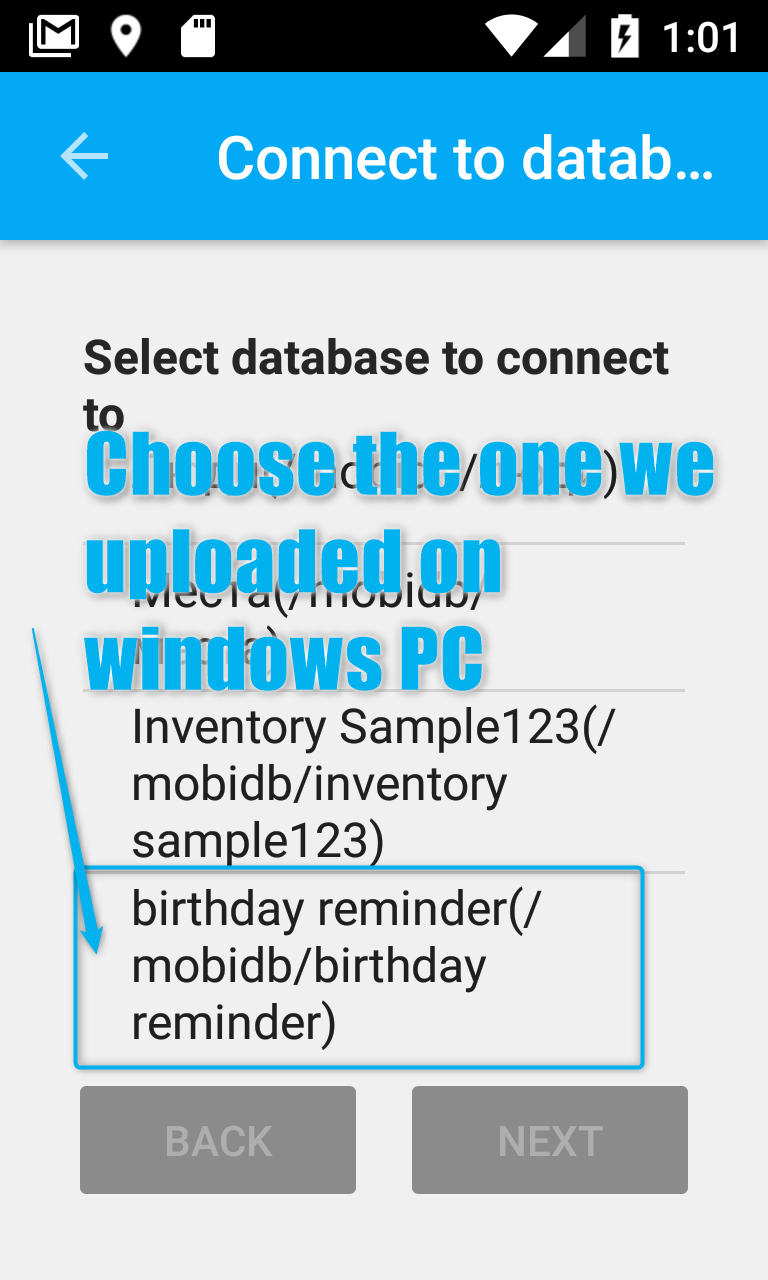
Choose database you want to connect to:
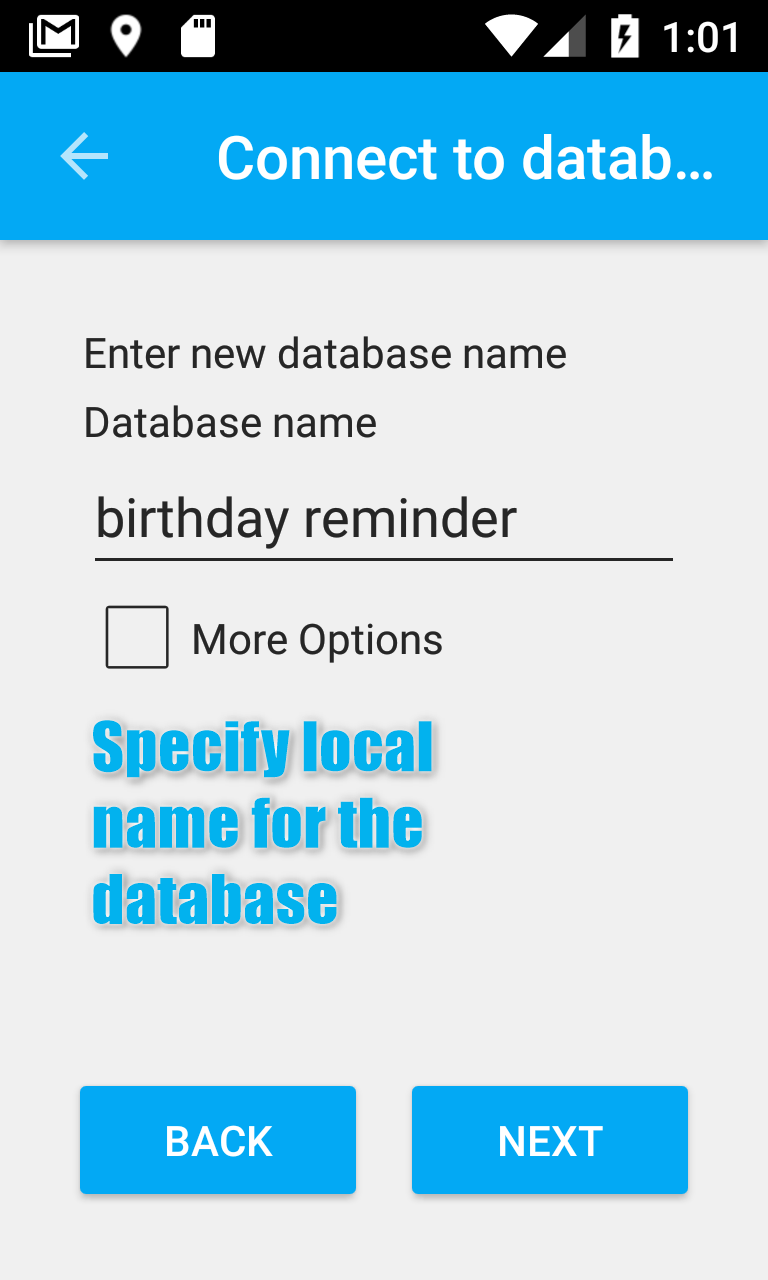
Specify local database name:
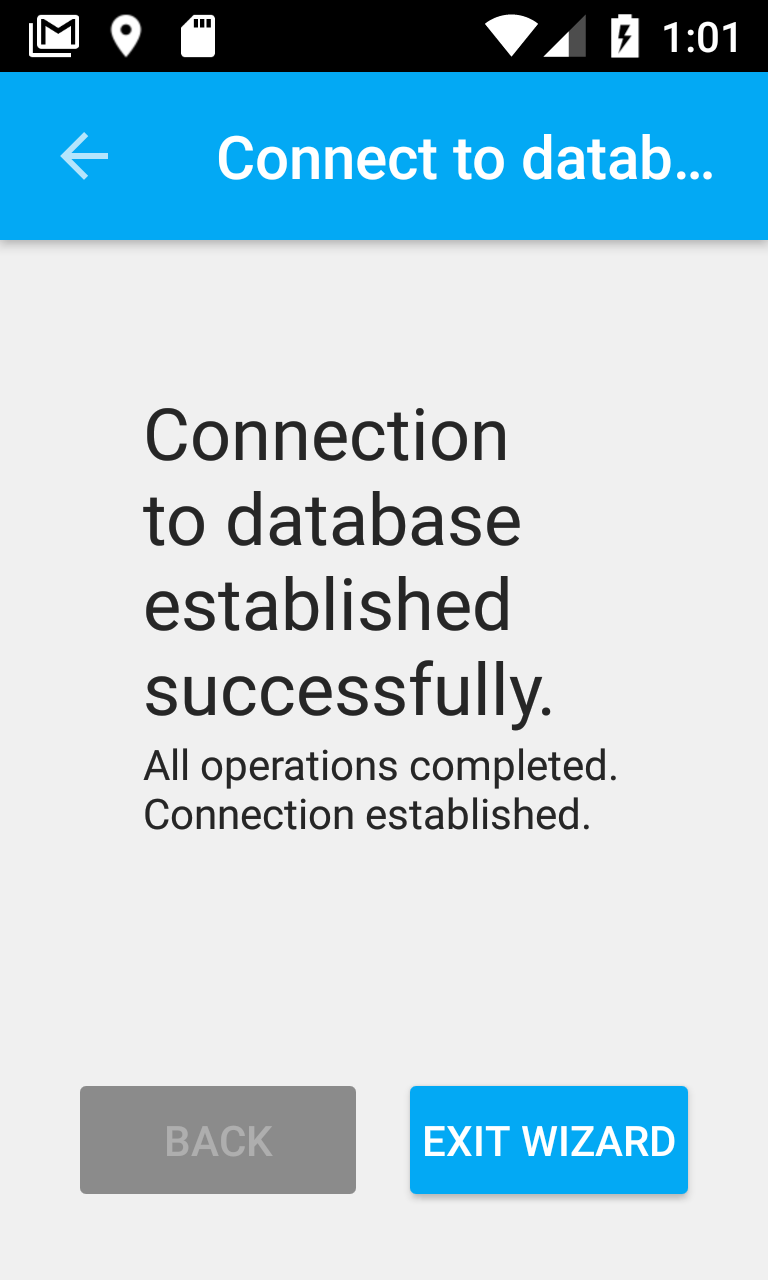
Database is now successfully downloaded:
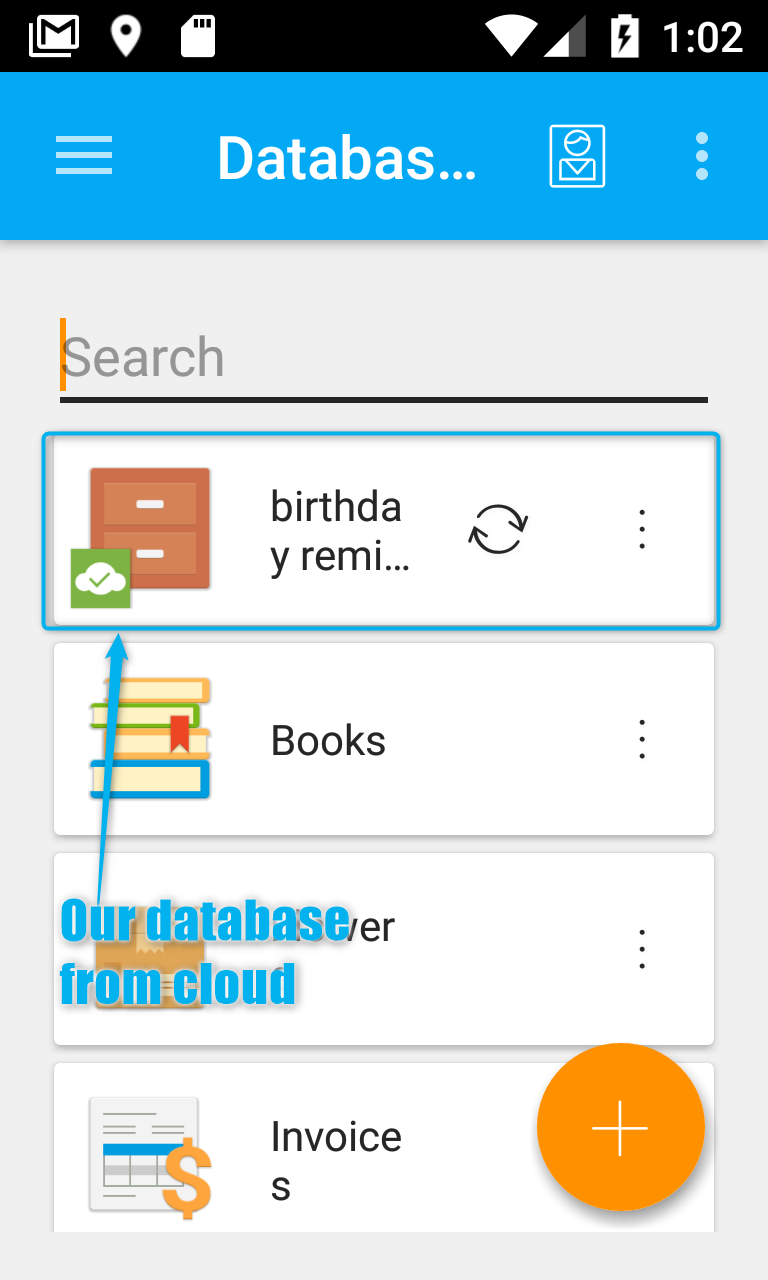
Now you can see database from the PC on android phone:
